
One-Step Paint Correction: A Quick and Effective Solution for Minor Imperfections
Introduction to One-Step Paint Correction
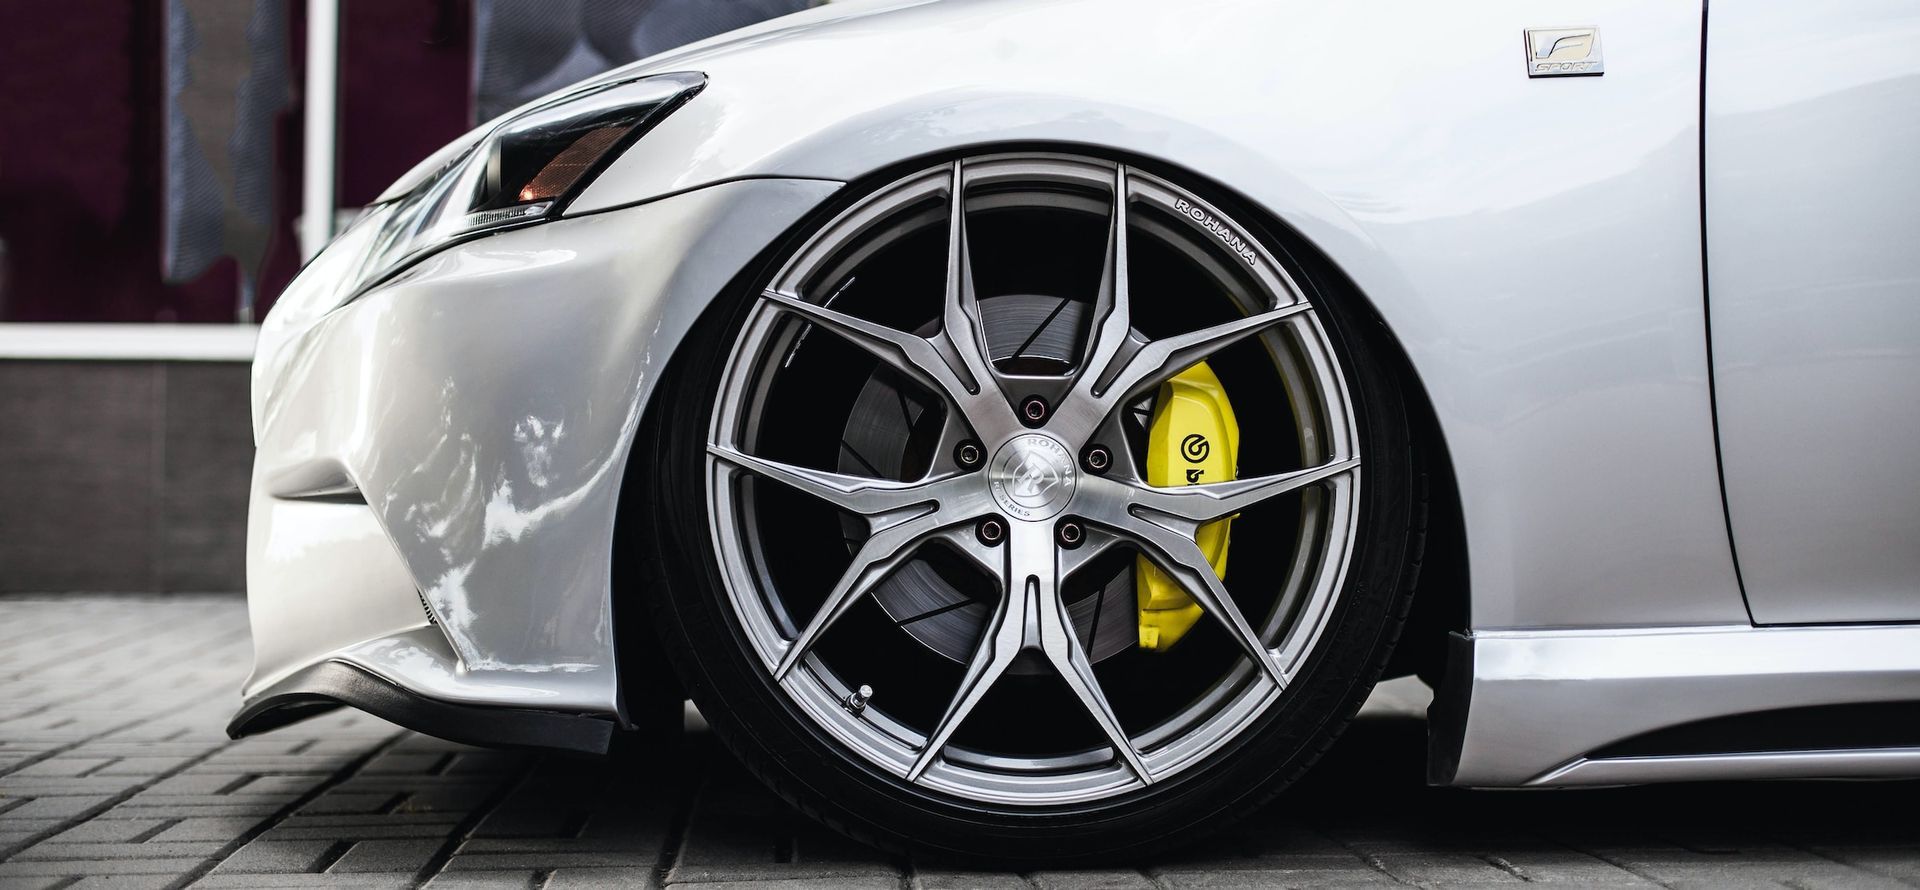
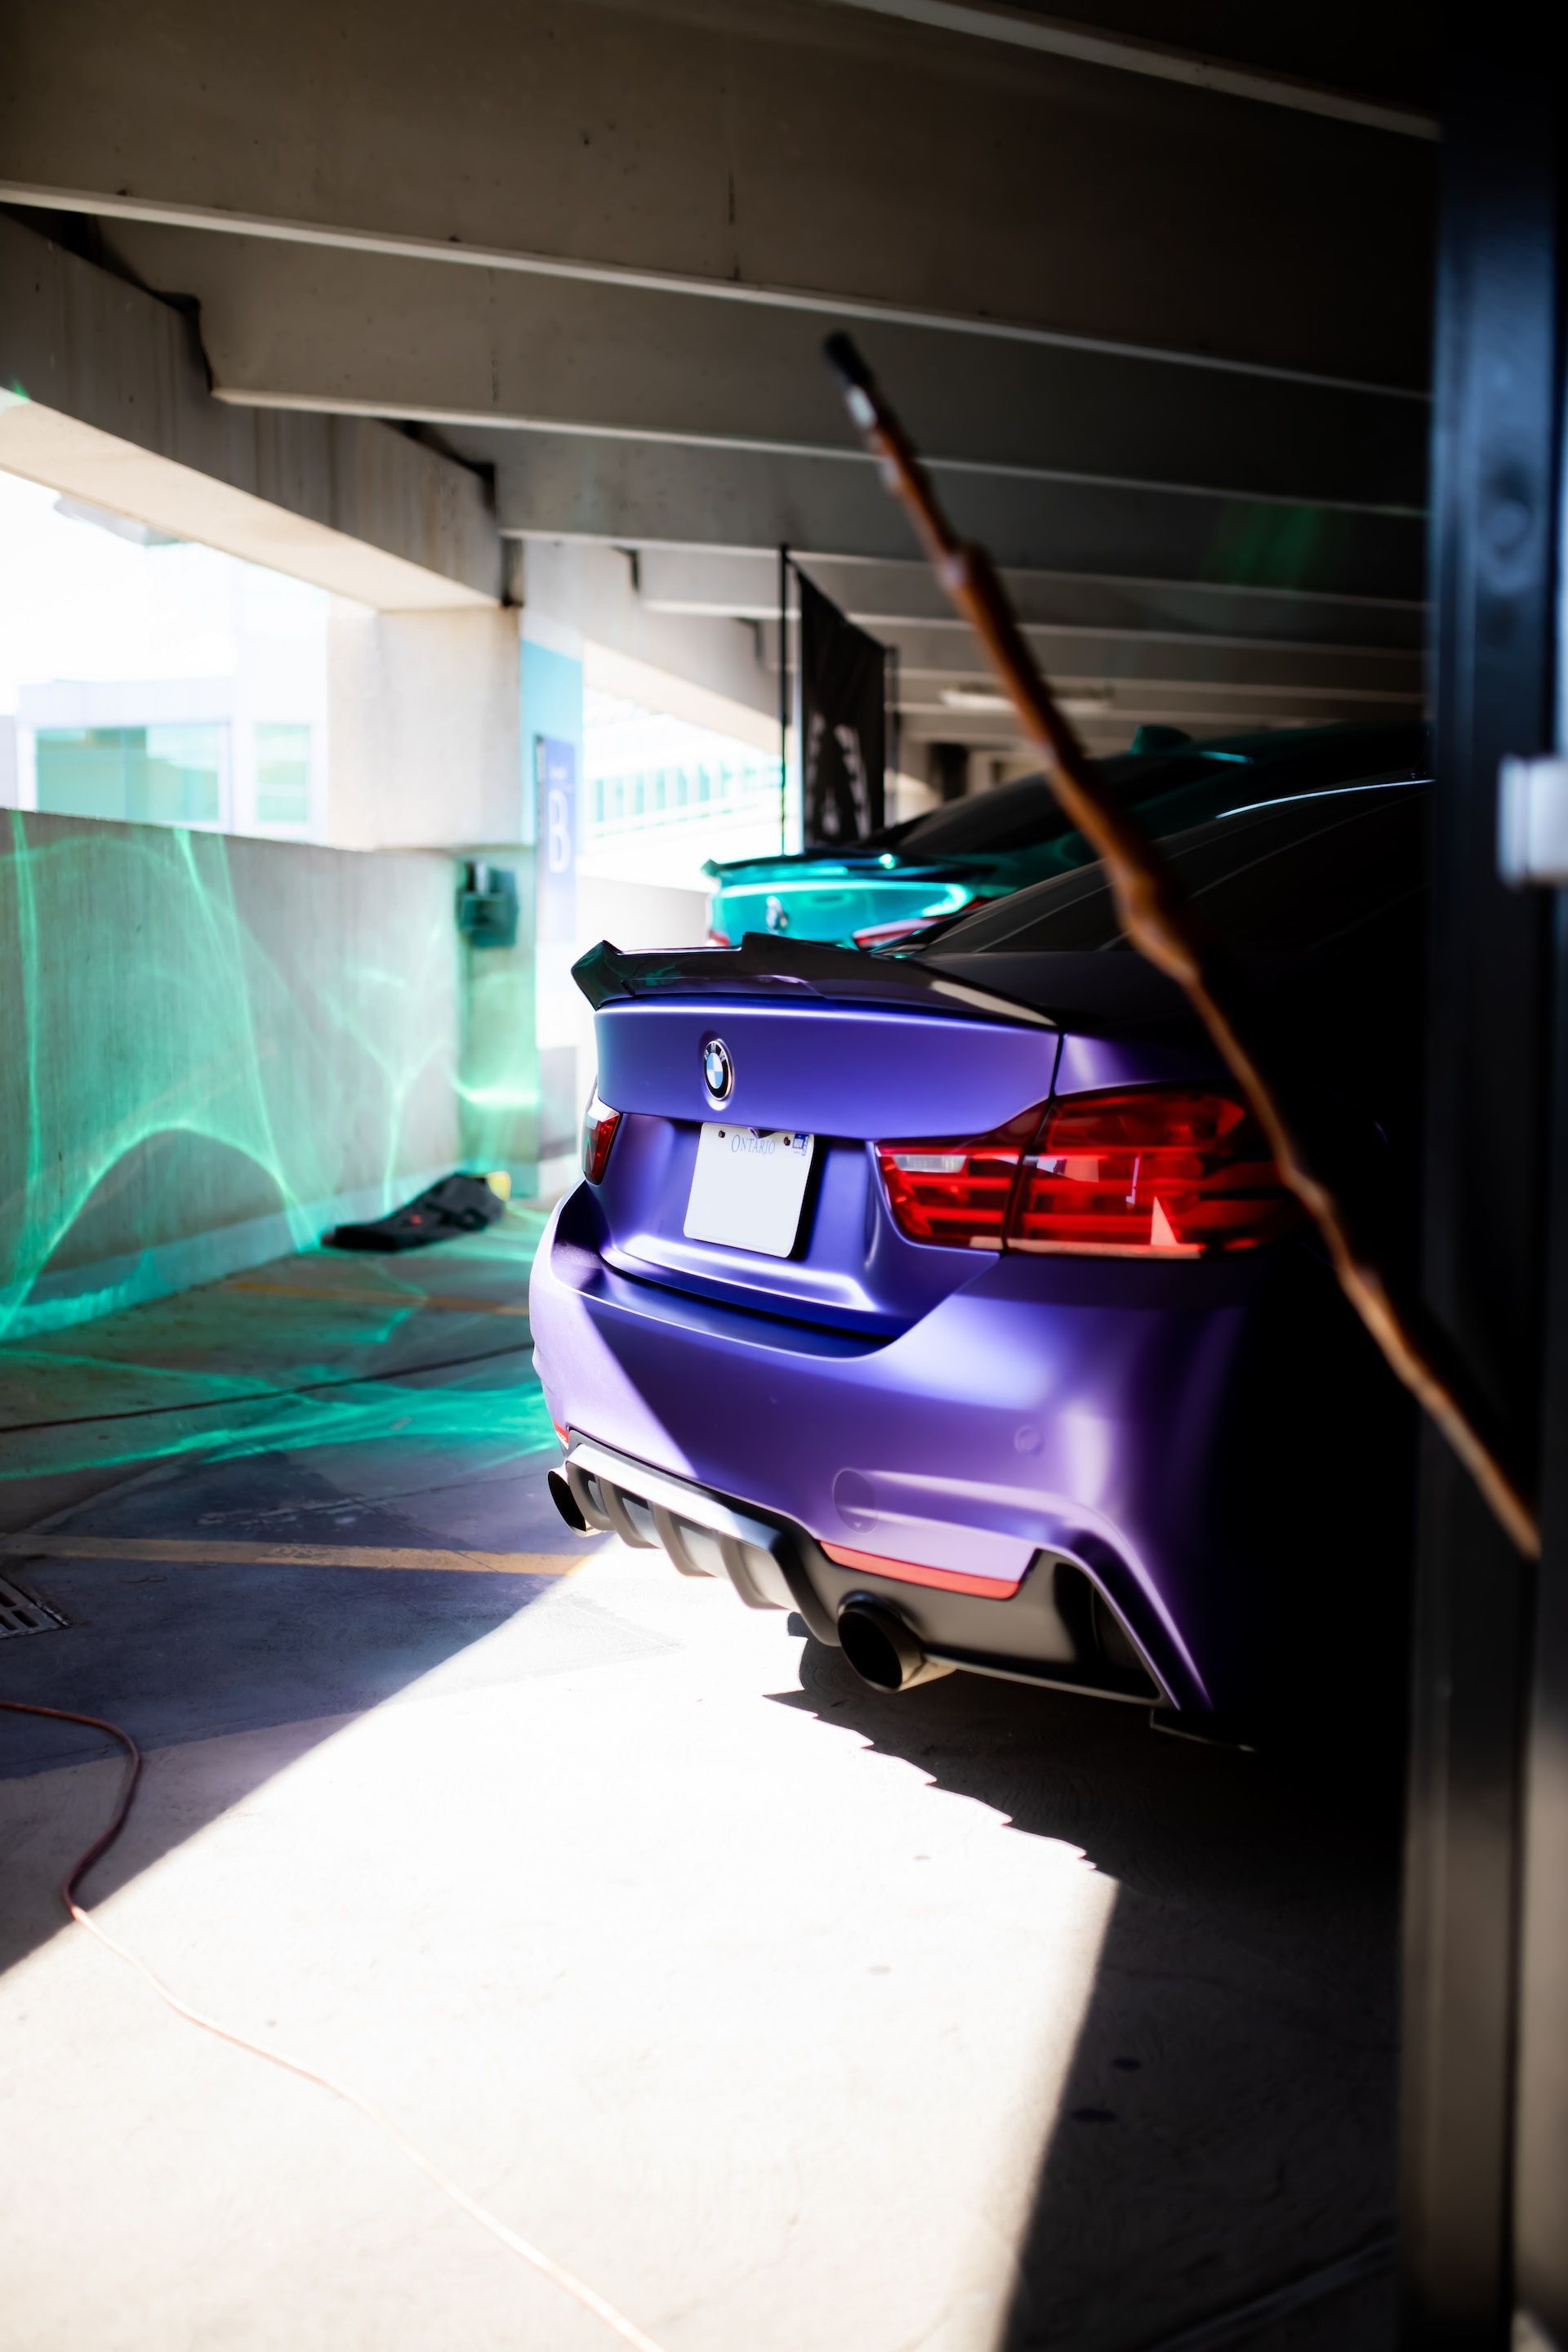
Maintaining the appearance of your car is not just about keeping it clean, but also ensuring that its paint job looks immaculate. Over time, paint will inevitably develop minor imperfections such as swirl marks, scratches, and other blemishes that can detract from your car's overall appearance.
These imperfections can be caused by a multitude of factors including poor washing techniques, environmental conditions or even just daily wear and tear. Fortunately, paint correction is a process that can remove these imperfections to achieve a flawless finish.
Paint correction involves the use of specialized products and techniques to gently remove a thin layer of clear coat from the surface of the paint. The result is a smooth surface with bright colors that will make your car look brand new again.
Learn more about: How to paint correction guide...
Why Paint Correction is Important
The importance of maintaining a clean and polished car cannot be overstated. Imperfections in your car's paint job not only detract from its visual appeal but can also cause long-term damage if left untreated. Scratches and swirl marks will retain dirt and grime more easily, which can lead to corrosion or rust over time.
Paint correction is an essential step in maintaining your car’s appearance as it removes these imperfections, preventing further damage to the fragile layers underneath the clear coat covering. You wouldn't compromise on regular oil changes or tire checks for safety concerns; so why would you let minor damages on something as visible as your car's exterior go unchecked?
Learn more about: Mastering multi stage paint correction...
Introducing One-Step Paint Correction
One-step paint correction offers an efficient solution for those with minor imperfections in their vehicle's paint job who don't require extensive detailing done on their cars entirely. This process uses specialized products that combine both polishing agents with durable polymer sealants to fill in small scratches and swirls, acting as a "quick-fix" for minor damages. The combination of polishing agents and sealants saves time and money by reducing the need for multiple steps in the detailing process.
One-step correction products are suitable for those who want to restore their car's shine without having to invest too much time or money into their car's appearance. It can also be a valuable tool to use before big events like weddings or other special occasions when you want your car to look its best.
Learn more about: Ultimate guide to paint correction products...
Preparing for One-Step Paint Correction
Why a Clean Car is Essential for One-Step Paint Correction
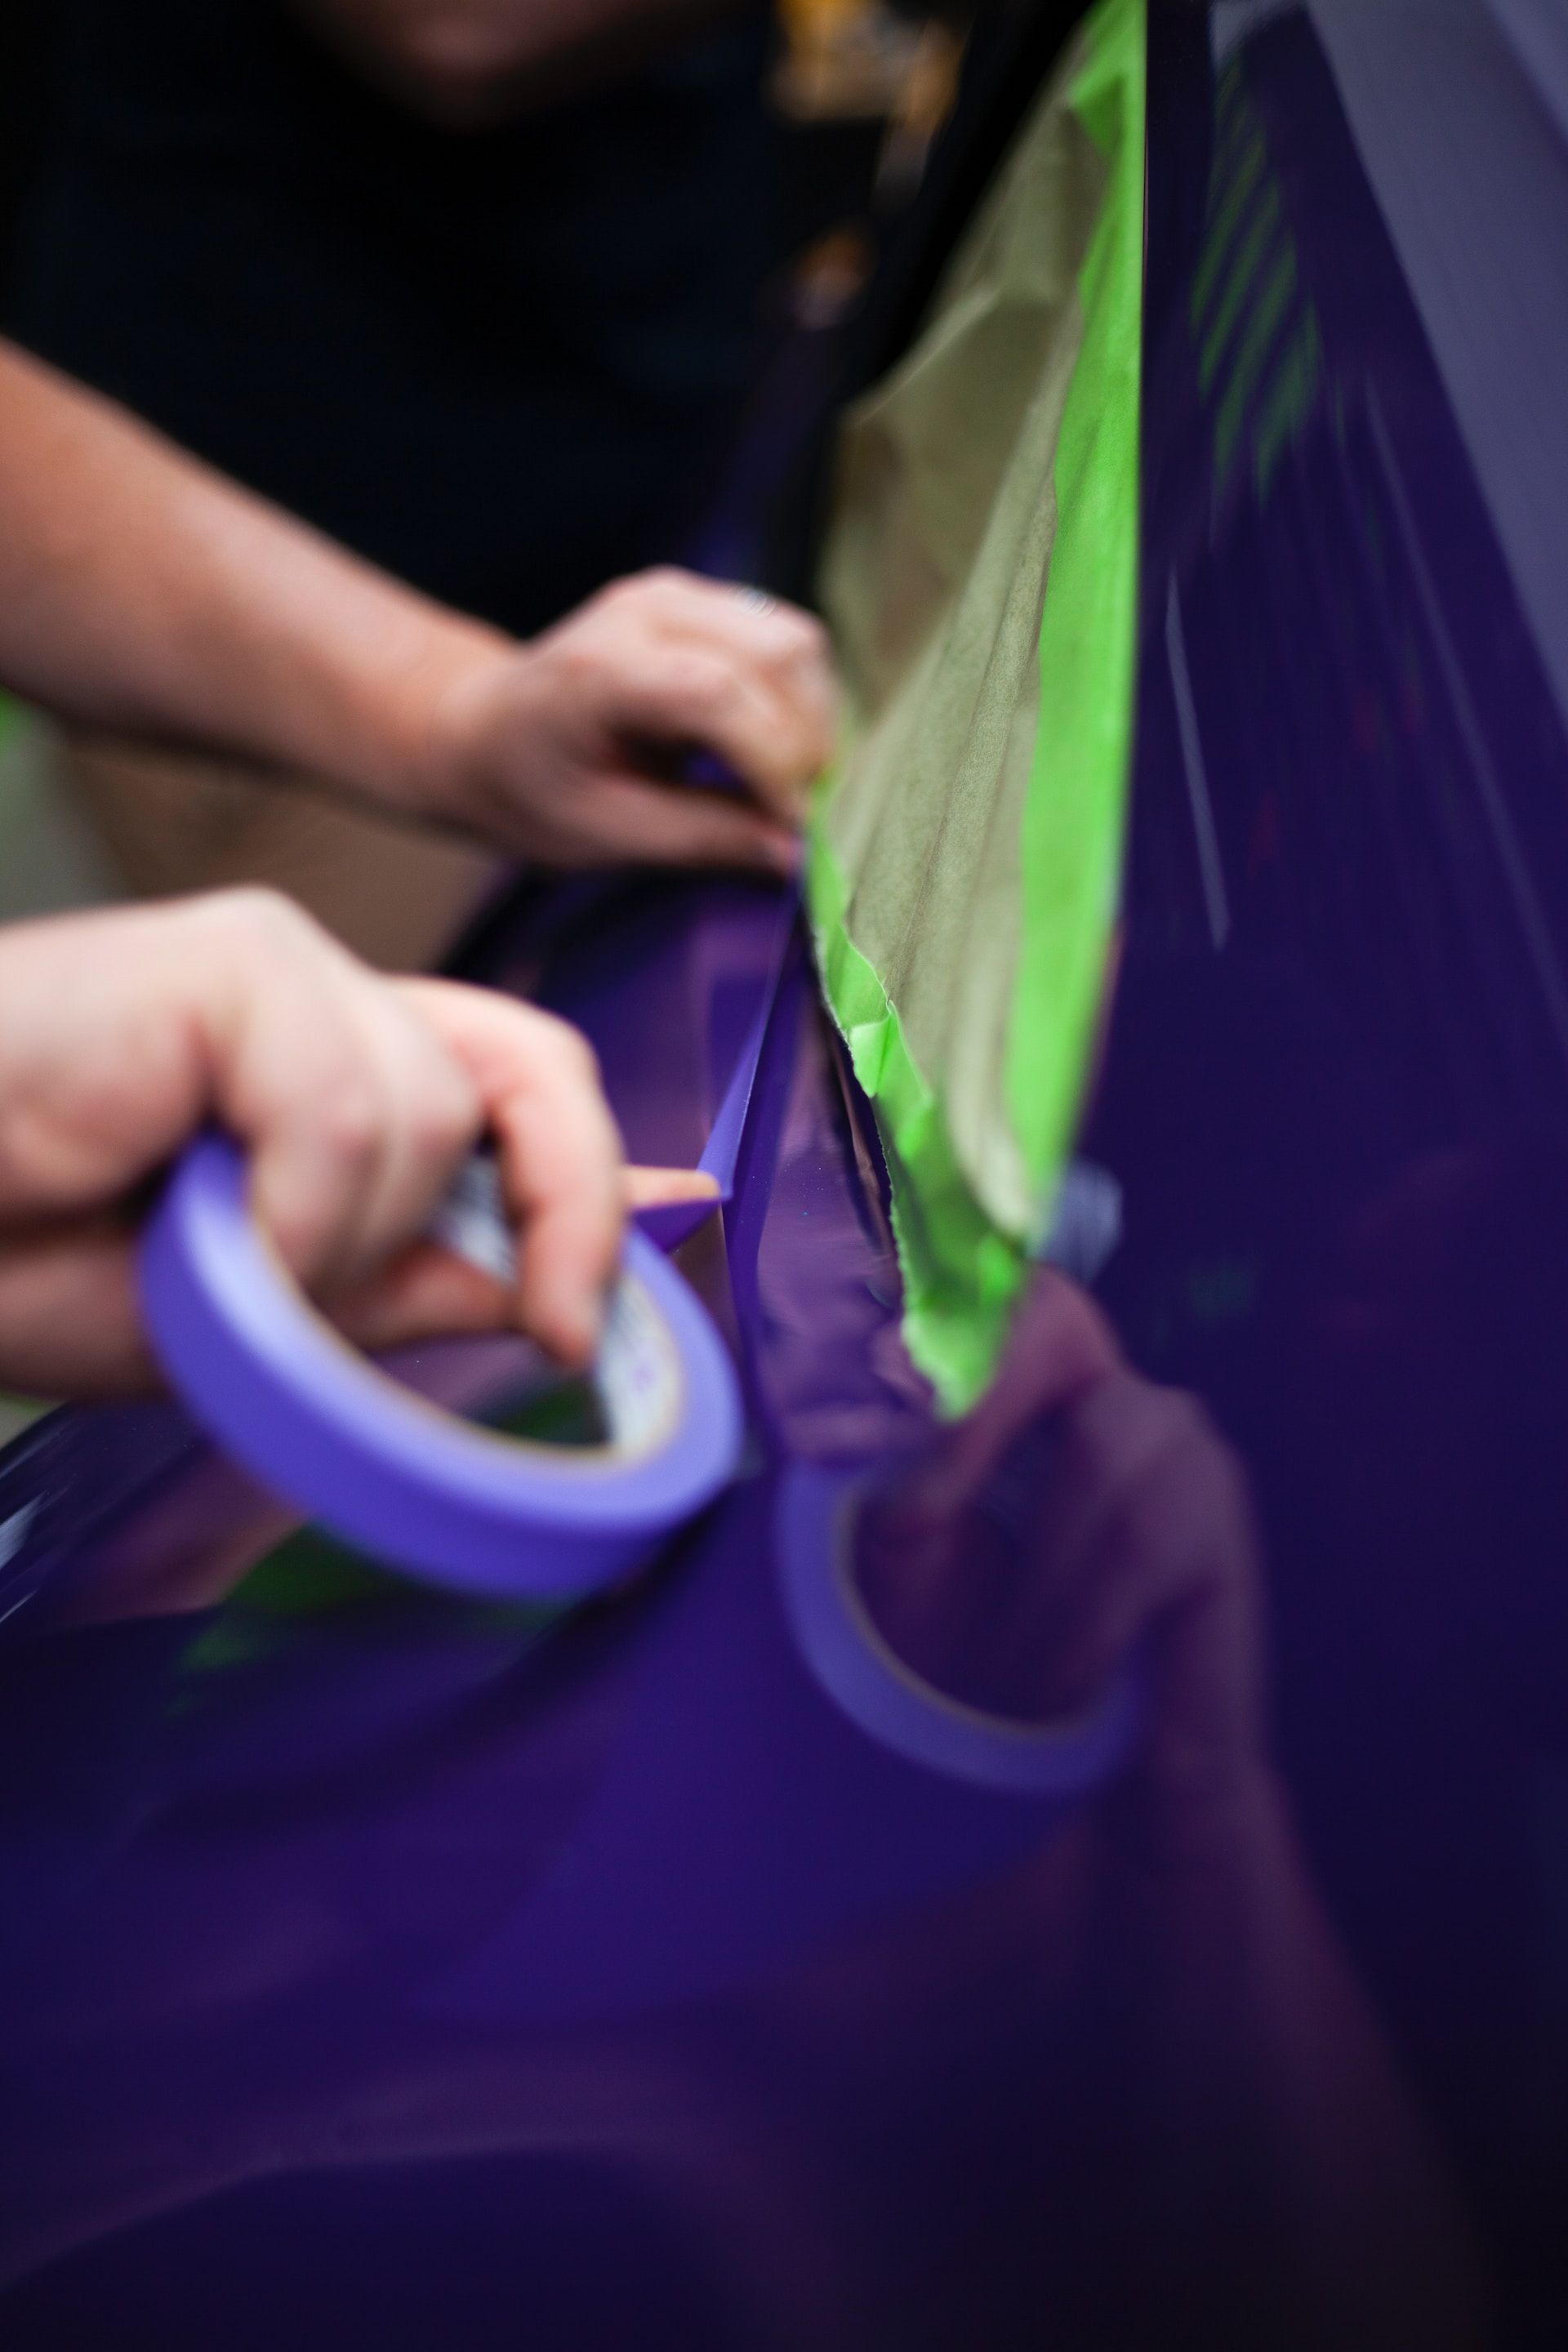
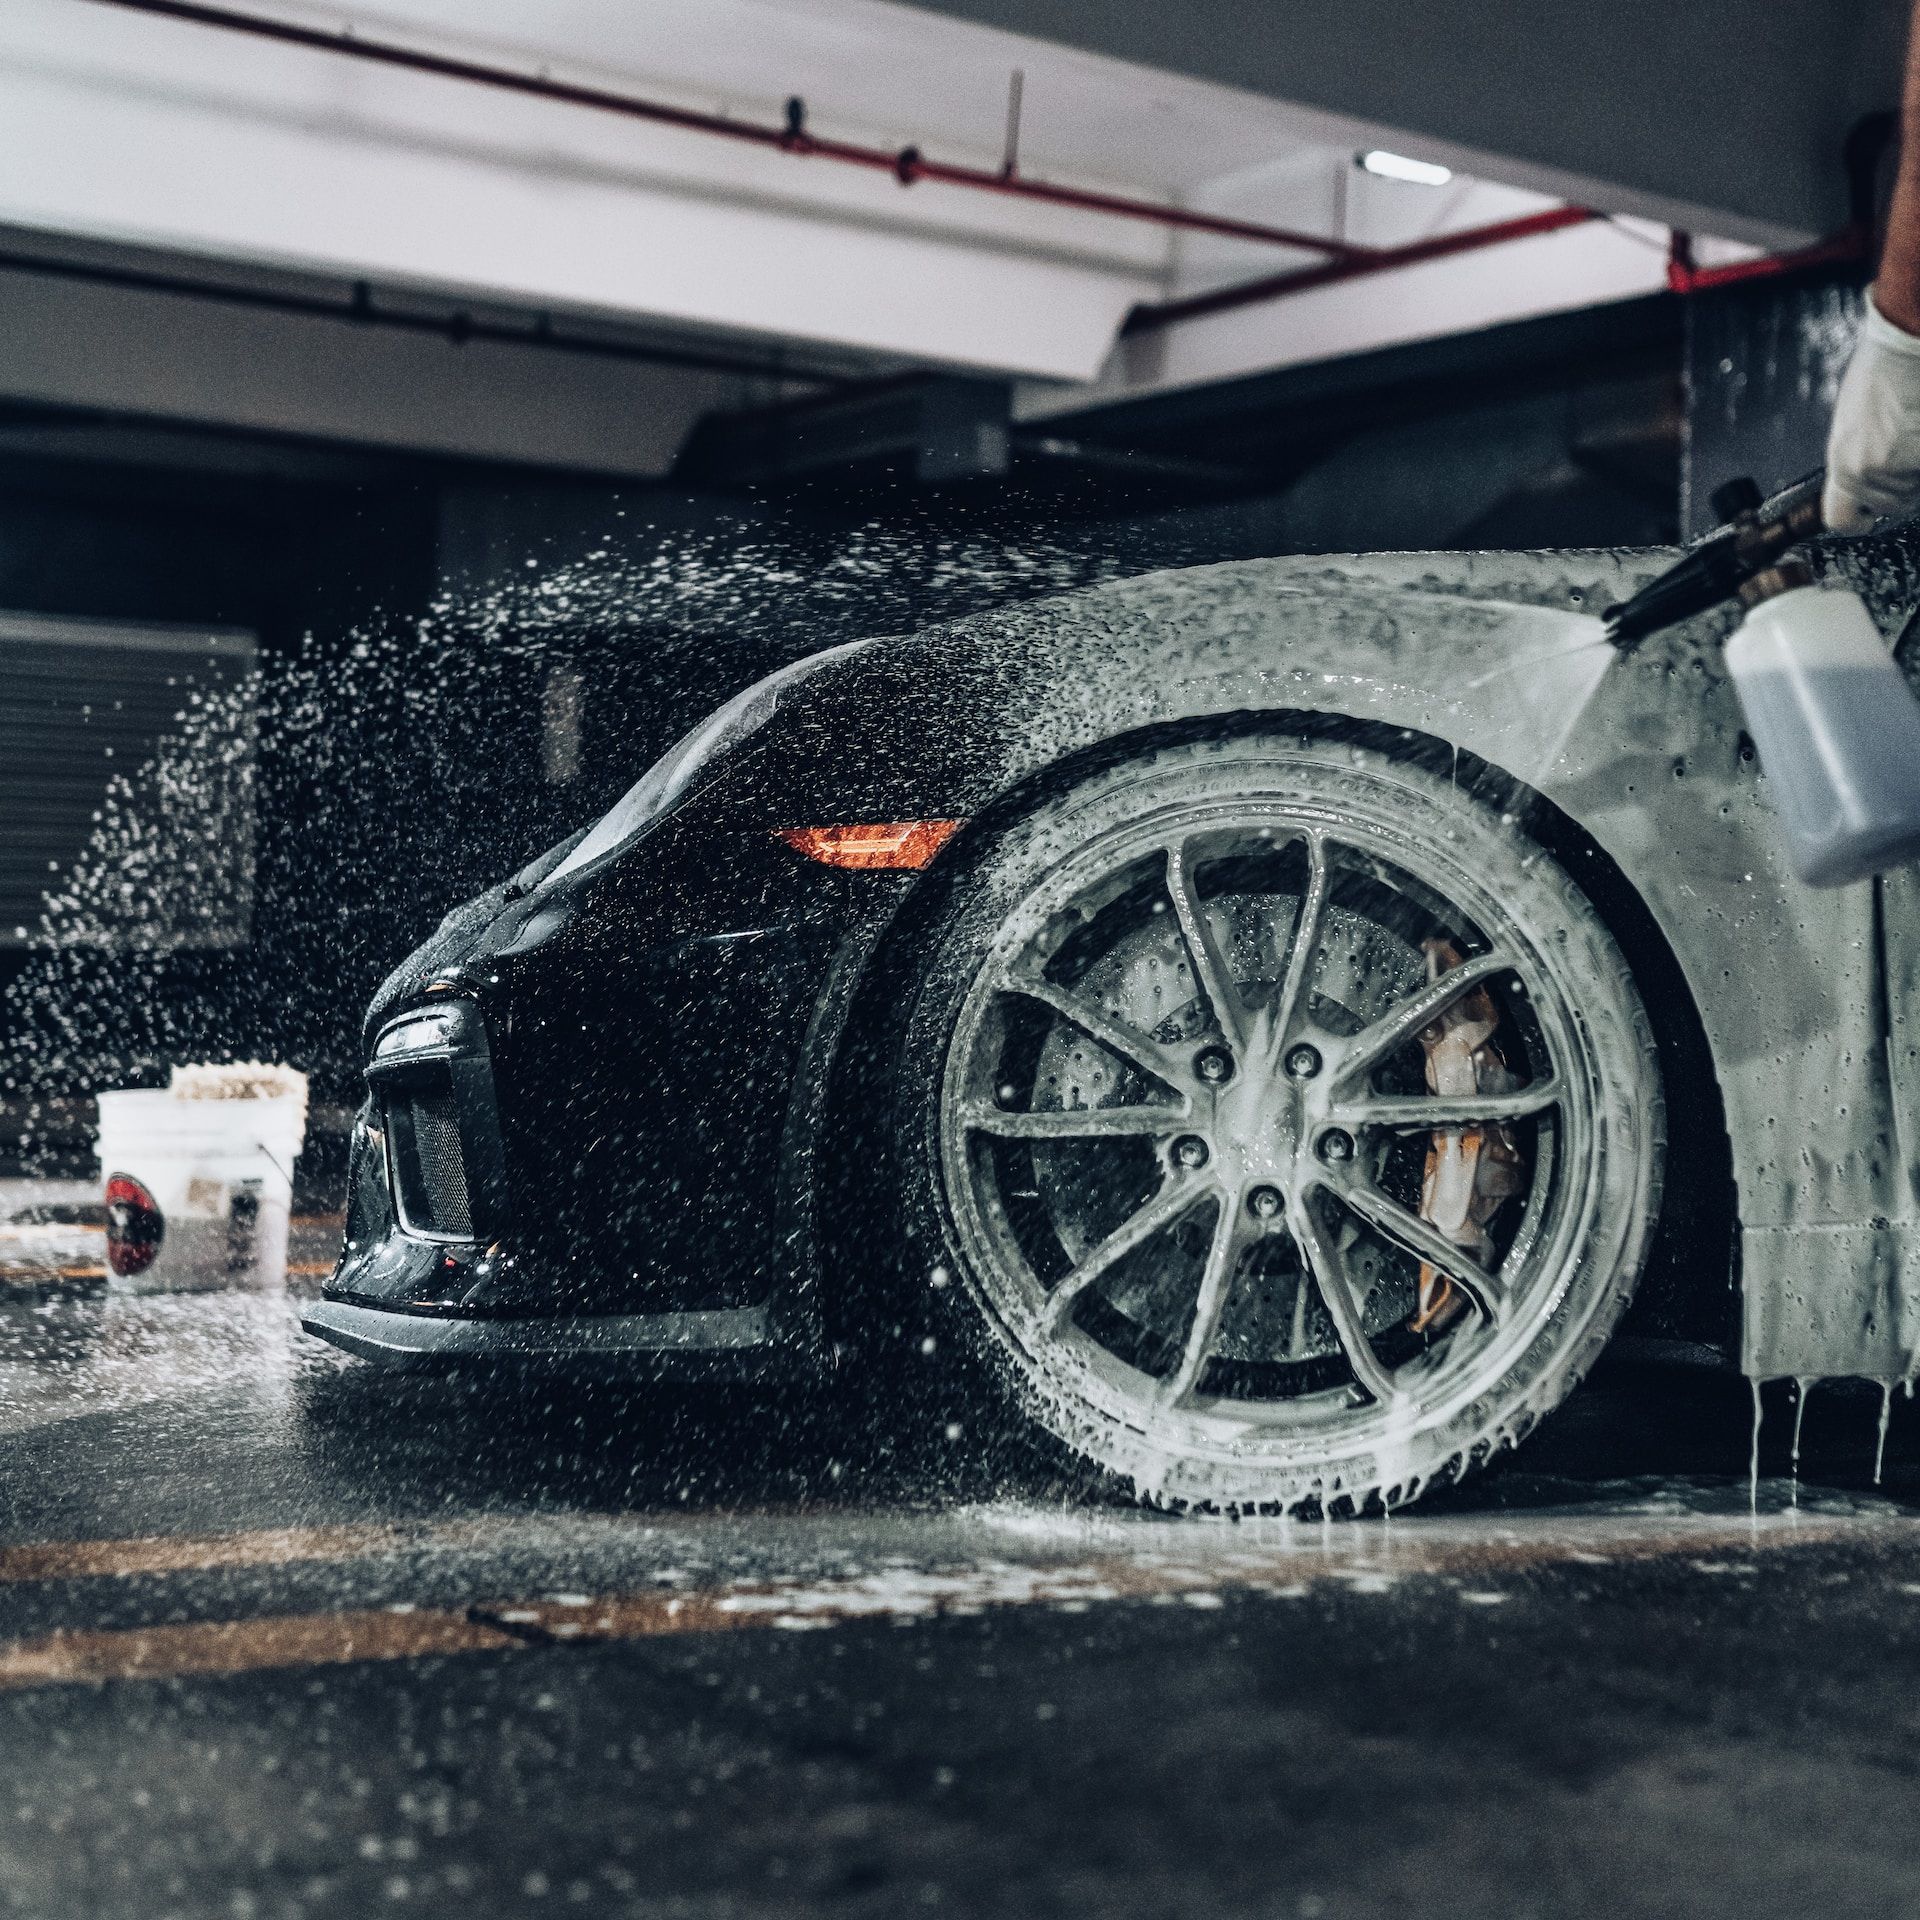
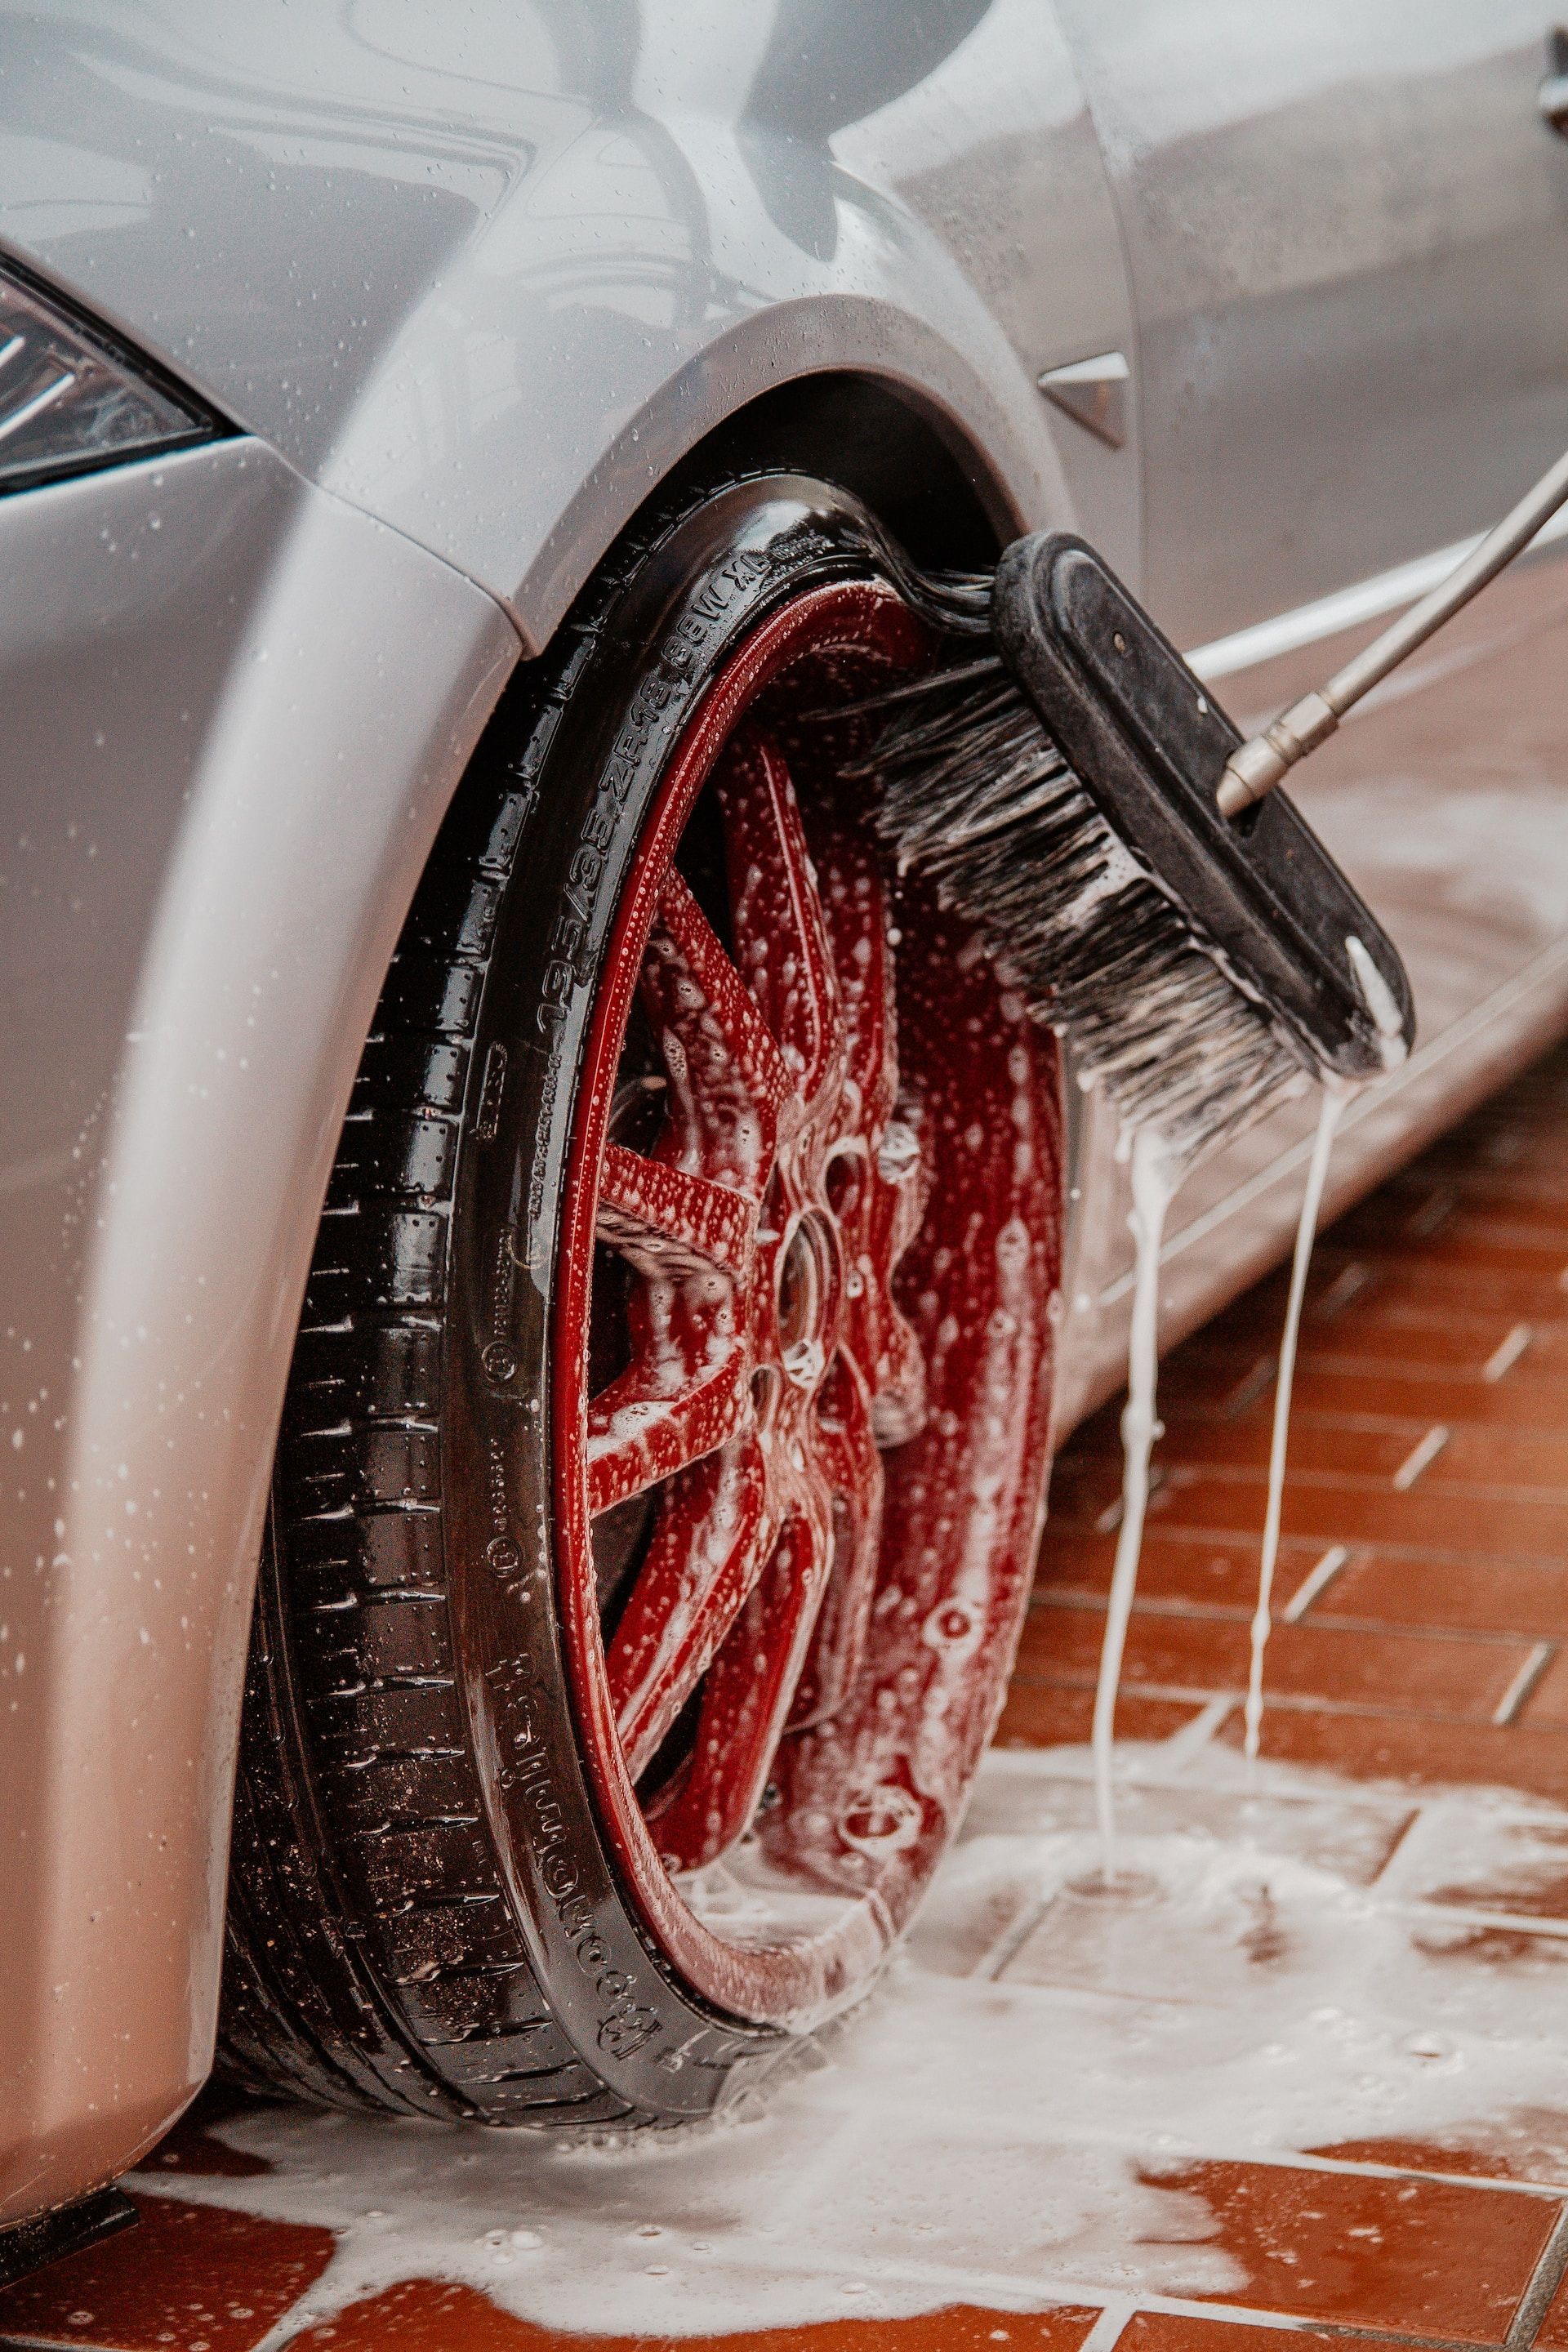
Before beginning any paint correction procedure, it's essential to ensure that the vehicle's exterior surface is clean and free from all kinds of contaminants. A dirty car can hinder the correct application of the paint correction product, and it can produce substandard results.
Therefore, the first step in preparing for one-step paint correction is washing and drying your car thoroughly. Start by rinsing off your car with a hose or pressure washer to remove any loose dirt or debris.
Next, apply a high-quality car wash soap using a wash mitt or sponge and work your way around the vehicle, paying special attention to areas that are more exposed to dirt such as wheels and lower panels. After cleaning every area, rinse off all soap suds thoroughly.
Learn more about: Paint correction and scratches...
Using Clay Bar to Remove Contaminants
Even after washing your car thoroughly, some contaminants such as tree sap, tar spots, bug splatters may still remain on the surface. These contaminants can't be removed by washing alone since they bond tightly with the clear coat layer of your vehicle’s paintwork.
This is where clay bars come in handy. A clay bar is an abrasive material that pulls out contaminants from the surface of paintwork without causing any damage.
To use a clay bar effectively: 1) Spray an appropriate amount of detailing spray onto a small section of your vehicle’s exterior.
2) Knead up some clay until it becomes soft enough for easy use. 3) Glide over this section slowly with moderate pressure until you feel no resistance.
4) Fold in any used part of clay before proceeding to another section 5) Ensure you don't drop the clay bar on dirty surfaces to avoid contaminating it.
Learn more about: Paint correction and rock chips...
Choosing The Right One-Step Correction Product
One-step correction products come in different forms, and it's essential to choose the right one that suits your car’s paint's needs. One of the primary considerations when choosing a product is its level of abrasiveness. If you have minor imperfections such as light swirl marks or minor scratches, use a less abrasive polish.
A more abrasive polish should only be used for deeper scratches or hard-to-remove blemishes. Another factor to consider is the chemical makeup of the product.
Some products are designed for specific types of paints, such as clear coats or single-stage paint systems, while others can be used on any type of paintwork. Consult with a professional detailer to determine which product is best suited for your vehicle's paint condition.
Learn more about: How long paint correction takes...
Taking Care with One-Step Correction Products
One-step correction products contain abrasive elements that can potentially cause damage to your vehicle’s exterior if not used correctly. Choosing the right product and following instructions carefully will help avoid any unfortunate incidents. Remember that aggressive machine work may generate a lot of heat and friction which can burn through into the undercoat of your car’s paintwork, causing irreparable damage.
It is also important to use appropriate protective gear like gloves and eye protection when using one-step correction products. By taking necessary precautions before beginning any one step paint correction procedure, you’re safeguarding against potential issues arising during and after application - allowing you to achieve an exceptional finish without causing unnecessary harm to your car's surface.
Learn more about: If paint correction is worth it...
Performing One-Step Paint Correction
The Method of Application
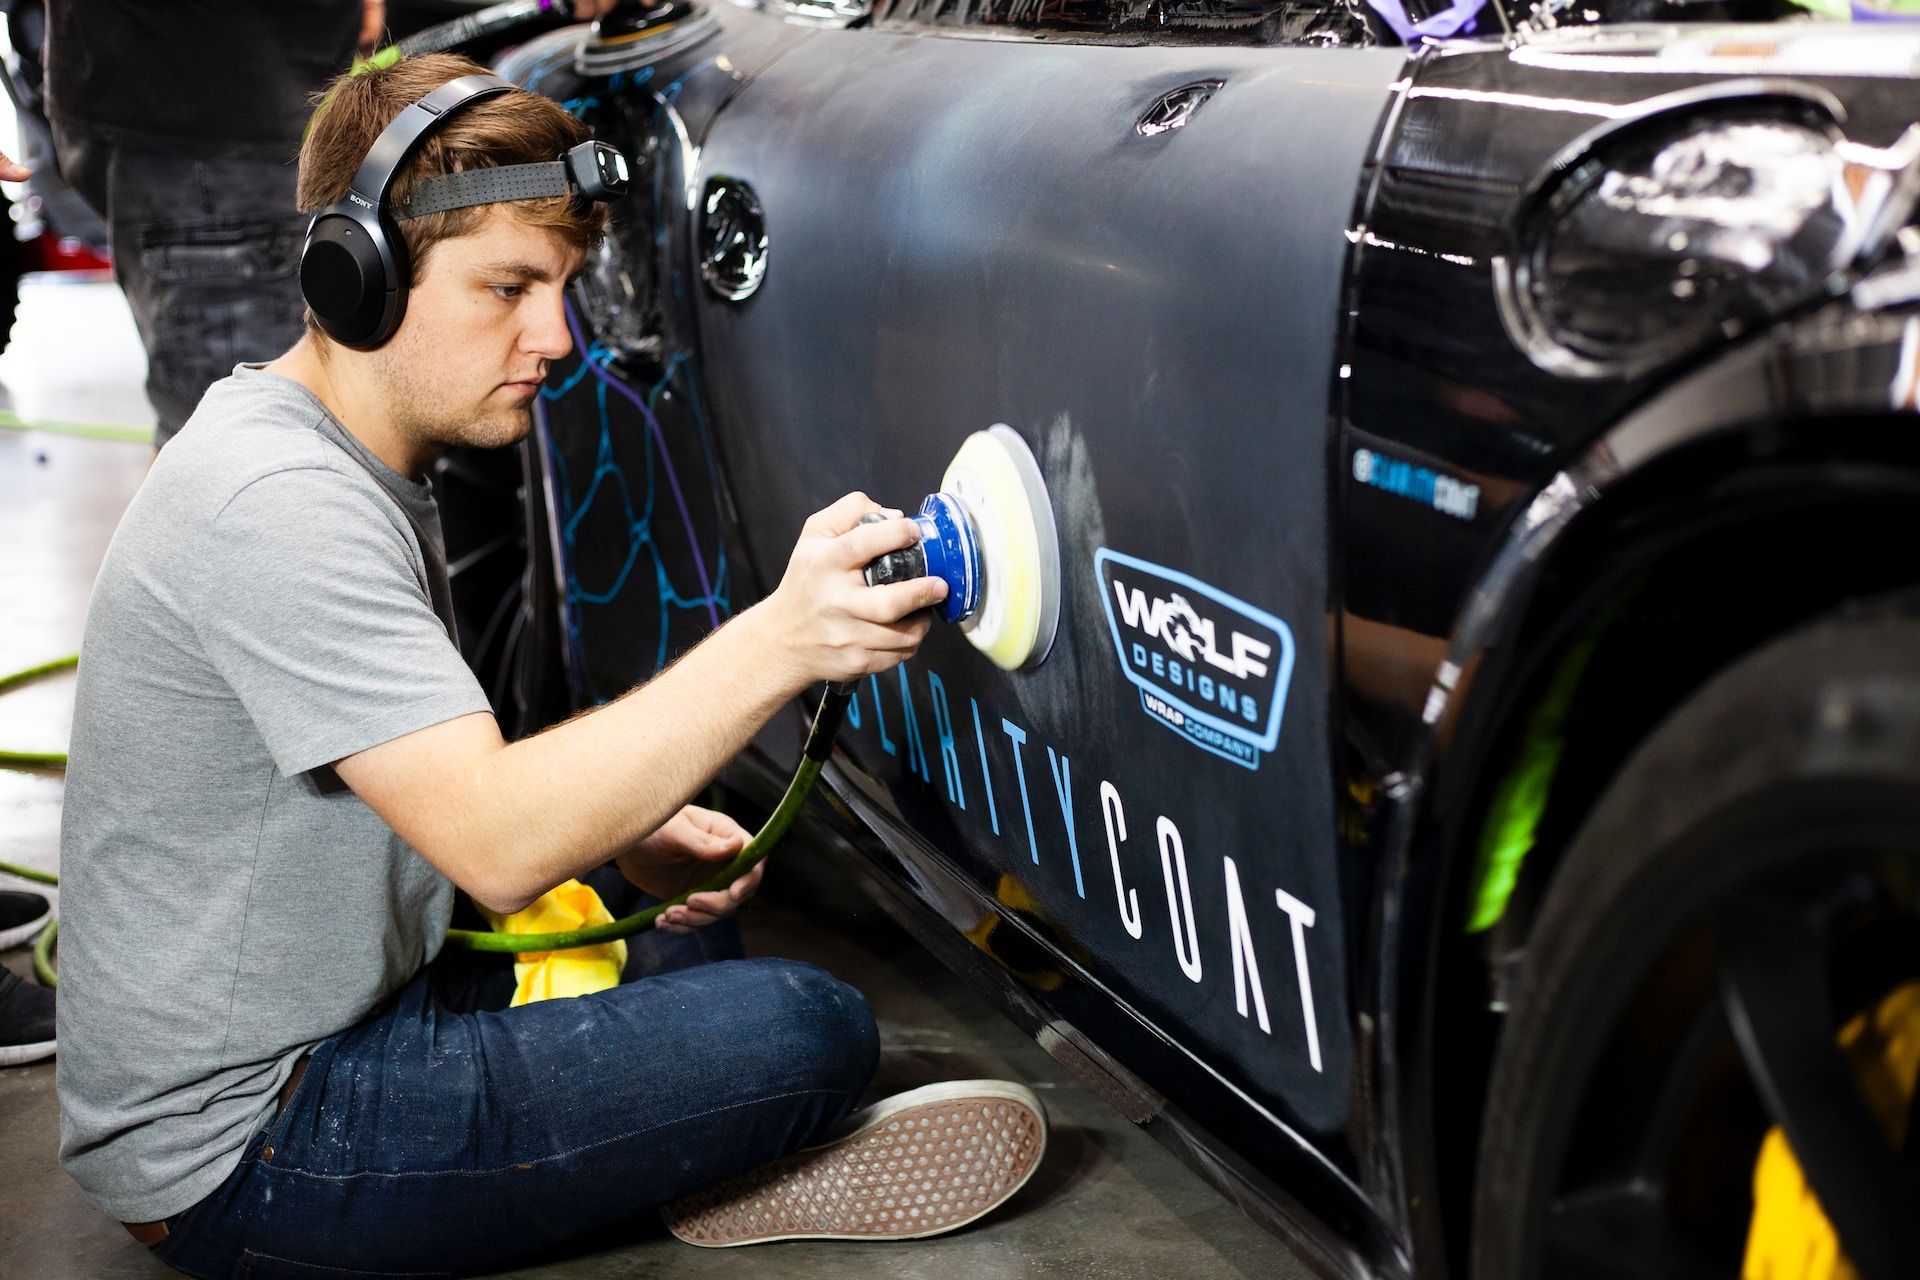
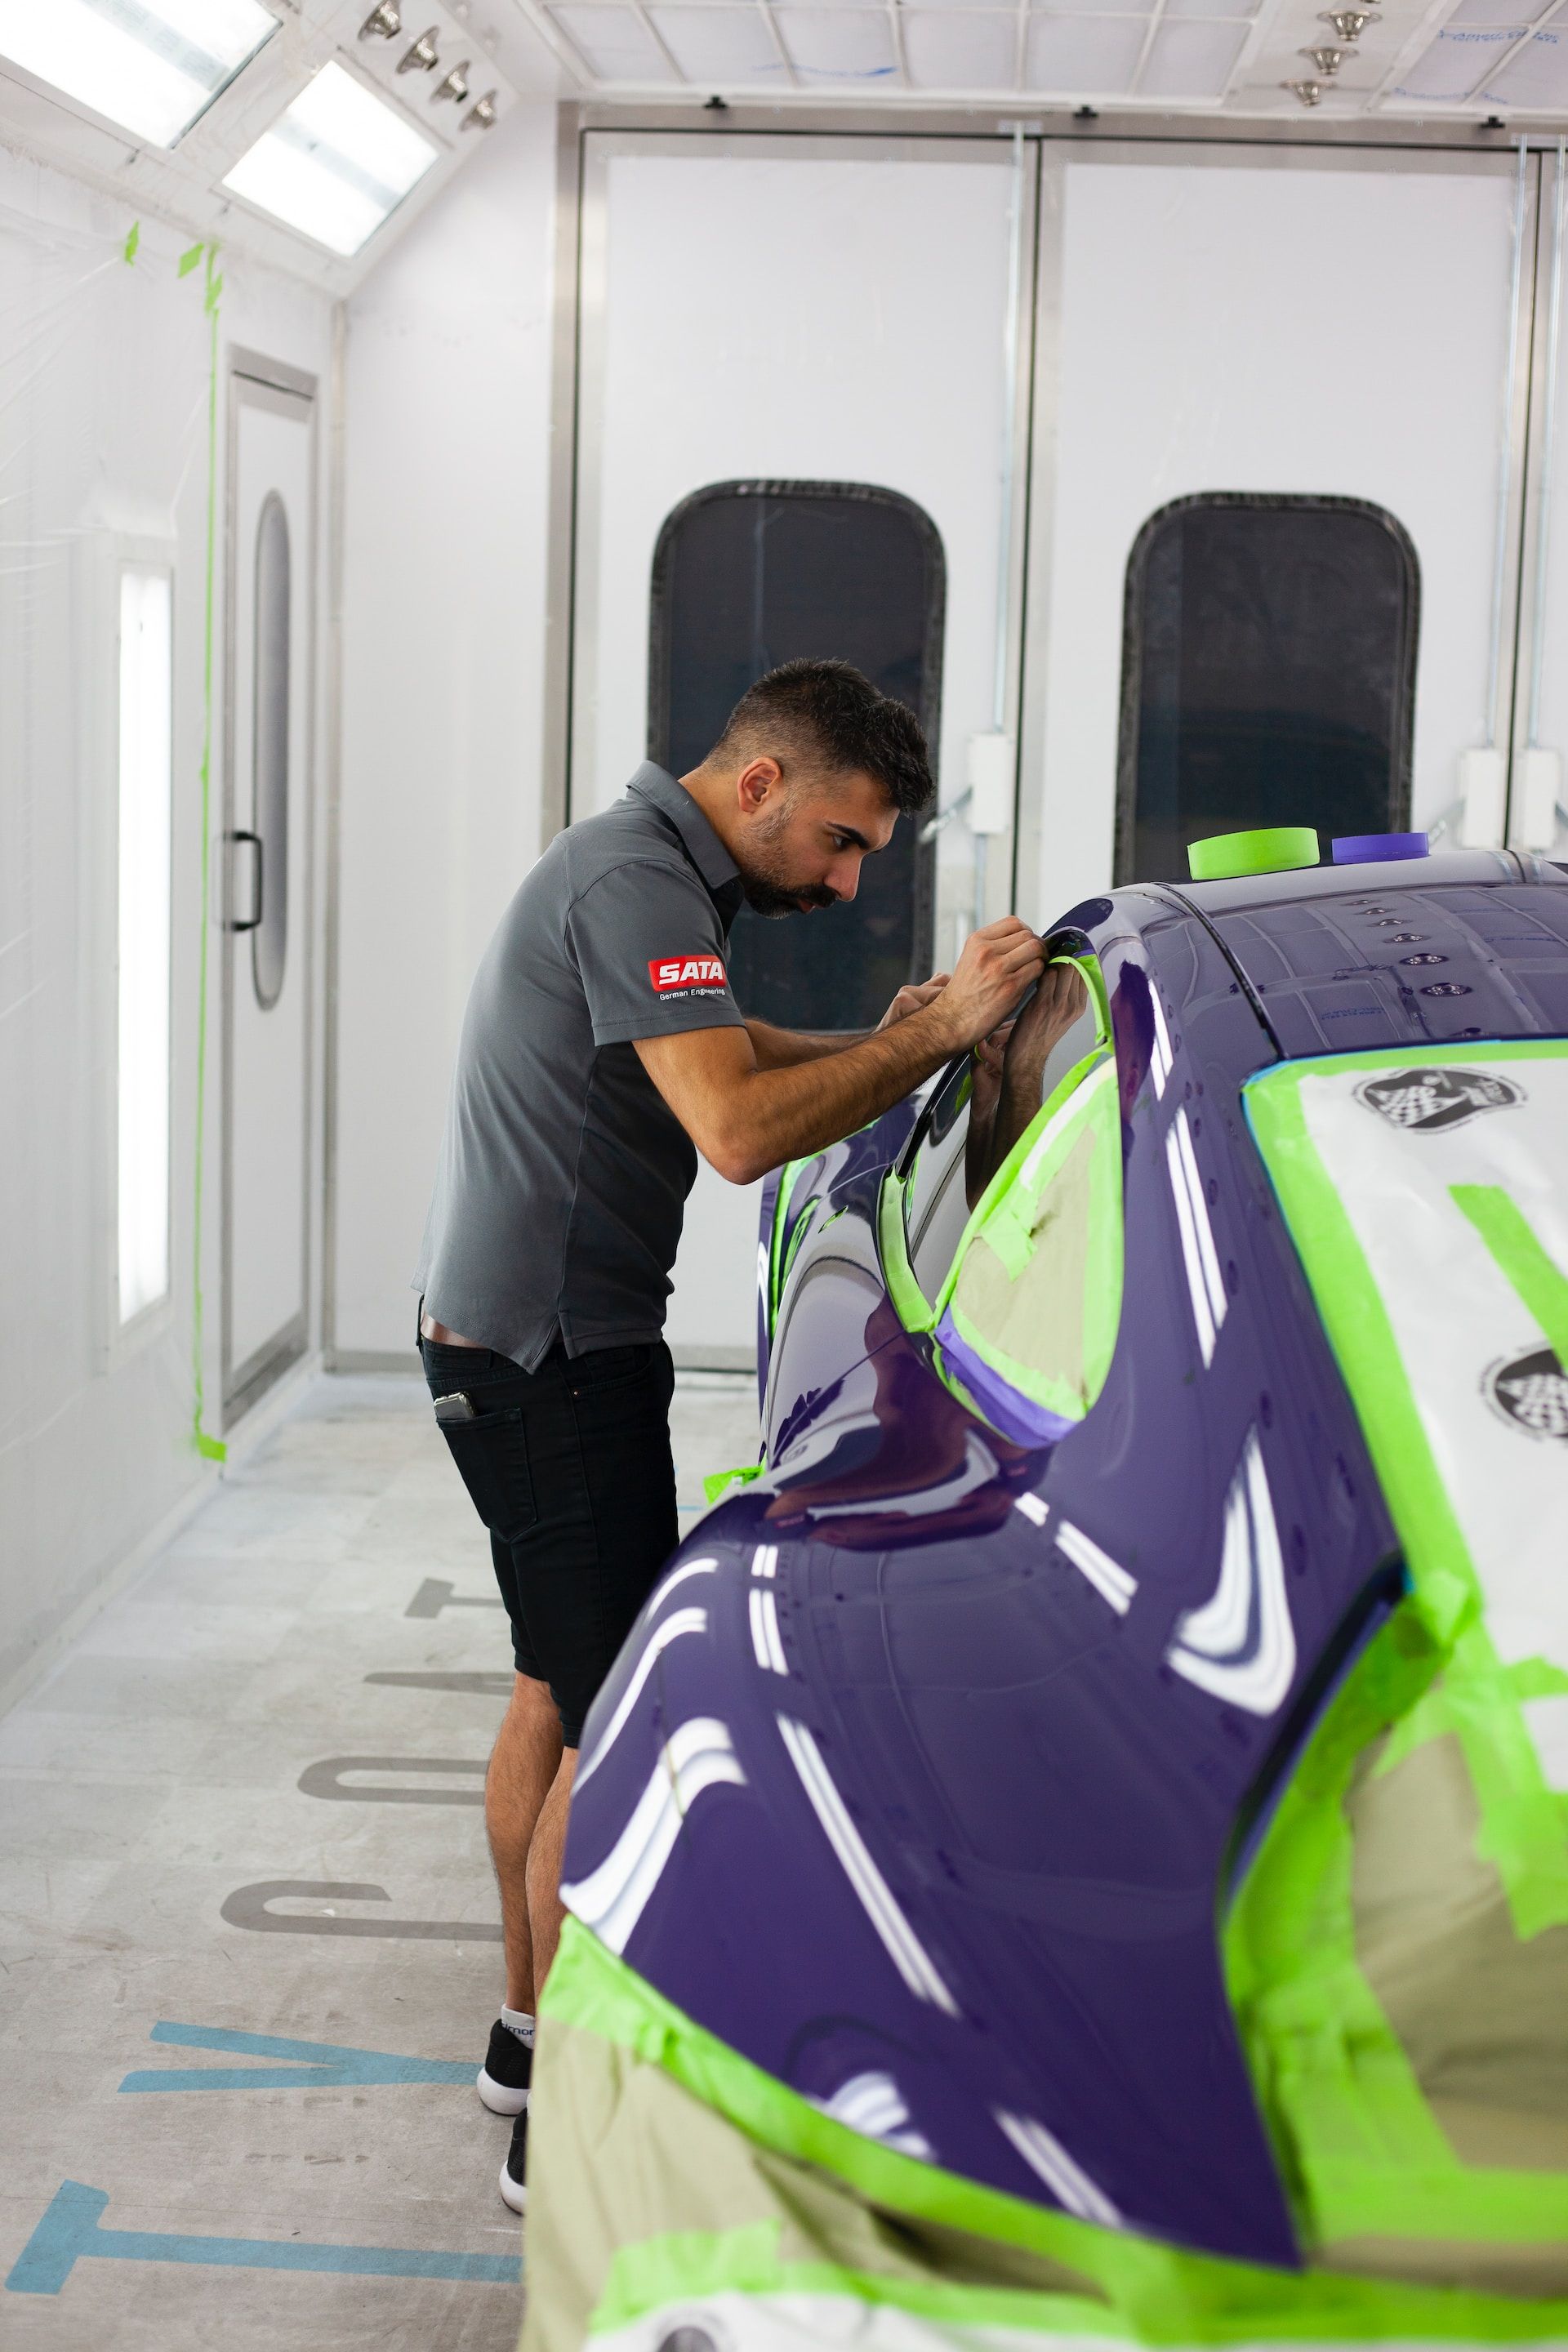
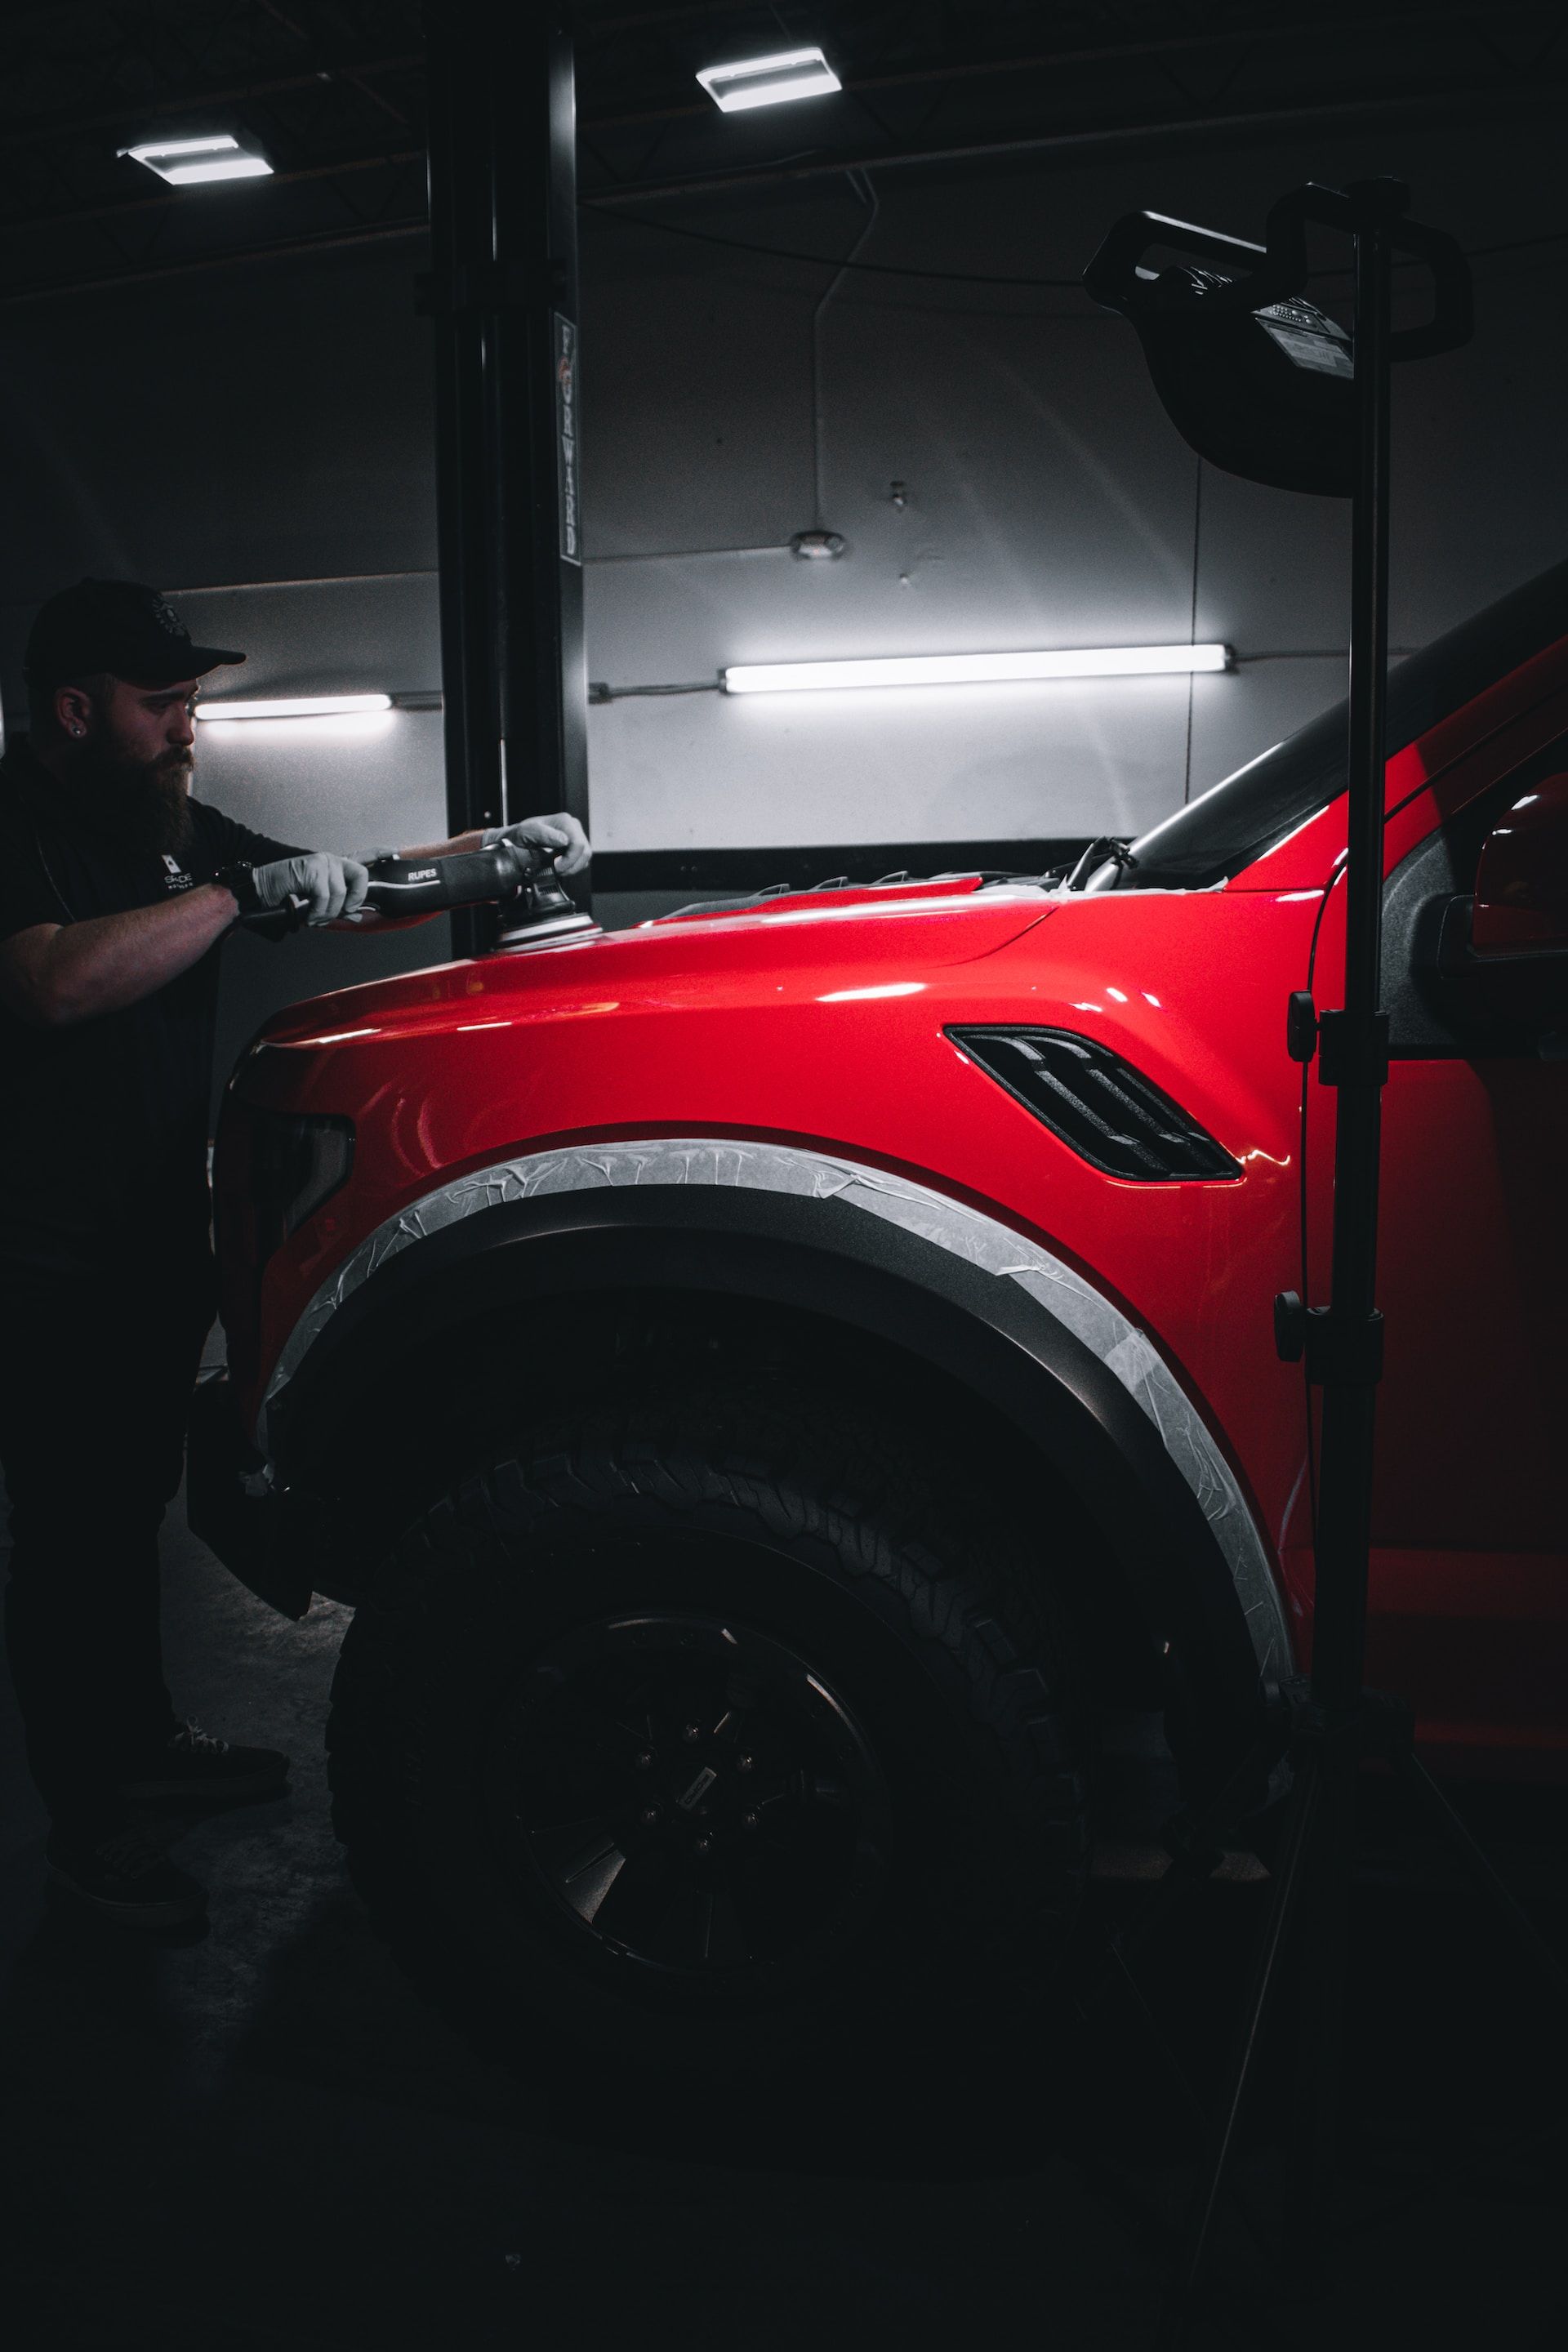
Once the paint has been thoroughly cleaned and prepared, it is time to apply the one-step correction product. This can be done using a dual-action polisher or by hand with a foam applicator pad.
While using a machine polisher like a dual-action polisher can speed up the process and provide more consistent results, it may not be necessary for smaller projects or those with less severe damage to the paint. For these types of projects, hand application with a foam applicator pad can work just as well.
Learn more about: Mobile paint correction...
The Proper Technique
Regardless of which method you choose for application, it is important to use proper technique when working on your car's paint. One key aspect of this technique is working in small sections at a time, typically no larger than two square feet. When working with a machine polisher, apply moderate pressure and overlap each pass slightly to ensure even coverage over the entire section.
When working by hand with an applicator pad, apply firm pressure as you work in circular motions across each section. Be sure to overlap each pass slightly until all portions have been covered completely.
Learn more about: Our comprehensive guide to paint correction...
Monitoring Progress
As you work through each section of your car's paint job using either method mentioned above, it is essential to monitor progress continuously by inspecting after completing each section. Inspecting allows you to determine if further action needs taking or whether it’s time to proceed onto finer polishing steps.
Make sure that you take before and after photographs so that you can see how much progress has been made since starting on your project. This will help ensure that any minor imperfections have been addressed systematically and thoroughly across all areas of your car's surface without any missed spots.
Applying one-step correction products is an effective way of restoring and rejuvenating dull or faded paintwork on cars. By following the proper steps and techniques, you can achieve a professional finish that will make your car gleam like new.
Learn more about: 4 Step paint correction...
Finishing Touches
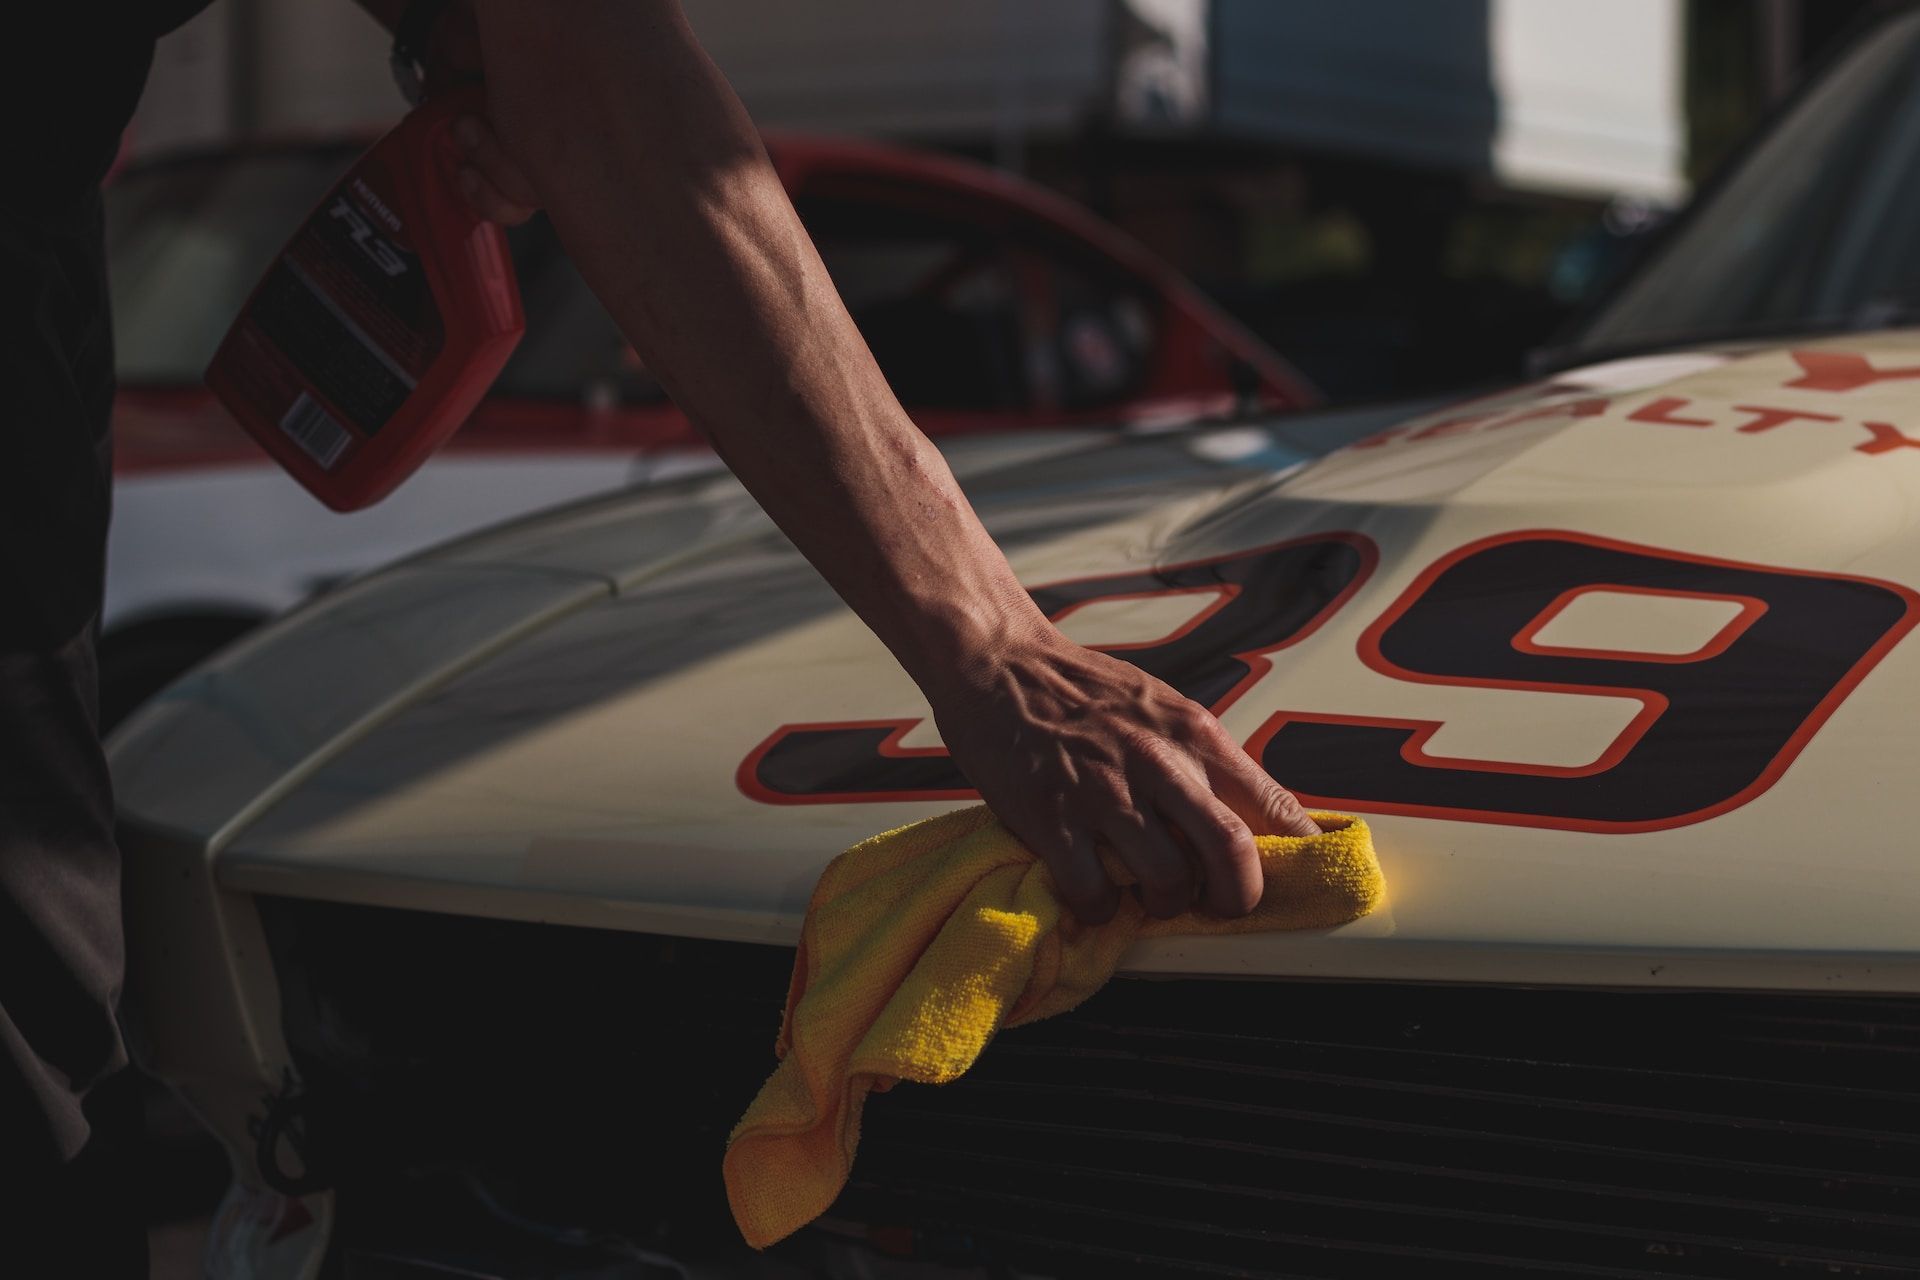
Removing Residue with a Microfiber Towel
After completing the one-step paint correction process, there may be some residue left on the car's surface. This can usually be removed with a microfiber towel.
Microfiber is gentle on paint and will not scratch the surface, making it an ideal choice for removing any leftover product. To remove residue, fold a clean microfiber towel into quarters and gently wipe down each section of the car.
Be sure to use light pressure and work in small areas at a time to avoid missing any spots. Check each section as you go, and if you notice any remaining residue, repeat the process until it has been removed.
Remember that even after removing all the residue, there may still be some slight hazing or cloudiness. This is perfectly normal and can be fixed by applying wax or sealant.
Learn more about: 3 step paint correction...
Applying Wax or Sealant as an Added Layer of Protection
Applying wax or sealant is a critical step in maintaining your newly corrected paint job and protecting it from environmental damage such as UV rays and contaminants like bird droppings. Wax provides a layer of protection that repels water and dirt while adding shine to your vehicle's finish. Sealant works similarly to wax but provides better durability against environmental elements.
To apply wax or sealant, start by using a foam applicator pad or microfiber towel to spread the product evenly over one section of your car at a time. Use light pressure and work in small areas at a time to ensure even coverage.
Once applied, let it sit for several minutes until it begins to haze over before using another clean microfiber towel to buff off excess product. It's important to note that both wax and sealant will need regular reapplication every few months depending on driving conditions.
Learn more about: Two step paint correction...
Maintaining Your Newly Corrected Paint Job
Maintaining your newly corrected paint job requires some effort and attention to detail. A few tips on how to keep your car looking its best include:
- Wash your car regularly and use a high-quality car wash soap that is gentle on the paint.
- Avoid parking under trees or in direct sunlight for extended periods.
- Use a wax or sealant with UV inhibitors to protect against sun damage.
- Remove bird droppings, insect splatters, and tree sap as soon as possible to avoid damaging the paint. - Use a microfiber towel or chamois when drying your car to avoid creating swirls and scratches.
By following these maintenance tips, you can keep your newly corrected paint job looking its best for years to come. Remember that regular maintenance is key to keeping your vehicle's finish in top condition.
Learn more about: Paint correction prices unmasked...
Conclusion
Summarizing the Key Takeaways from Performing One-Step Paint Correction
One-step paint correction is an effective way to restore the shine and gloss of your car's paint surface. This process involves using a single product that can remove minor scratches, swirl marks, and other imperfections without requiring multiple polishing steps.
The key to success with one-step paint correction is to choose the right product, use the correct technique, and follow up with proper maintenance. the key takeaways from performing one-step paint correction, it's important to remember that this process is not a miracle solution for heavily damaged or neglected paint surfaces.
While it can certainly improve minor blemishes and imperfections, it cannot replace the need for regular washing, waxing and detailing to keep your car looking its best. Additionally, one-step correction products are not suitable for every type of finish or color.
Learn more about: Blemished to beautiful...
Reiterating the Importance of Regular Maintenance
Regular maintenance is essential to keep your car's paint looking shiny and new. This means washing your car regularly with a high-quality soap that won't strip away wax or leave behind harmful residues on your vehicle's surface. It also means using a clay bar periodically to remove contaminants such as tar, bugs, or tree sap that can dull the shine of your car's finish.
In addition to regular washing and claying, you should also be sure to apply wax or sealant after each wash in order to protect your car from UV rays and environmental pollutants that can cause damage over time. By incorporating these basic maintenance practices into your routine care for your vehicle's exterior surfaces, you'll extend its life span while keeping it looking great year after year.
There's plenty more to learn about paint correction so be sure to check out our other posts:
- What is paint correction: Reviving your car's look
- Paint correction cost: A comprehensive guide for car enthusiasts
- Paint correction: Perfecting your car's finish
A Positive Note
By following these simple tips for maintaining the exterior of your vehicle properly after performing one-step paint correction you will enjoy a car that looks as good as new. Not only will it protect your investment but it will also add to the resale value of your car should you decide to sell it in the future.
Scottsdale Auto Detailing Blog


A Mobile Car Detailer in Scottsdale
drop us a line for a personalized car detailing plan

Navigation
Services
We provide detailing in:
Scottsdale, Paradise Valley, Phoenix, Tempe, Mesa, Chandler, Glendale & Gilbert