
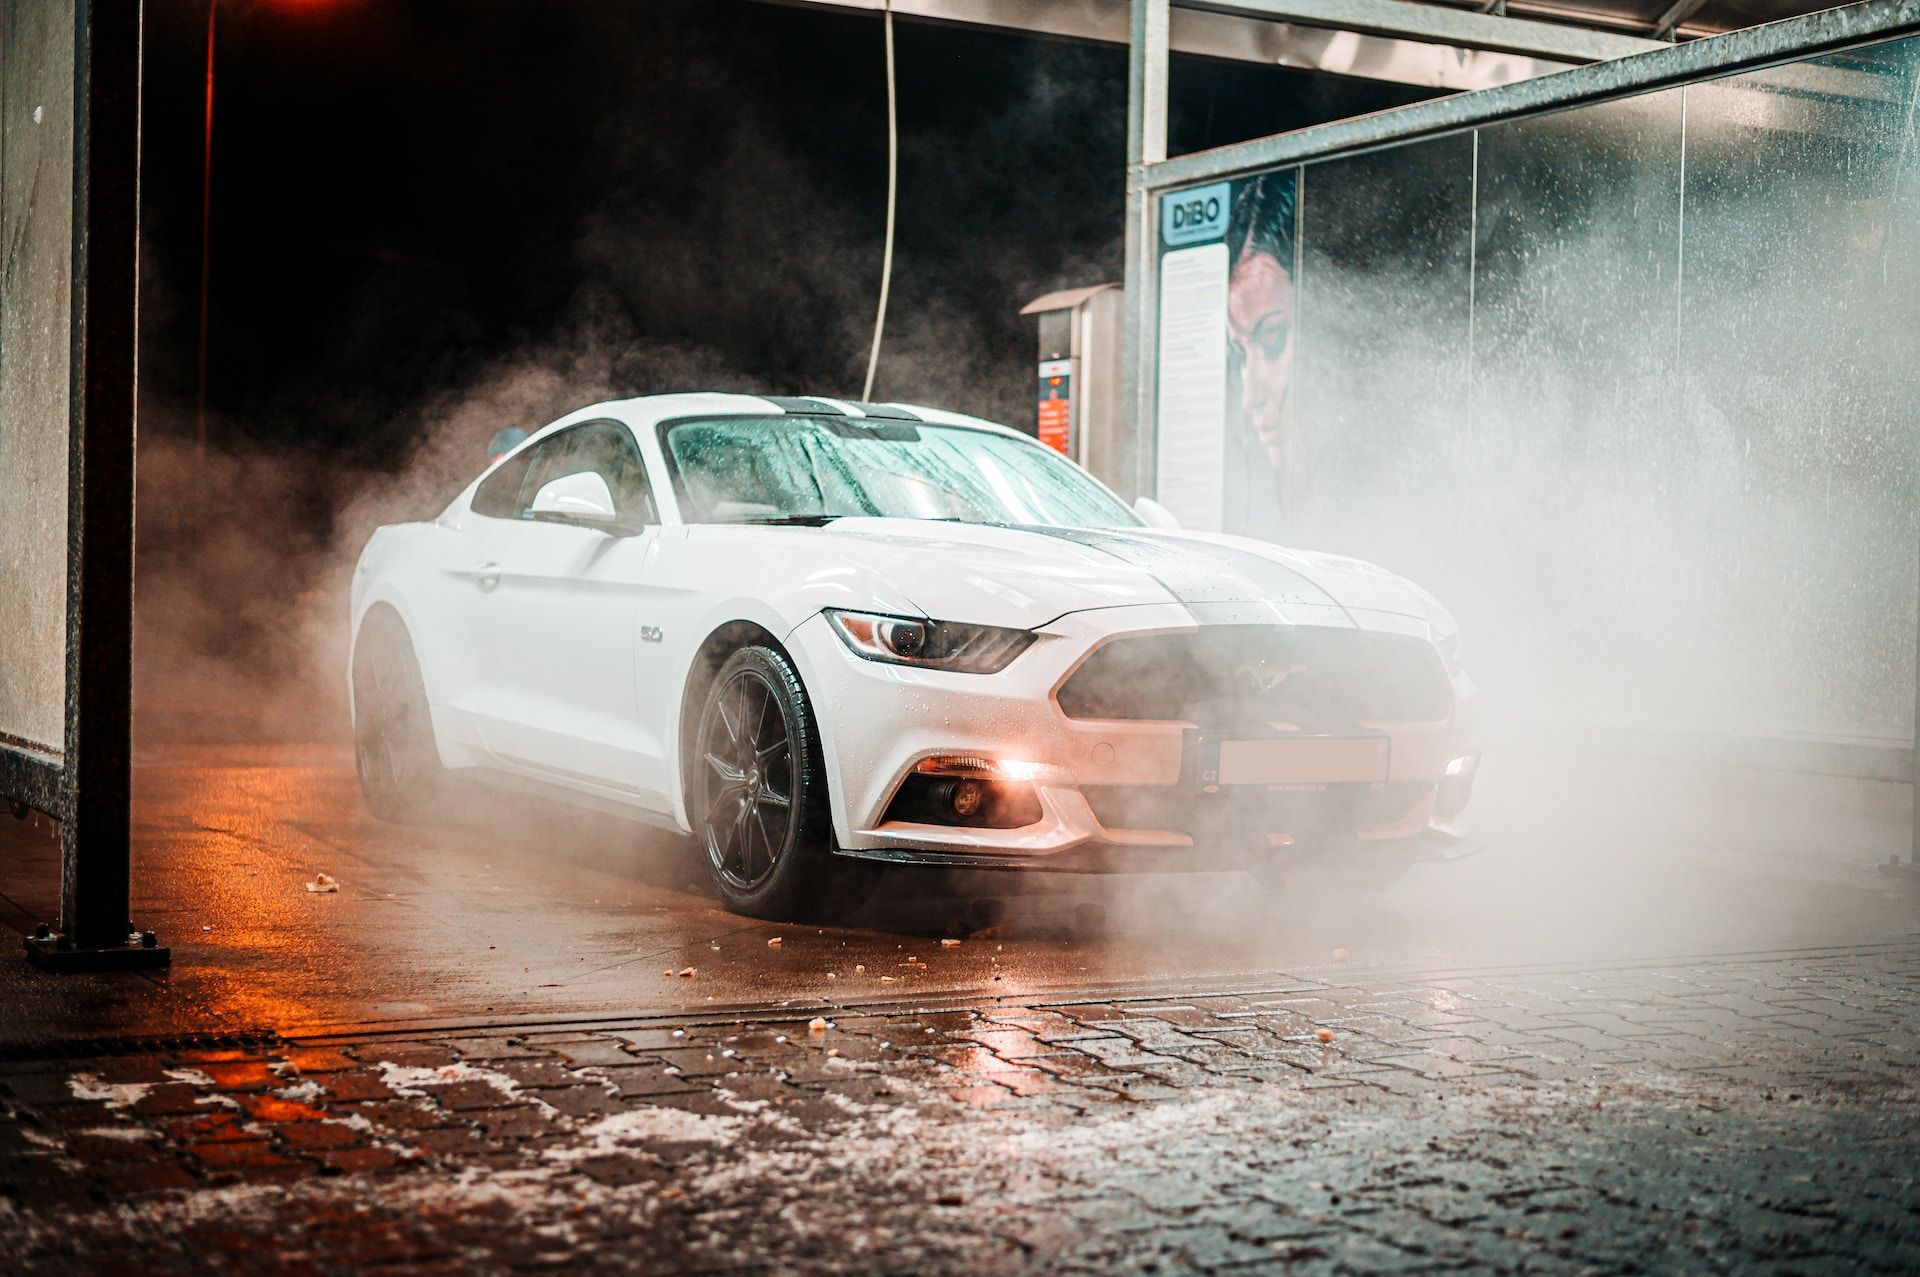
Unwrapping Your Ride: A Comprehensive Guide to Car Wrap Removal
Introduction: The Importance of Car Wrap Removal
Have you ever decided to remove a car wrap only to find out that it is a lot more complicated than you thought? If so, you’re not alone.
Car wrap removal can be a daunting task, but it's an essential part of vehicle maintenance. When done correctly, it can help preserve the paint job of your car and ensure that your investment remains in good condition.
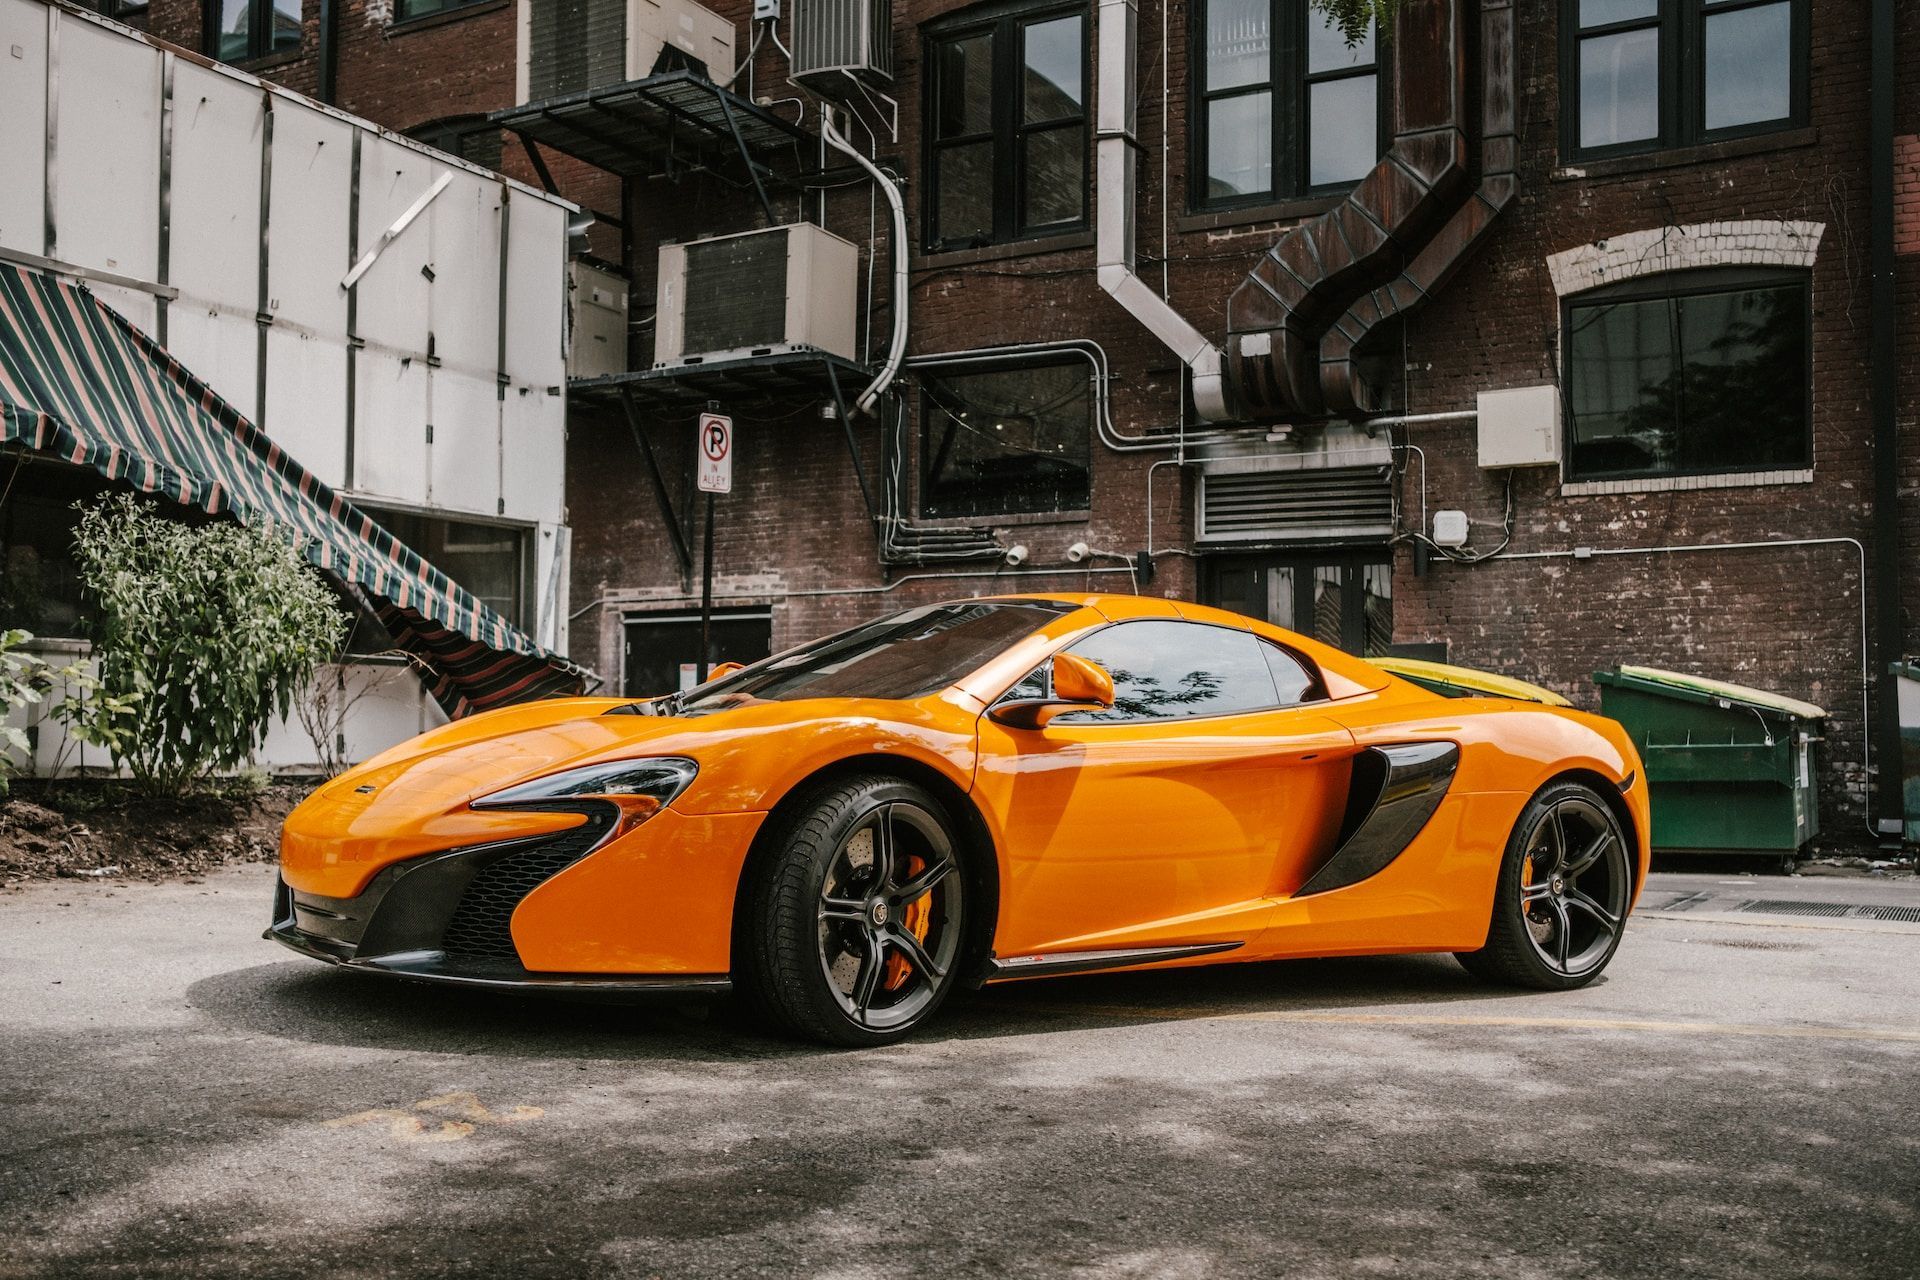
Car wraps are an excellent way to customize your vehicle and make it stand out from the crowd. They are also an affordable alternative to paint jobs.
However, after some time, you may want to change the design or return the car to its original state. This is where car wrap removal comes in.
It’s important to know how to remove a car wrap properly because if done incorrectly, it could cause damage to your vehicle's finish or leave behind adhesive residue that’s difficult to remove. In this article, we’ll provide step-by-step instructions on how to safely and efficiently remove a car wrap without harming the original paint job.
We'll also offer tips on how best to protect your vehicle's finish after removing the wrap and making sure that you achieve the results you want. Let's get started!
Tools needed for car wrap removal
Car wrap removal requires specific tools to be done effectively and without causing damage to the vehicle. Here are some of the key tools you will need:
1. Heat gun
One of the most important tools you'll need for car wrap removal is a heat gun. This is because the heat gun will help soften and loosen up the adhesive on the vinyl wrap, making it easier to remove. When using a heat gun, it's important to keep it moving so that you don't overheat any one area of your vehicle's surface, which could cause damage.
2. Razor blades or plastic scraper
A razor blade or plastic scraper is also necessary when removing a car wrap, as it helps in separating the vinyl from your vehicle's bodywork once it has been heated up with a heat gun. While razor blades can be effective at removing stubborn adhesive residue, care must be taken not to scratch the paintwork underneath.
3. Adhesive remover
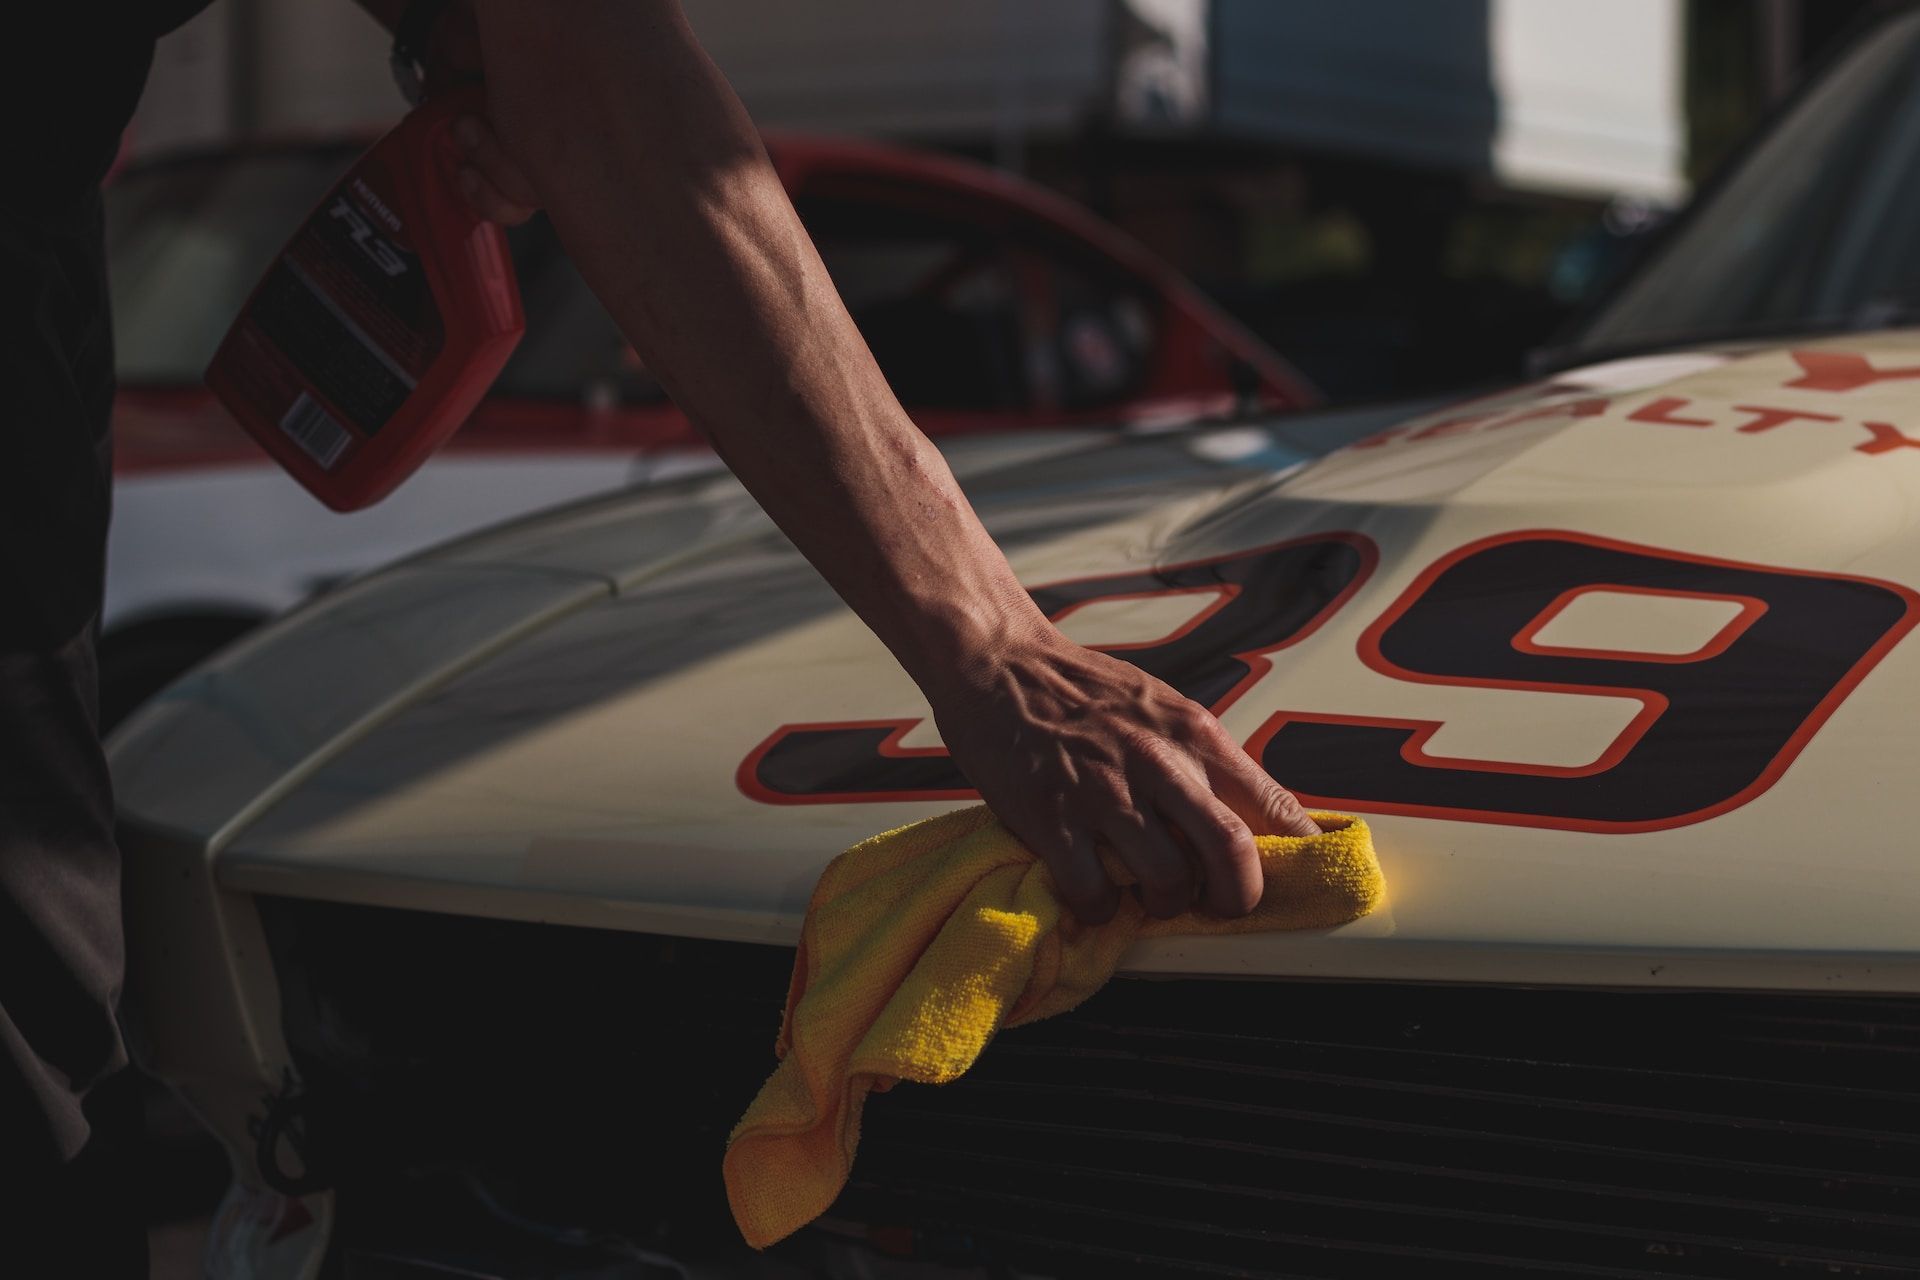
Adhesive remover is also an essential tool when removing a car wrap as it helps dissolve any remaining adhesive residue that might still be left on your vehicle’s surface after pulling off the vinyl sticker. You can use either solvent-based removers or water-based removers depending on your preference. Other tools that may come in handy when removing a car wrap include gloves to protect your hands from hot surfaces and adhesive residue, microfiber towels for wiping down surfaces after cleaning them, and an orbital buffer with a foam pad for applying polish or wax after removal. By having all these important tools ready before starting the process of car wrap removal, you can ensure that everything goes smoothly and no damage occurs to your vehicle's surface during this procedure.
Preparing the Car for Removal
Before starting the car wrap removal process, it's important to properly prepare your vehicle. This will help ensure that the process goes smoothly and that you don't damage your paint job. Follow these steps to prepare your car for removal:
Clean the Surface
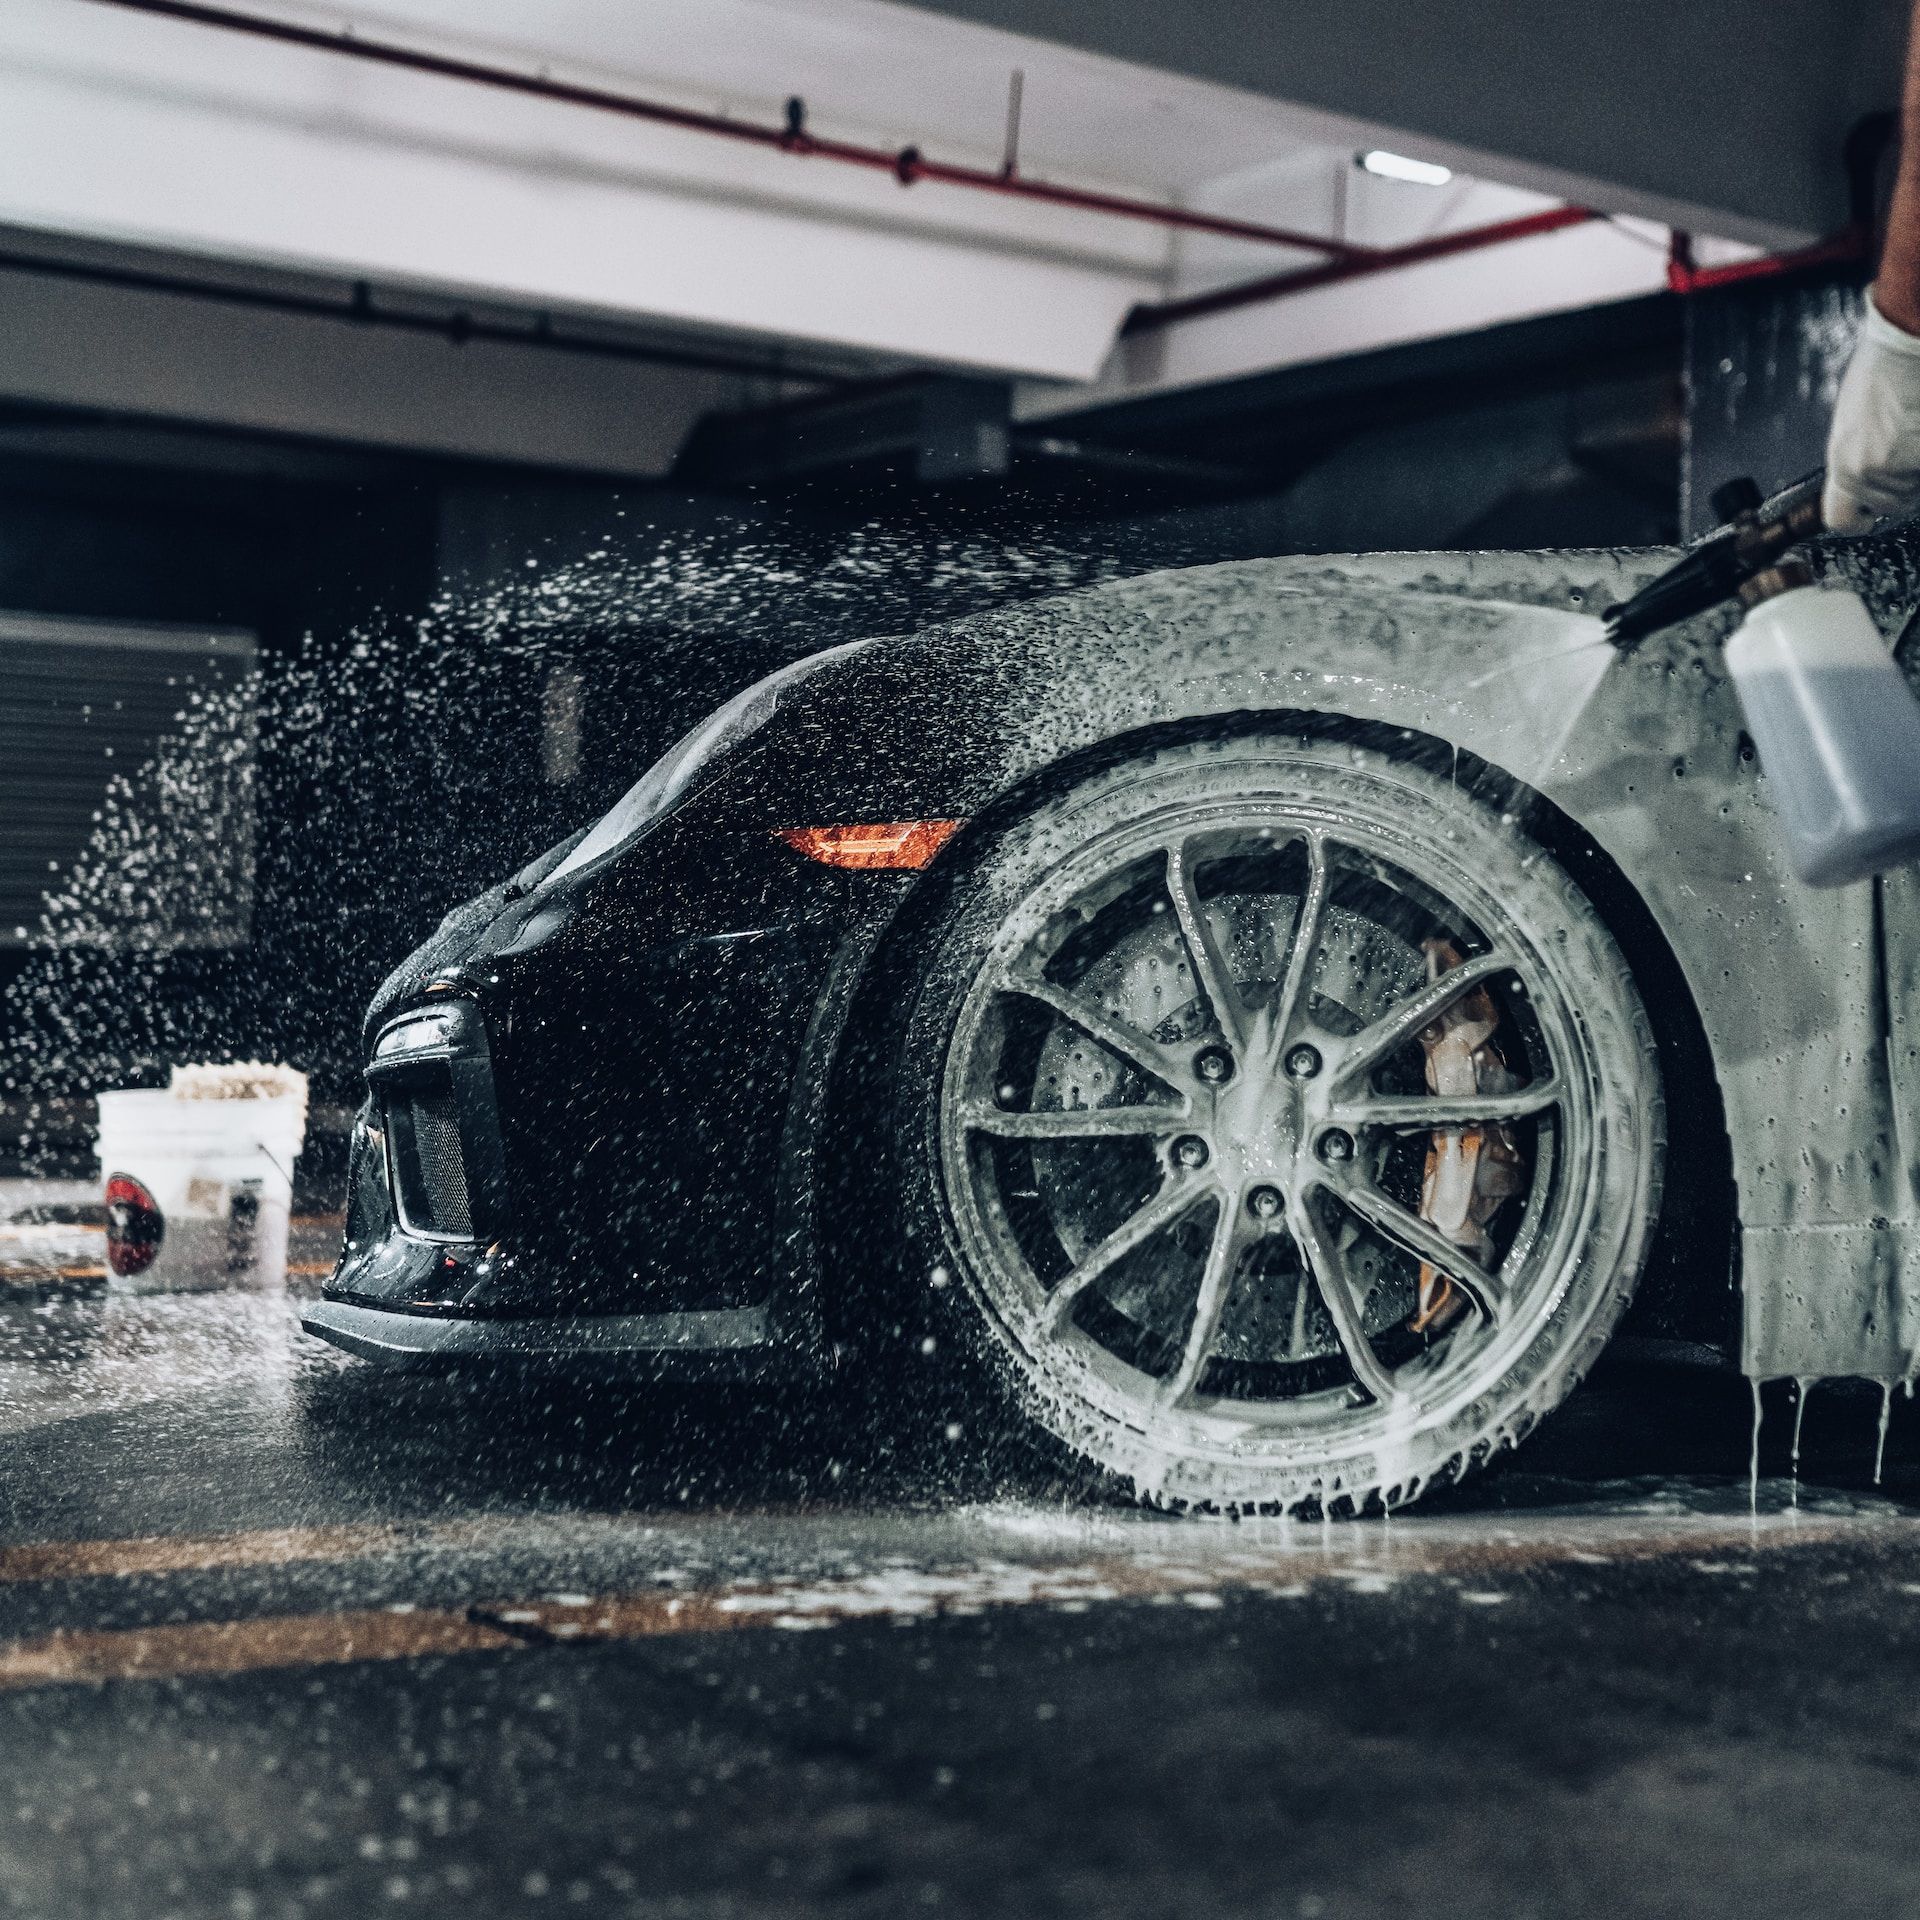
The first step in preparing your car for wrap removal is to clean the surface thoroughly. Use a high-quality soap and water solution to remove any dirt, grime, or debris from your vehicle's exterior. Make sure you also clean around the edges of the wrap, as this is where most of the adhesive residue will be.
After washing your car, use a microfiber towel or chamois to dry it off completely. It's important that no moisture remains on the surface before you start removing the wrap.
Remove Any Debris or Stickers
If there are any stickers or decals on top of your car wrap, remove them before starting with the removal process. You can use a plastic scraper or a razor blade to scrape off any stubborn debris from around the edges of these stickers. If there are small dents on your vehicle’s surface then get them fixed before removing the overlaying vinyl layer because it may affect those hidings scratches and dents even worse than before.
Cleanse with Alcohol Based Solution
Using an alcohol-based solution like rubbing alcohol can help strip away any remaining contaminants from surfaces after washing which eventually removes all grease and wax residue as well leaving behind no impacts over layer sticking adhesive which could become stubborn if not removed properly. Properly preparing your vehicle is crucial when removing a car wrap. Follow these steps to ensure that you get started off on the right foot!
Removing the Car Wrap
Step-by-Step Instructions
Removing a car wrap can be tricky. However, with the right tools and technique, it can be done without damaging the paint or leaving any residue behind.
Here are some step-by-step instructions:
Begin by heating the car wrap using a heat gun on low heat.
This will help soften the adhesive and make it easier to remove.
Use a plastic razor blade to gently lift a corner of the wrap away from the car's surface.
Once you have lifted a corner, use your hands to pull the wrap off in one swift motion. Be sure to pull slowly and evenly, as pulling too quickly or at an angle can cause damage to your paint job.
If there are any areas that are difficult to remove, use your heat gun again to warm up the adhesive so it becomes more pliable.
Work your way around the car in small sections until all of the car wrap has been removed.
Precautions
While removing your car wrap, keep these precautions in mind:
- Avoid using metal razor blades as they can easily scratch or damage your paint job.
- Do not use excessive force when pulling off large sections of vinyl as this can cause scratches.
- Never rush during this process; take your time and work carefully.
Dealing with Difficult Spots
Even after following all necessary precautions sometimes there may be difficult spots where removing adhesive is tough work but here's what you can do:
- Apply some adhesive remover like Goo Gone on a microfiber towel and rub it over stubborn areas.
- Leave for 10 minutes before scraping off with plastic scraper making sure not to scratch any painted surfaces. Hopefully with these steps in mind you'll be able to successfully remove your car wrap without causing any damage to your car and without leaving any residue behind.
Dealing with stubborn adhesive residue
Removing adhesive residue with a clay bar
One of the most effective ways to remove any leftover adhesive residue after removing a car wrap is to use a clay bar. A clay bar is a soft, sticky material that can easily pick up any remaining adhesive on your vehicle's surface. To use it, simply apply lubricant to the area you want to clean and rub the clay bar gently over the surface.
The clay will pick up any leftover adhesive residue and leave your vehicle's paint looking smooth and clean. If you don't have a clay bar on hand, you can also use other household items such as peanut butter or WD-40 to remove adhesive residue.
Peanut butter has oils that can break down adhesives, while WD-40 has solvents that can dissolve sticky substances. Apply either substance to the affected area and let it sit for a few minutes before wiping away with a soft cloth.
Removing adhesive residue with rubbing alcohol
Rubbing alcohol is another effective method for removing stubborn adhesive residue from your vehicle's surface. Simply apply rubbing alcohol directly to the affected area and let it sit for several minutes before wiping away with a soft cloth. If necessary, repeat this process until all of the leftover adhesives are removed.
Be sure to use rubbing alcohol sparingly as excessive amounts could damage your vehicle's paint job over time. Additionally, be sure not to apply rubbing alcohol near open flames or heat sources as it is highly flammable.
When removing a car wrap from your vehicle, it's important not to rush through the process if you want to avoid damaging your paint job or leaving behind any stubborn adhesives. Taking care during removal and having patience when dealing with any remaining residues will pay off in the end by ensuring that your car looks as good as new. Whether you choose to use a clay bar, household products, or rubbing alcohol, the most important thing is to take your time and be gentle with your vehicle's surface.
Protecting Your Paint After Removal
The Importance of Protecting Your Car's Paint Job
After removing a car wrap, it's important to take extra steps to protect your car's paint job. The surface may be more susceptible to damage or discoloration, especially if the wrap has been on for a long time. Proper care and maintenance can help prevent future problems and keep your car looking its best.
Waxing Your Car
One of the best ways to protect your car's paint is by waxing it regularly. This helps create a barrier between the paint and any contaminants that might come into contact with it, such as dirt or pollen.
Waxing can also help hide minor scratches and imperfections in the paint. Choose a high-quality wax that is specifically designed for cars, and follow the manufacturer's instructions carefully.
You'll need to apply the wax in small sections using a soft applicator pad, then buff it off with a clean microfiber towel. Be sure to work in a shaded area, as direct sunlight can cause streaks or spots.
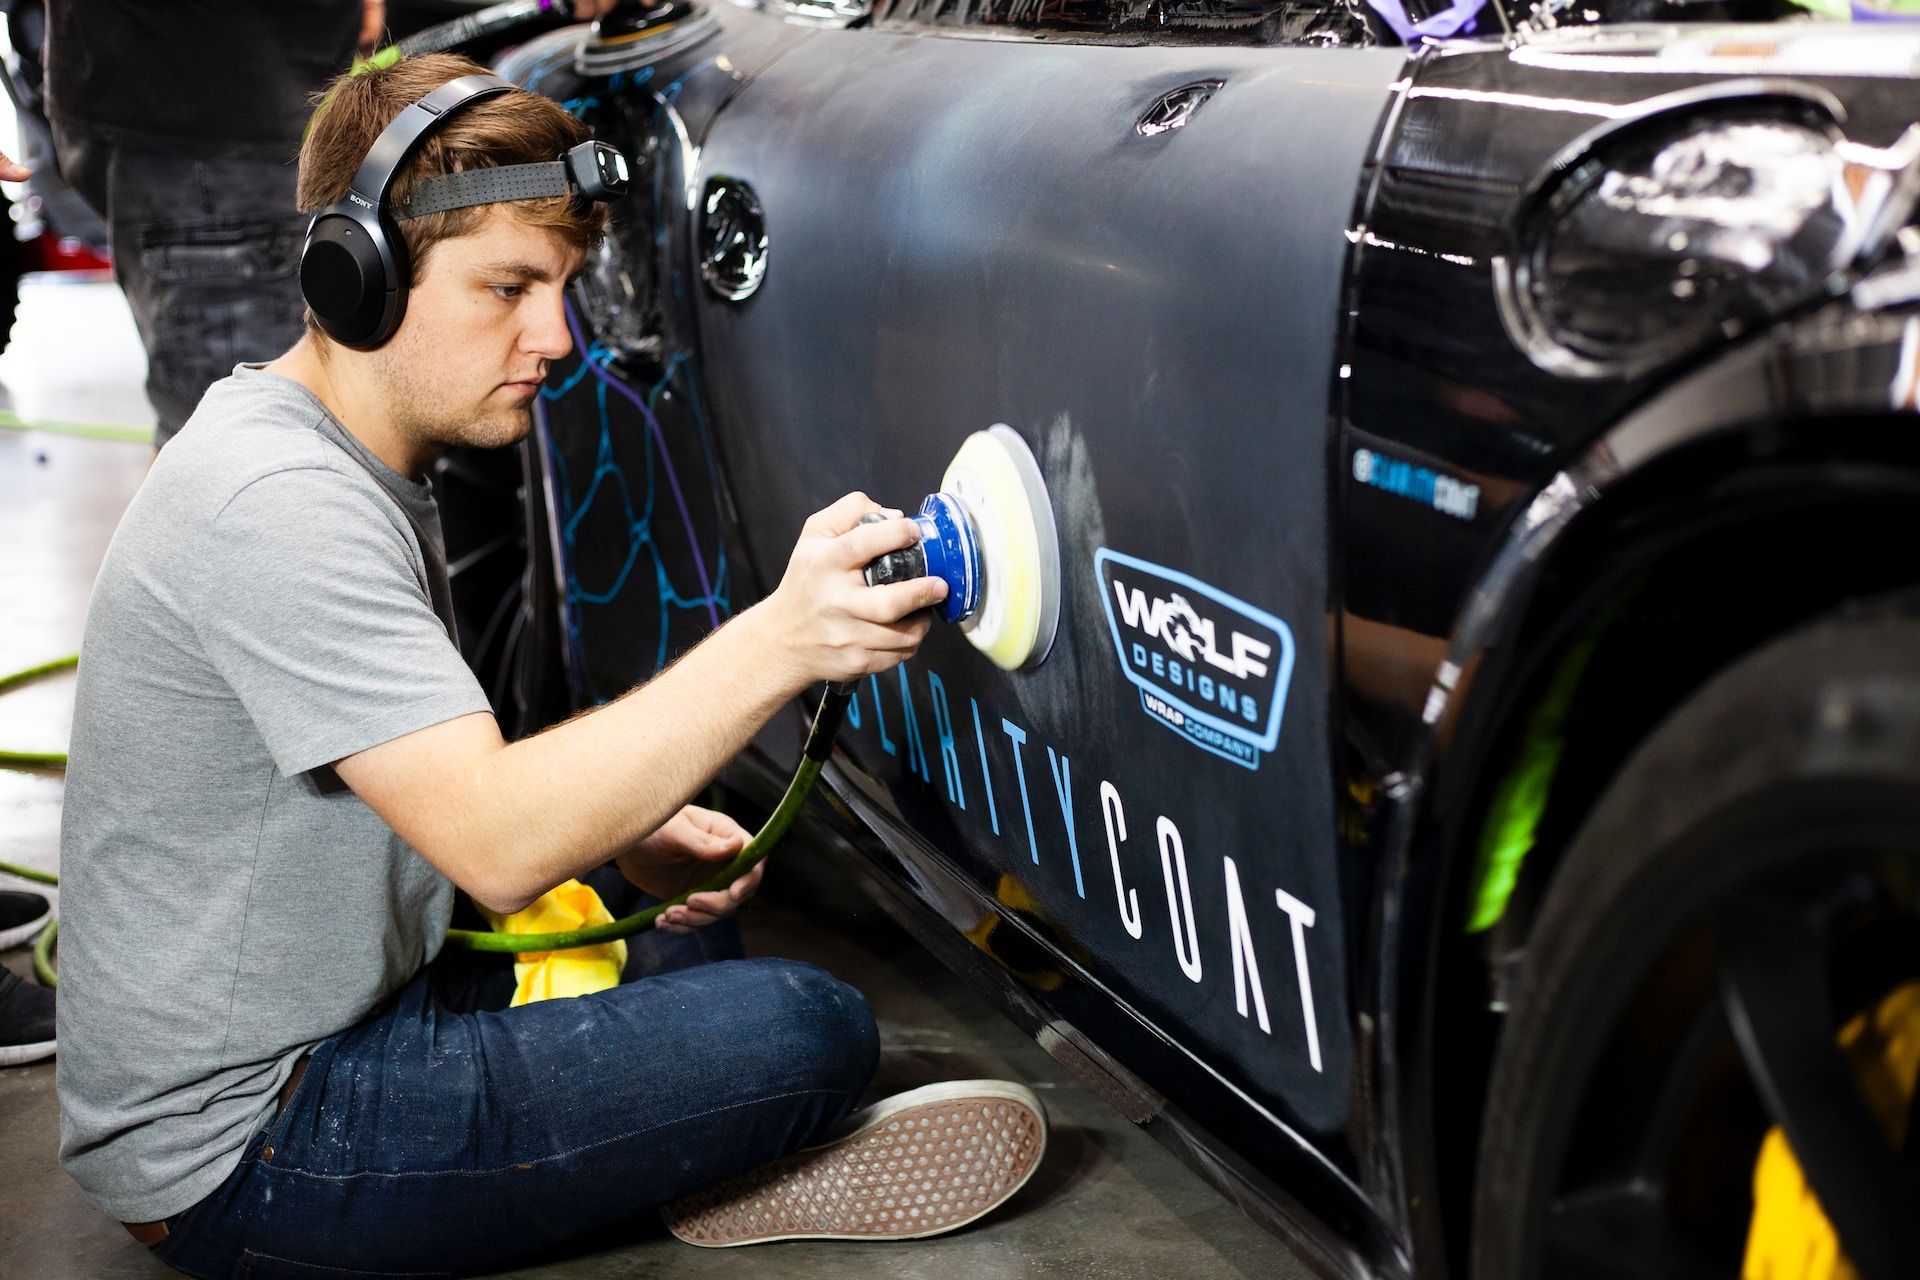
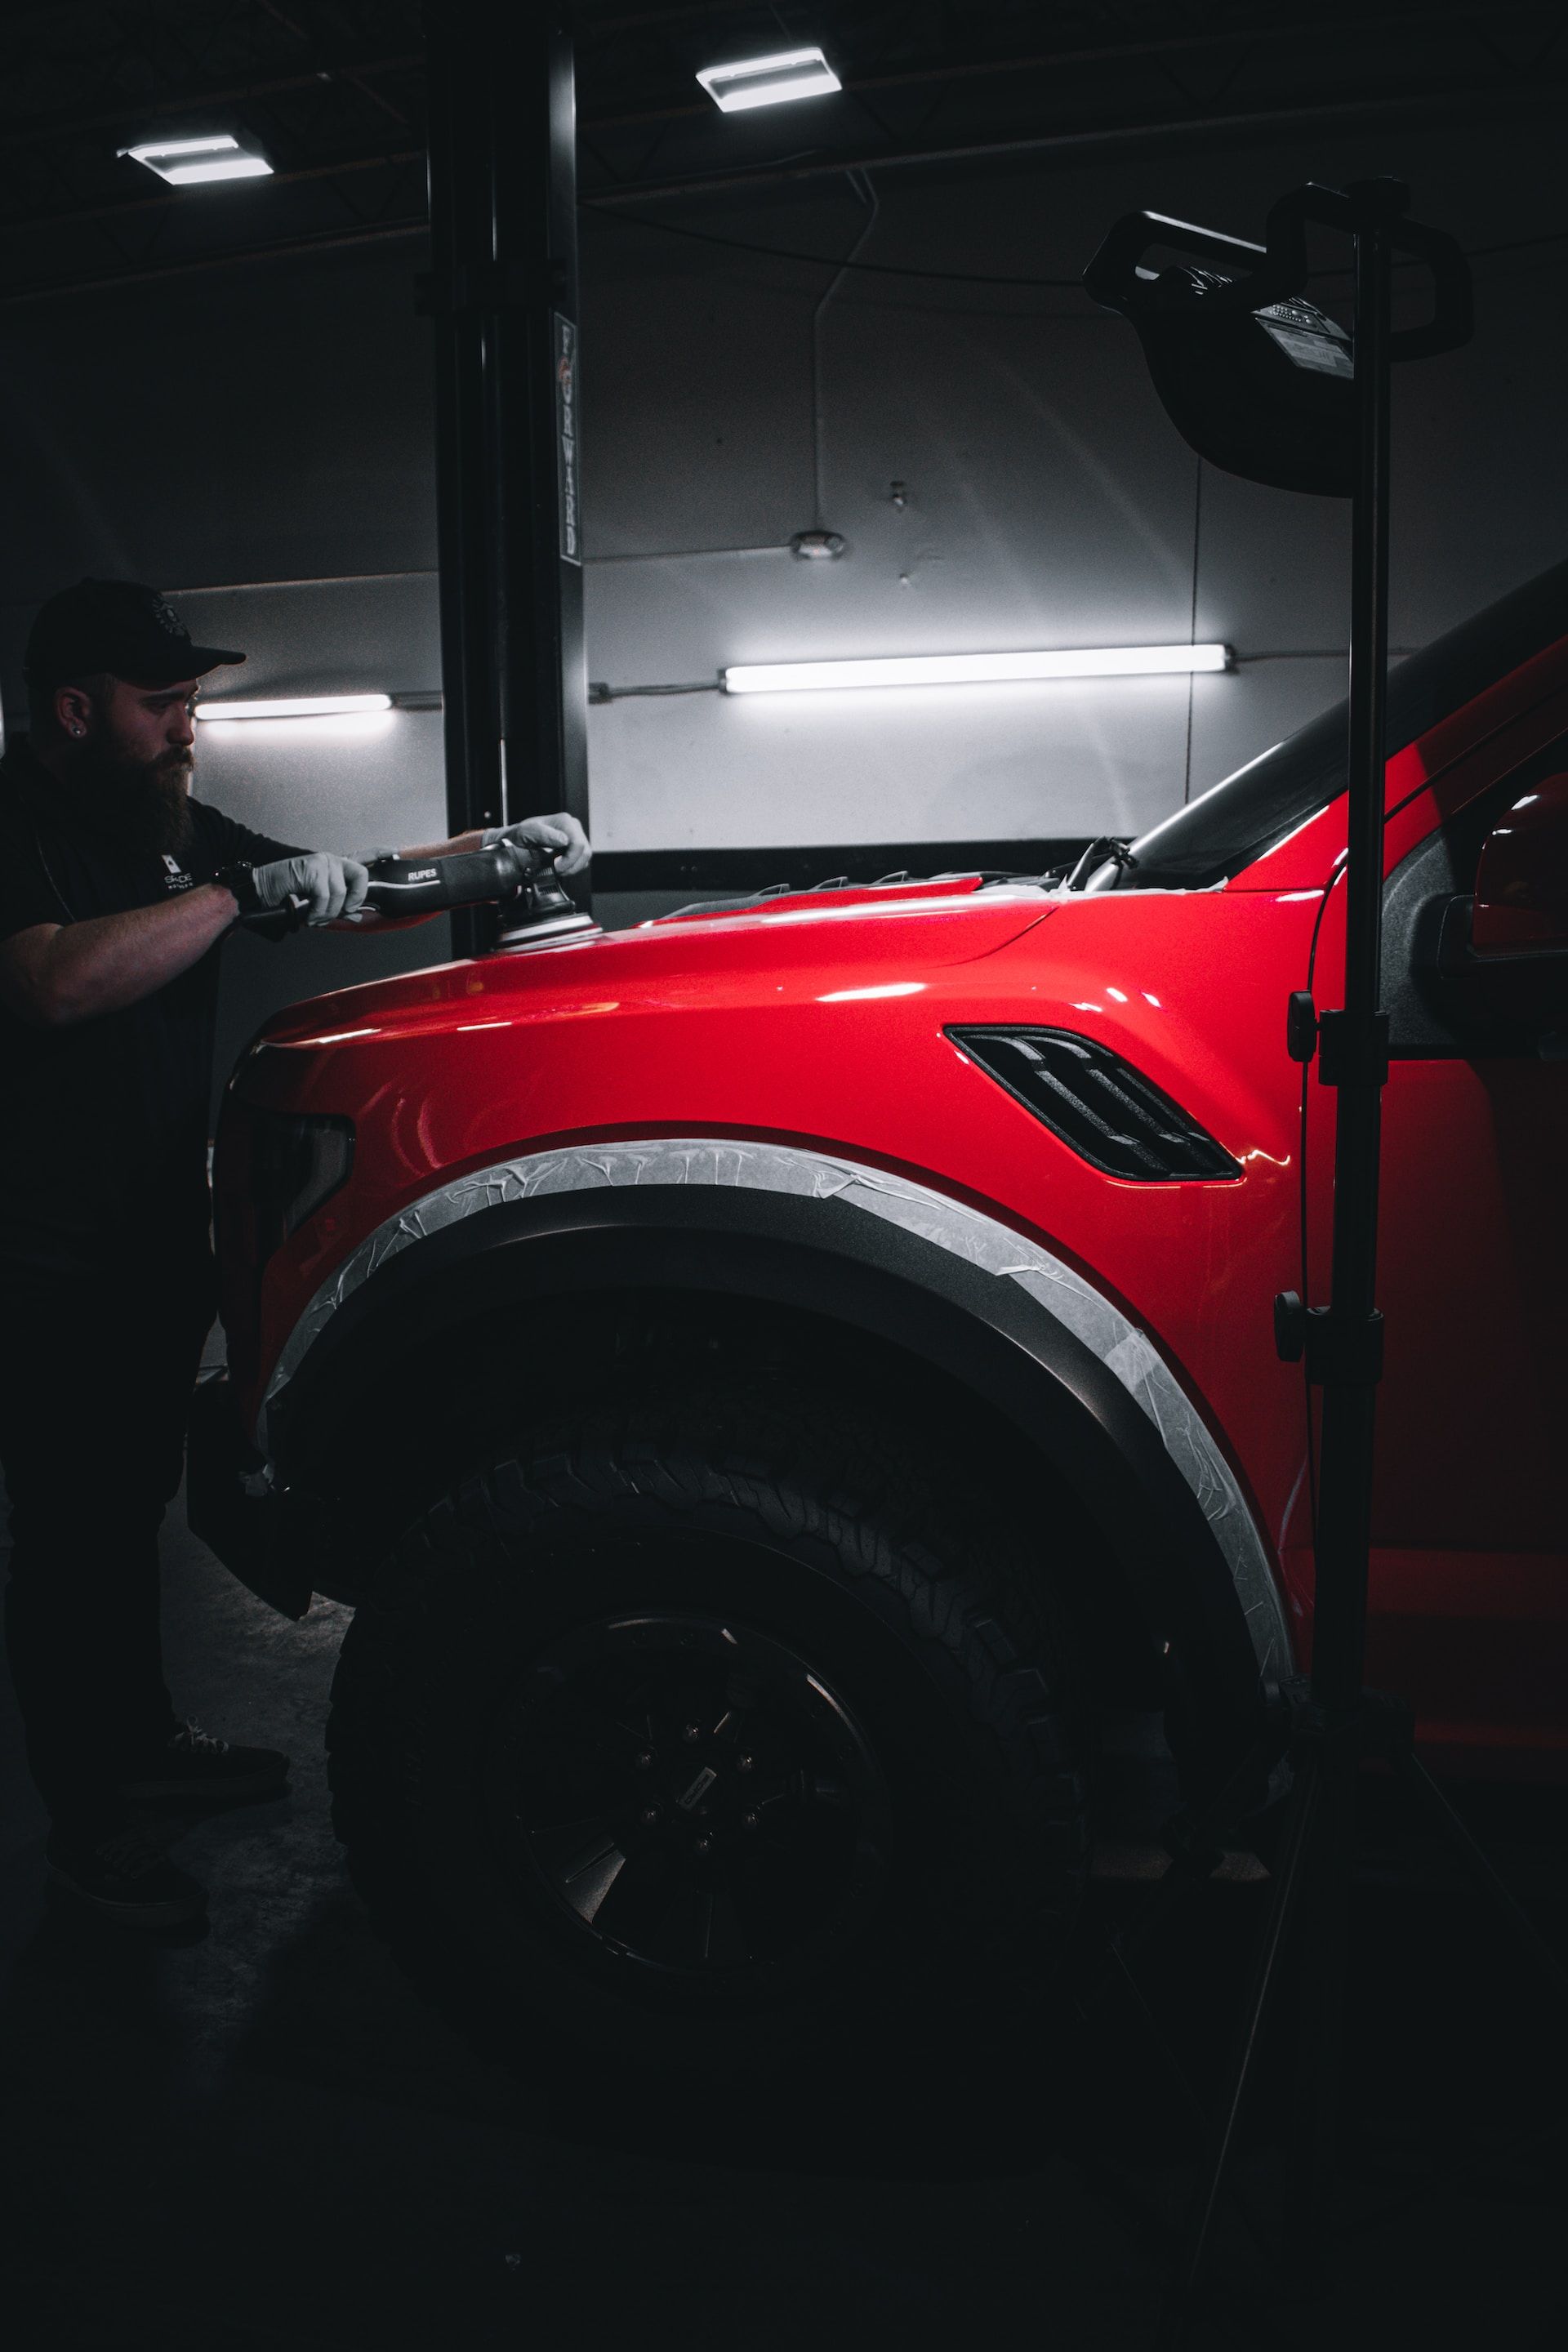
Polishing Your Car
Another way to protect your car's paint is by polishing it regularly. This helps remove any surface contaminants or imperfections that might have accumulated over time, such as swirl marks or water spots. Choose a high-quality polish that is suitable for your type of paint and follow the manufacturer's instructions carefully.
You'll typically need to apply the polish using a foam pad attached to an orbital buffer machine, then buff it off with a clean microfiber towel. By taking these extra steps to protect your car's paint after removing a wrap, you can help ensure that it stays looking great for years to come.
Conclusion: Taking care of your car wrap removal
Removing a car wrap can be a daunting task, but it doesn't have to be. With the right tools and techniques, you can successfully remove the wrap without damaging your vehicle's paint job. Here are some key takeaways to keep in mind:
Firstly, preparation is key. Before you start removing the car wrap, make sure to properly clean and prepare the surface of your vehicle.
This will help ensure that the removal process goes smoothly and that there is minimal damage to your paint job. Secondly, always use caution when using tools such as razor blades or heat guns.
These tools should only be used by someone with experience or under supervision from someone with experience. Always wear protective gear like gloves and goggles when removing a car wrap.
Make sure to protect your vehicle's paint after removing the car wrap by waxing or polishing it. This will help restore its shine and protect it from further damage.
Taking care when removing a car wrap can save you time and money in repairs down the line. With these tips in mind, you can safely and effectively remove any unwanted wraps from your vehicle while keeping its paint job looking brand new!
Scottsdale Auto Detailing Blog


A Mobile Car Detailer in Scottsdale
drop us a line for a personalized car detailing plan
Navigation
Services
We provide detailing in:
Scottsdale, Paradise Valley, Phoenix, Tempe, Mesa, Chandler, Glendale & Gilbert