
4 Step Paint Correction to Transform Your Car's Appearance

The Transformative Power of 4 Step Paint Correction
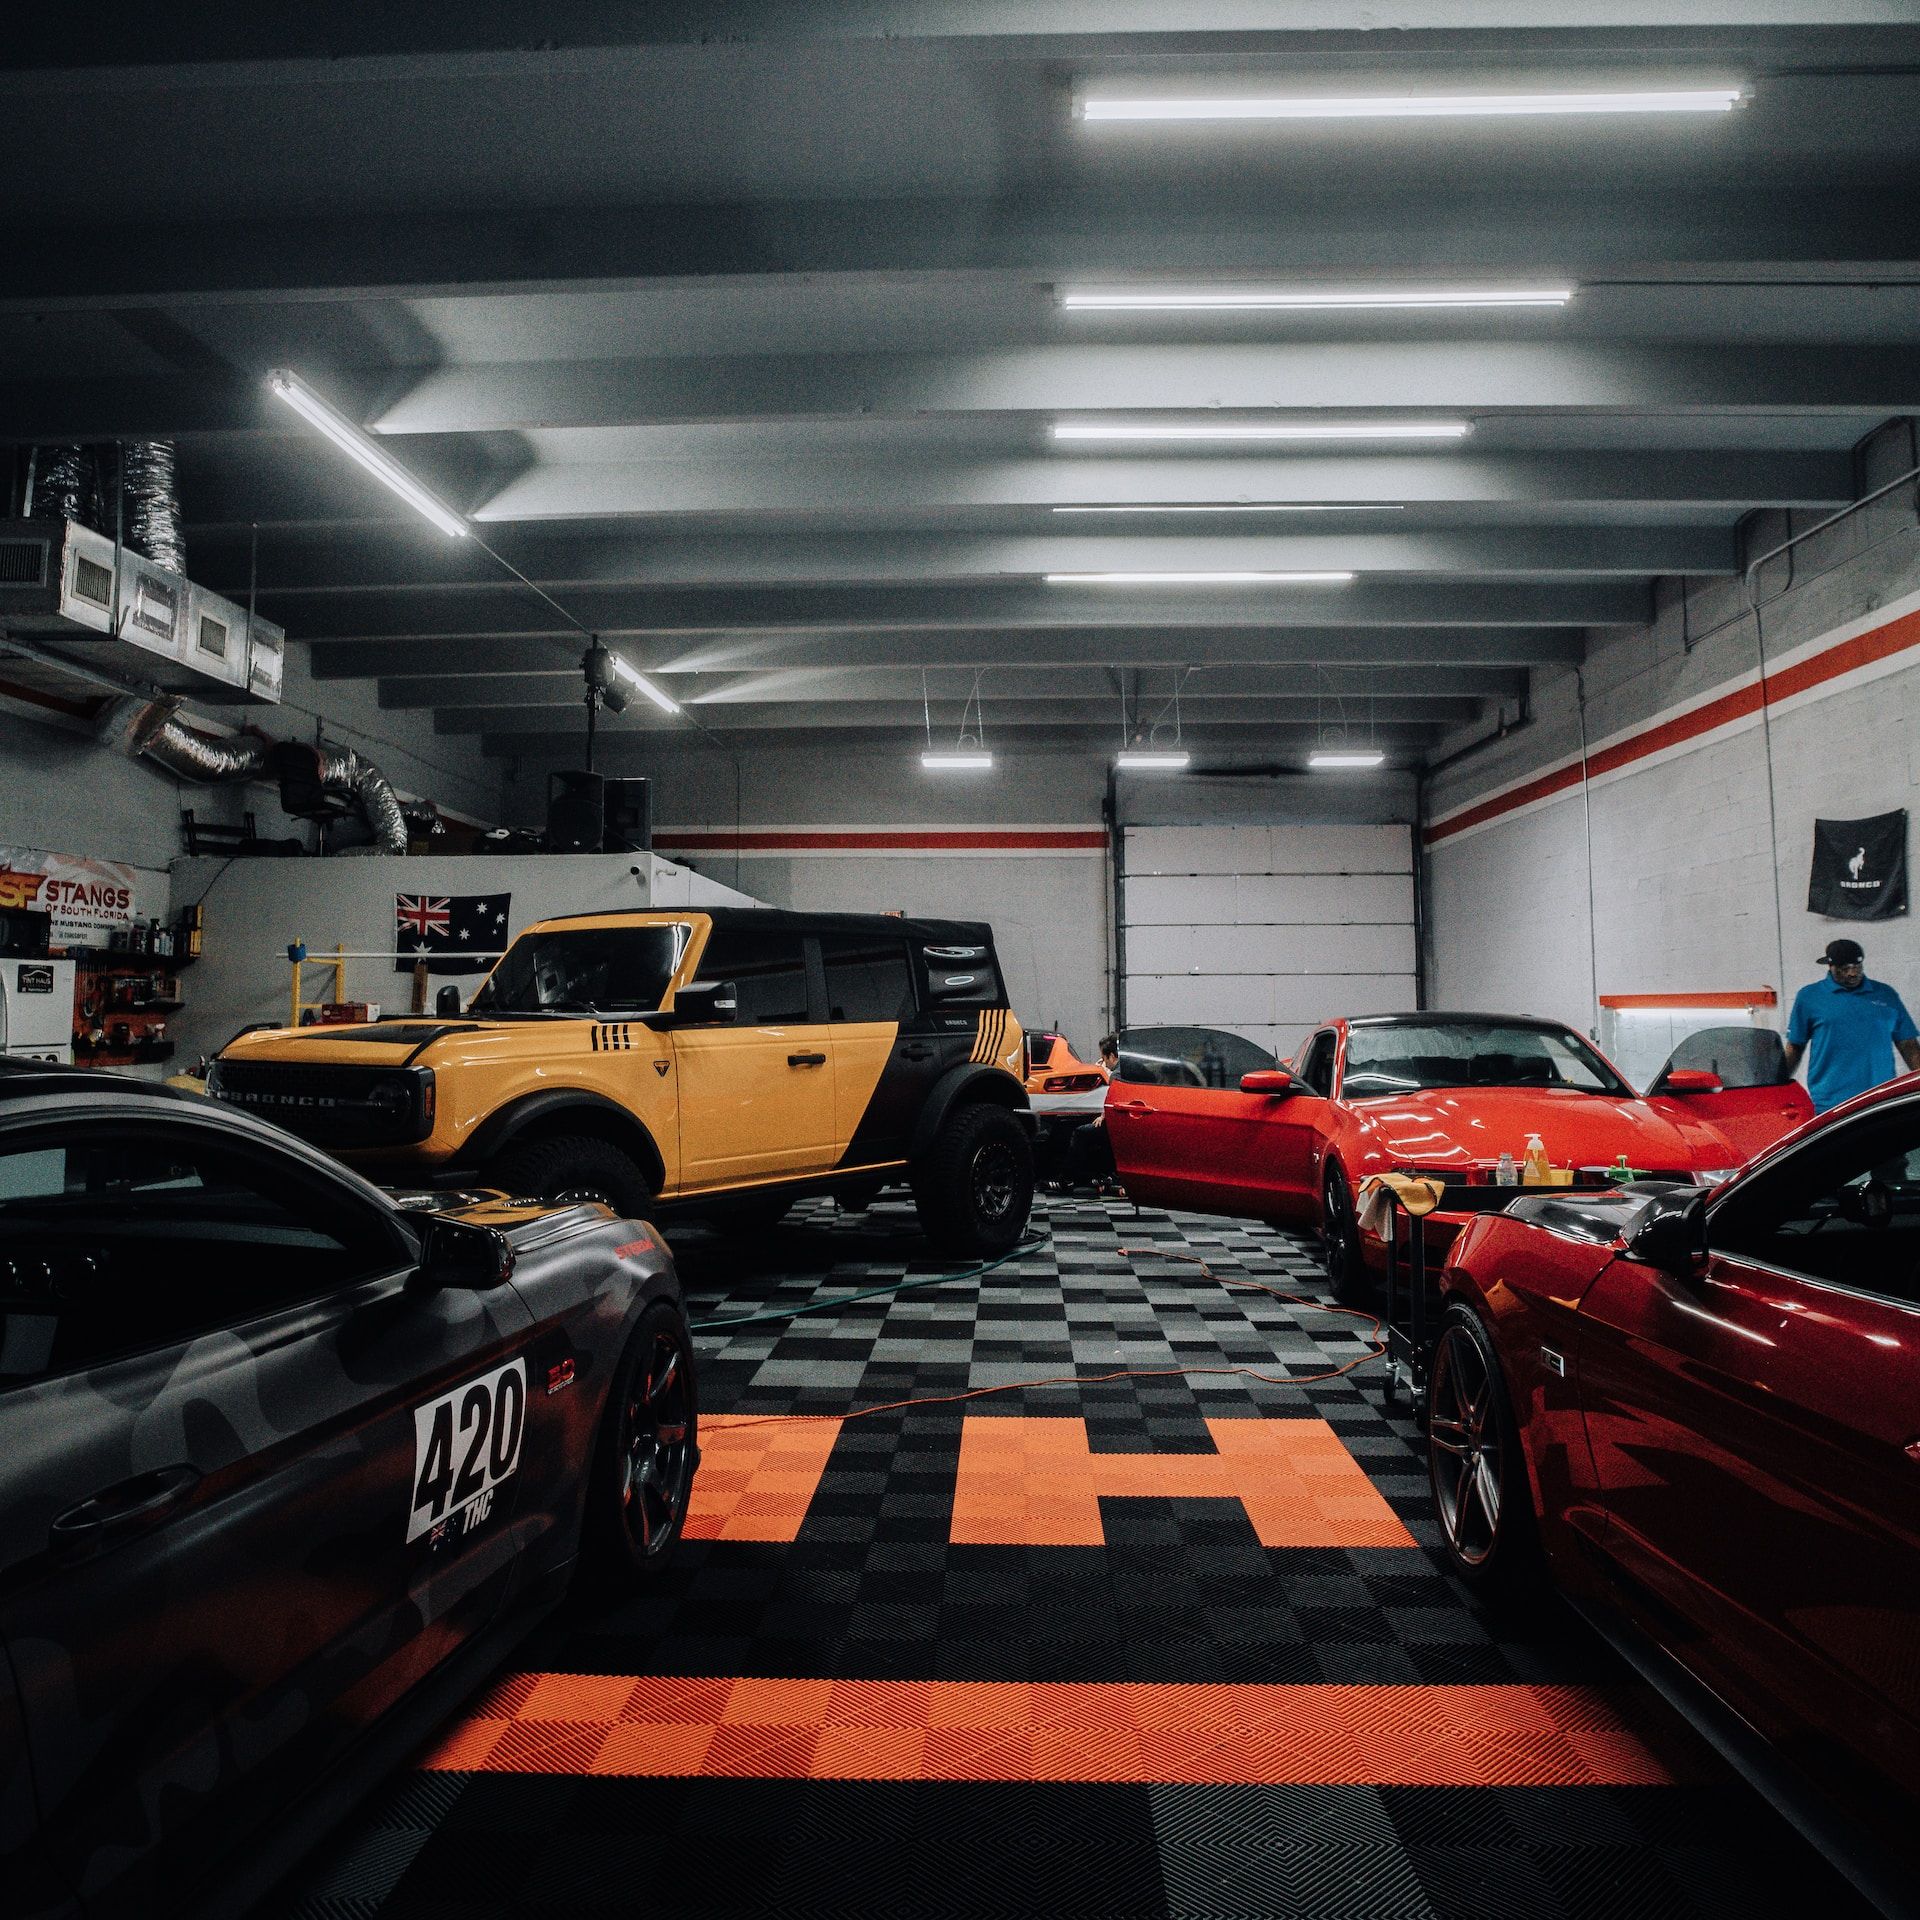
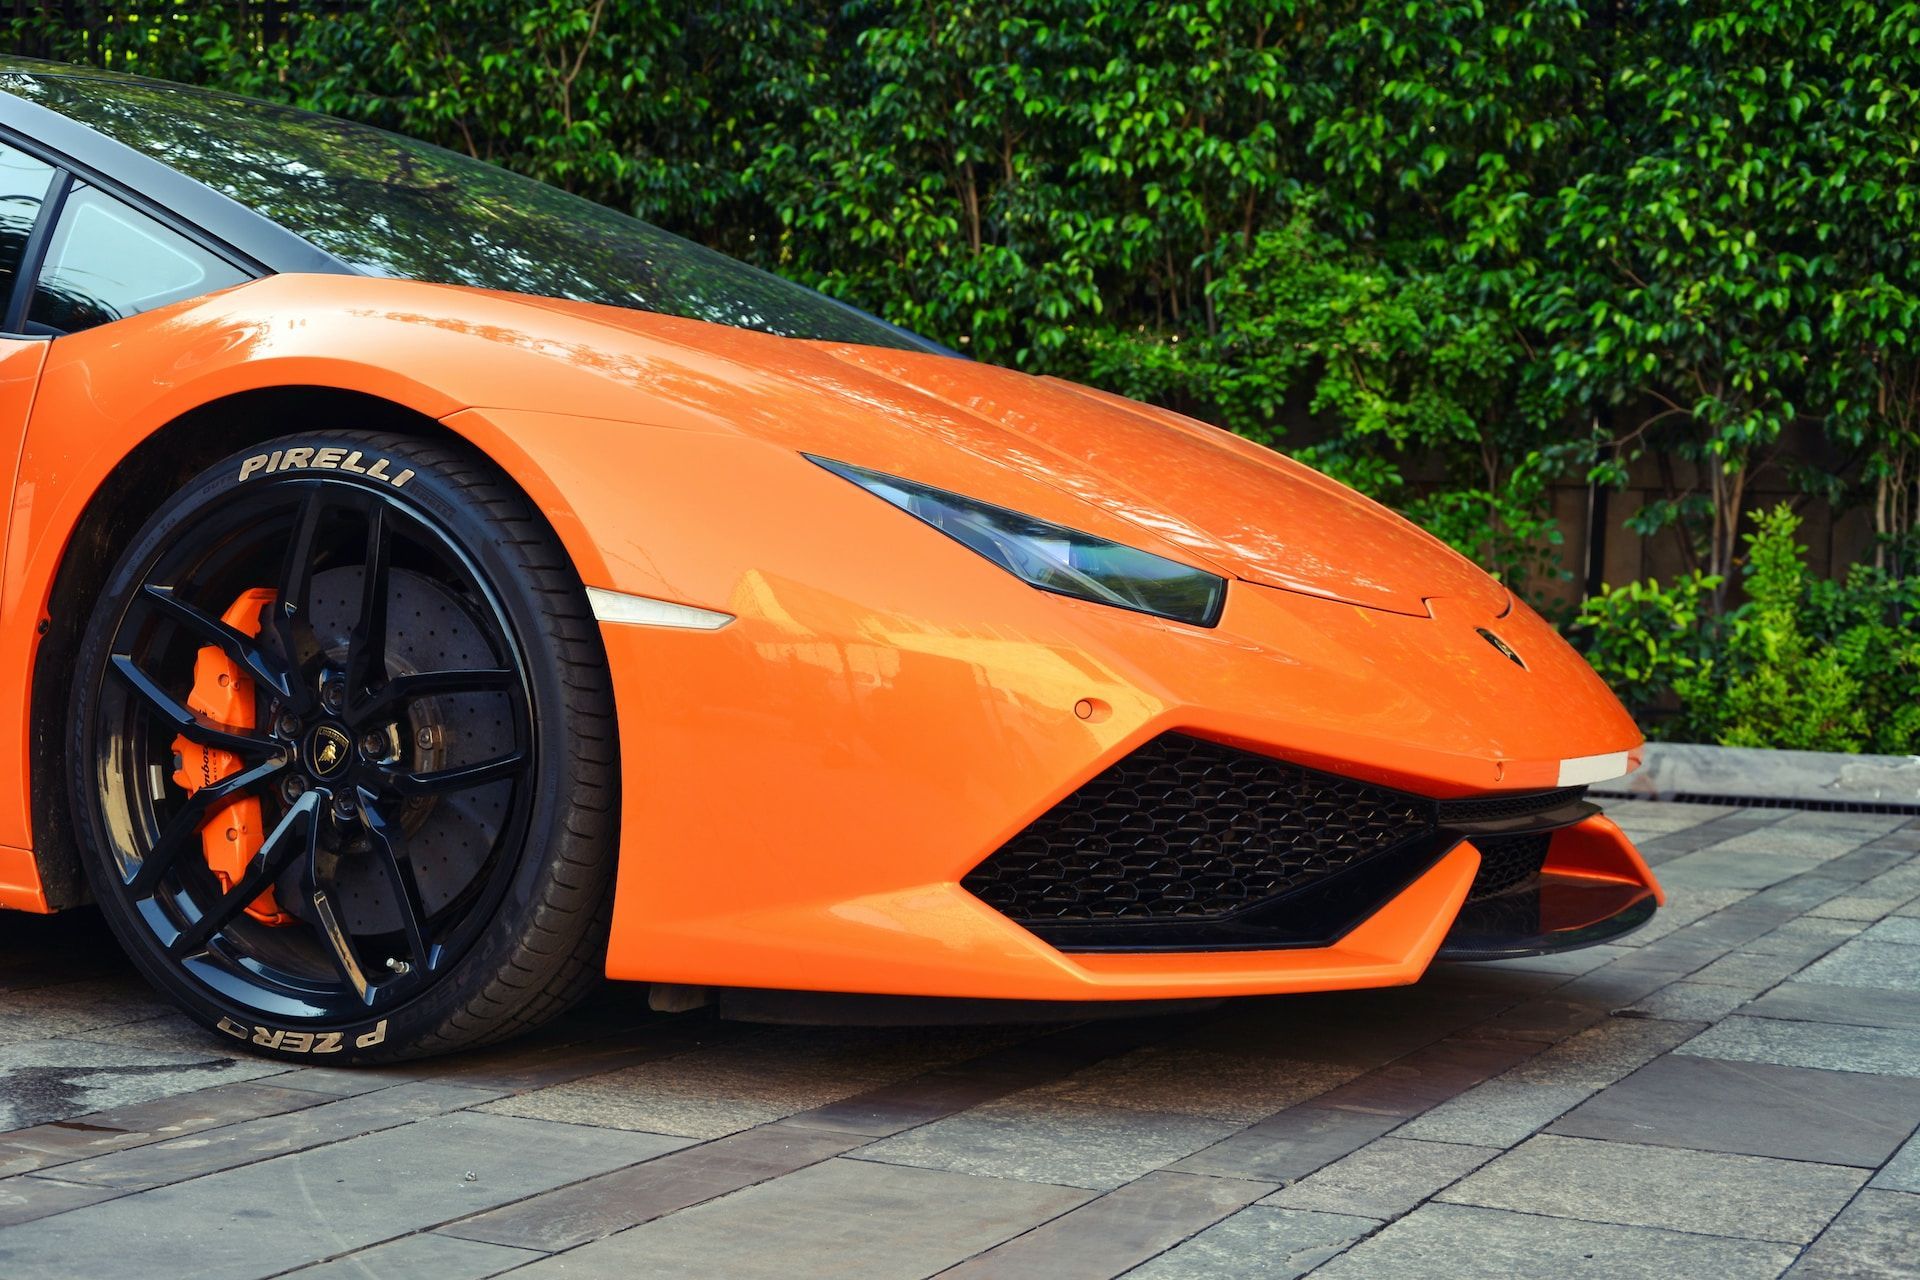
Few things are as satisfying as the gleaming, flawless finish of a freshly detailed car. But keeping your ride looking its best can demand a lot of attention and effort, especially if your paint has suffered any wear and tear from exposure to the elements or accidental damage.
That's where paint correction comes in. Paint correction is the process of restoring your car's paintwork to its original condition by removing all defects caused by scratches, swirl marks or oxidation, among other issues.
This not only enhances the appearance of your car but also protects it from further damage caused by exposure to UV rays, water spots, and contaminants. At first glance, paint correction might seem like a simple task that involves rubbing out minor scratches on the surface.
However, it is an intricate process that requires expertise and specialized tools. One such method is 4 step paint correction which involves four distinct stages: washing and decontamination; paint correction; refinement; and protection.
The 4 step process is designed to achieve superior results while minimizing any risk of damaging your car's surface during each stage. Each step builds upon the previous one to ensure that your vehicle emerges from the treatment with a showroom-quality finish.
The best part? You don't need to be an expert detailer or have fancy equipment to get started on this process at home – anyone can learn how to perform it effectively with proper instructions and some patience!
Learn more about: How to guide to paint correction...
Starting with a Clean Slate: The Importance of Washing and Decontaminating
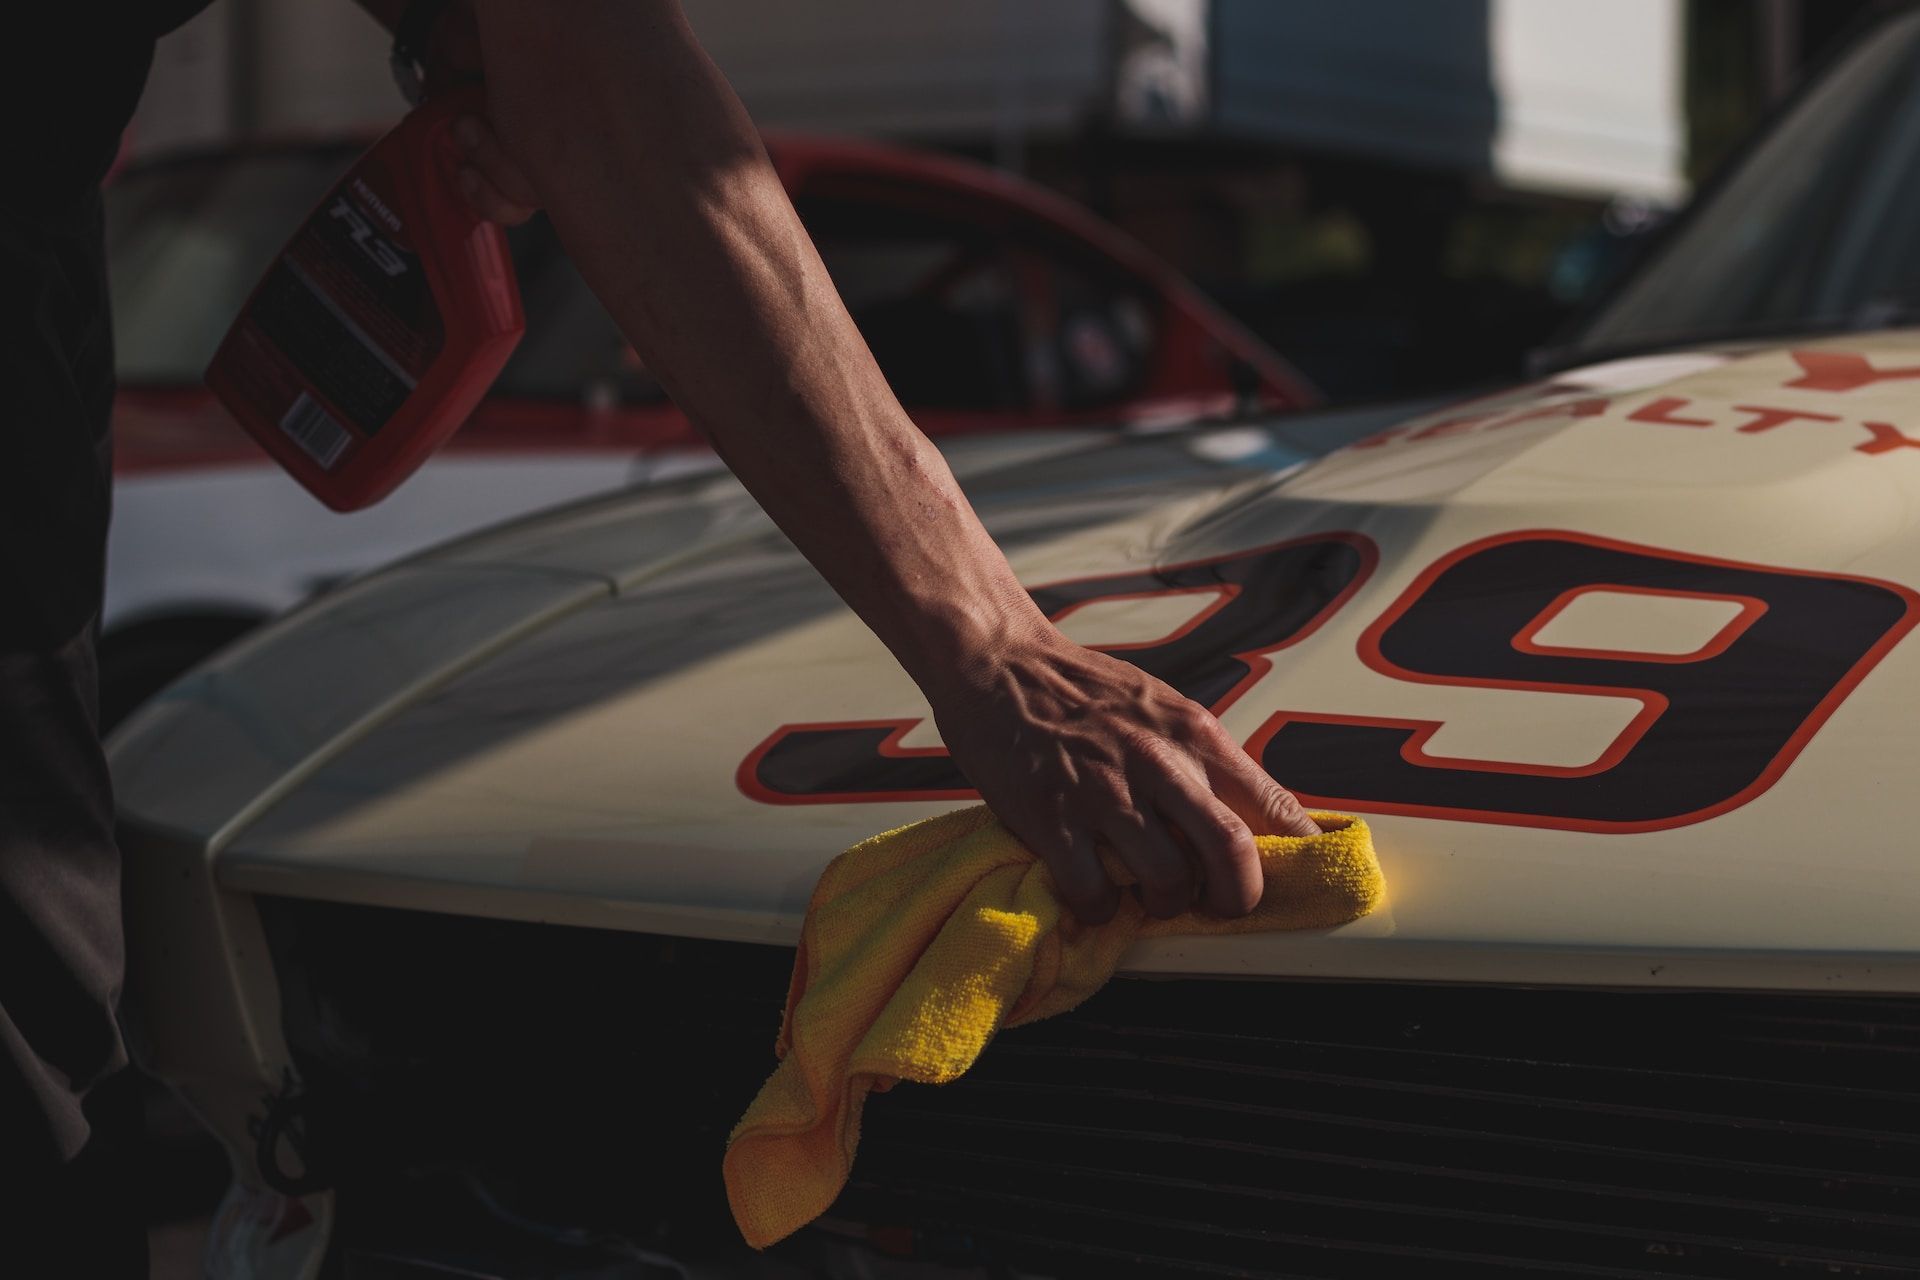
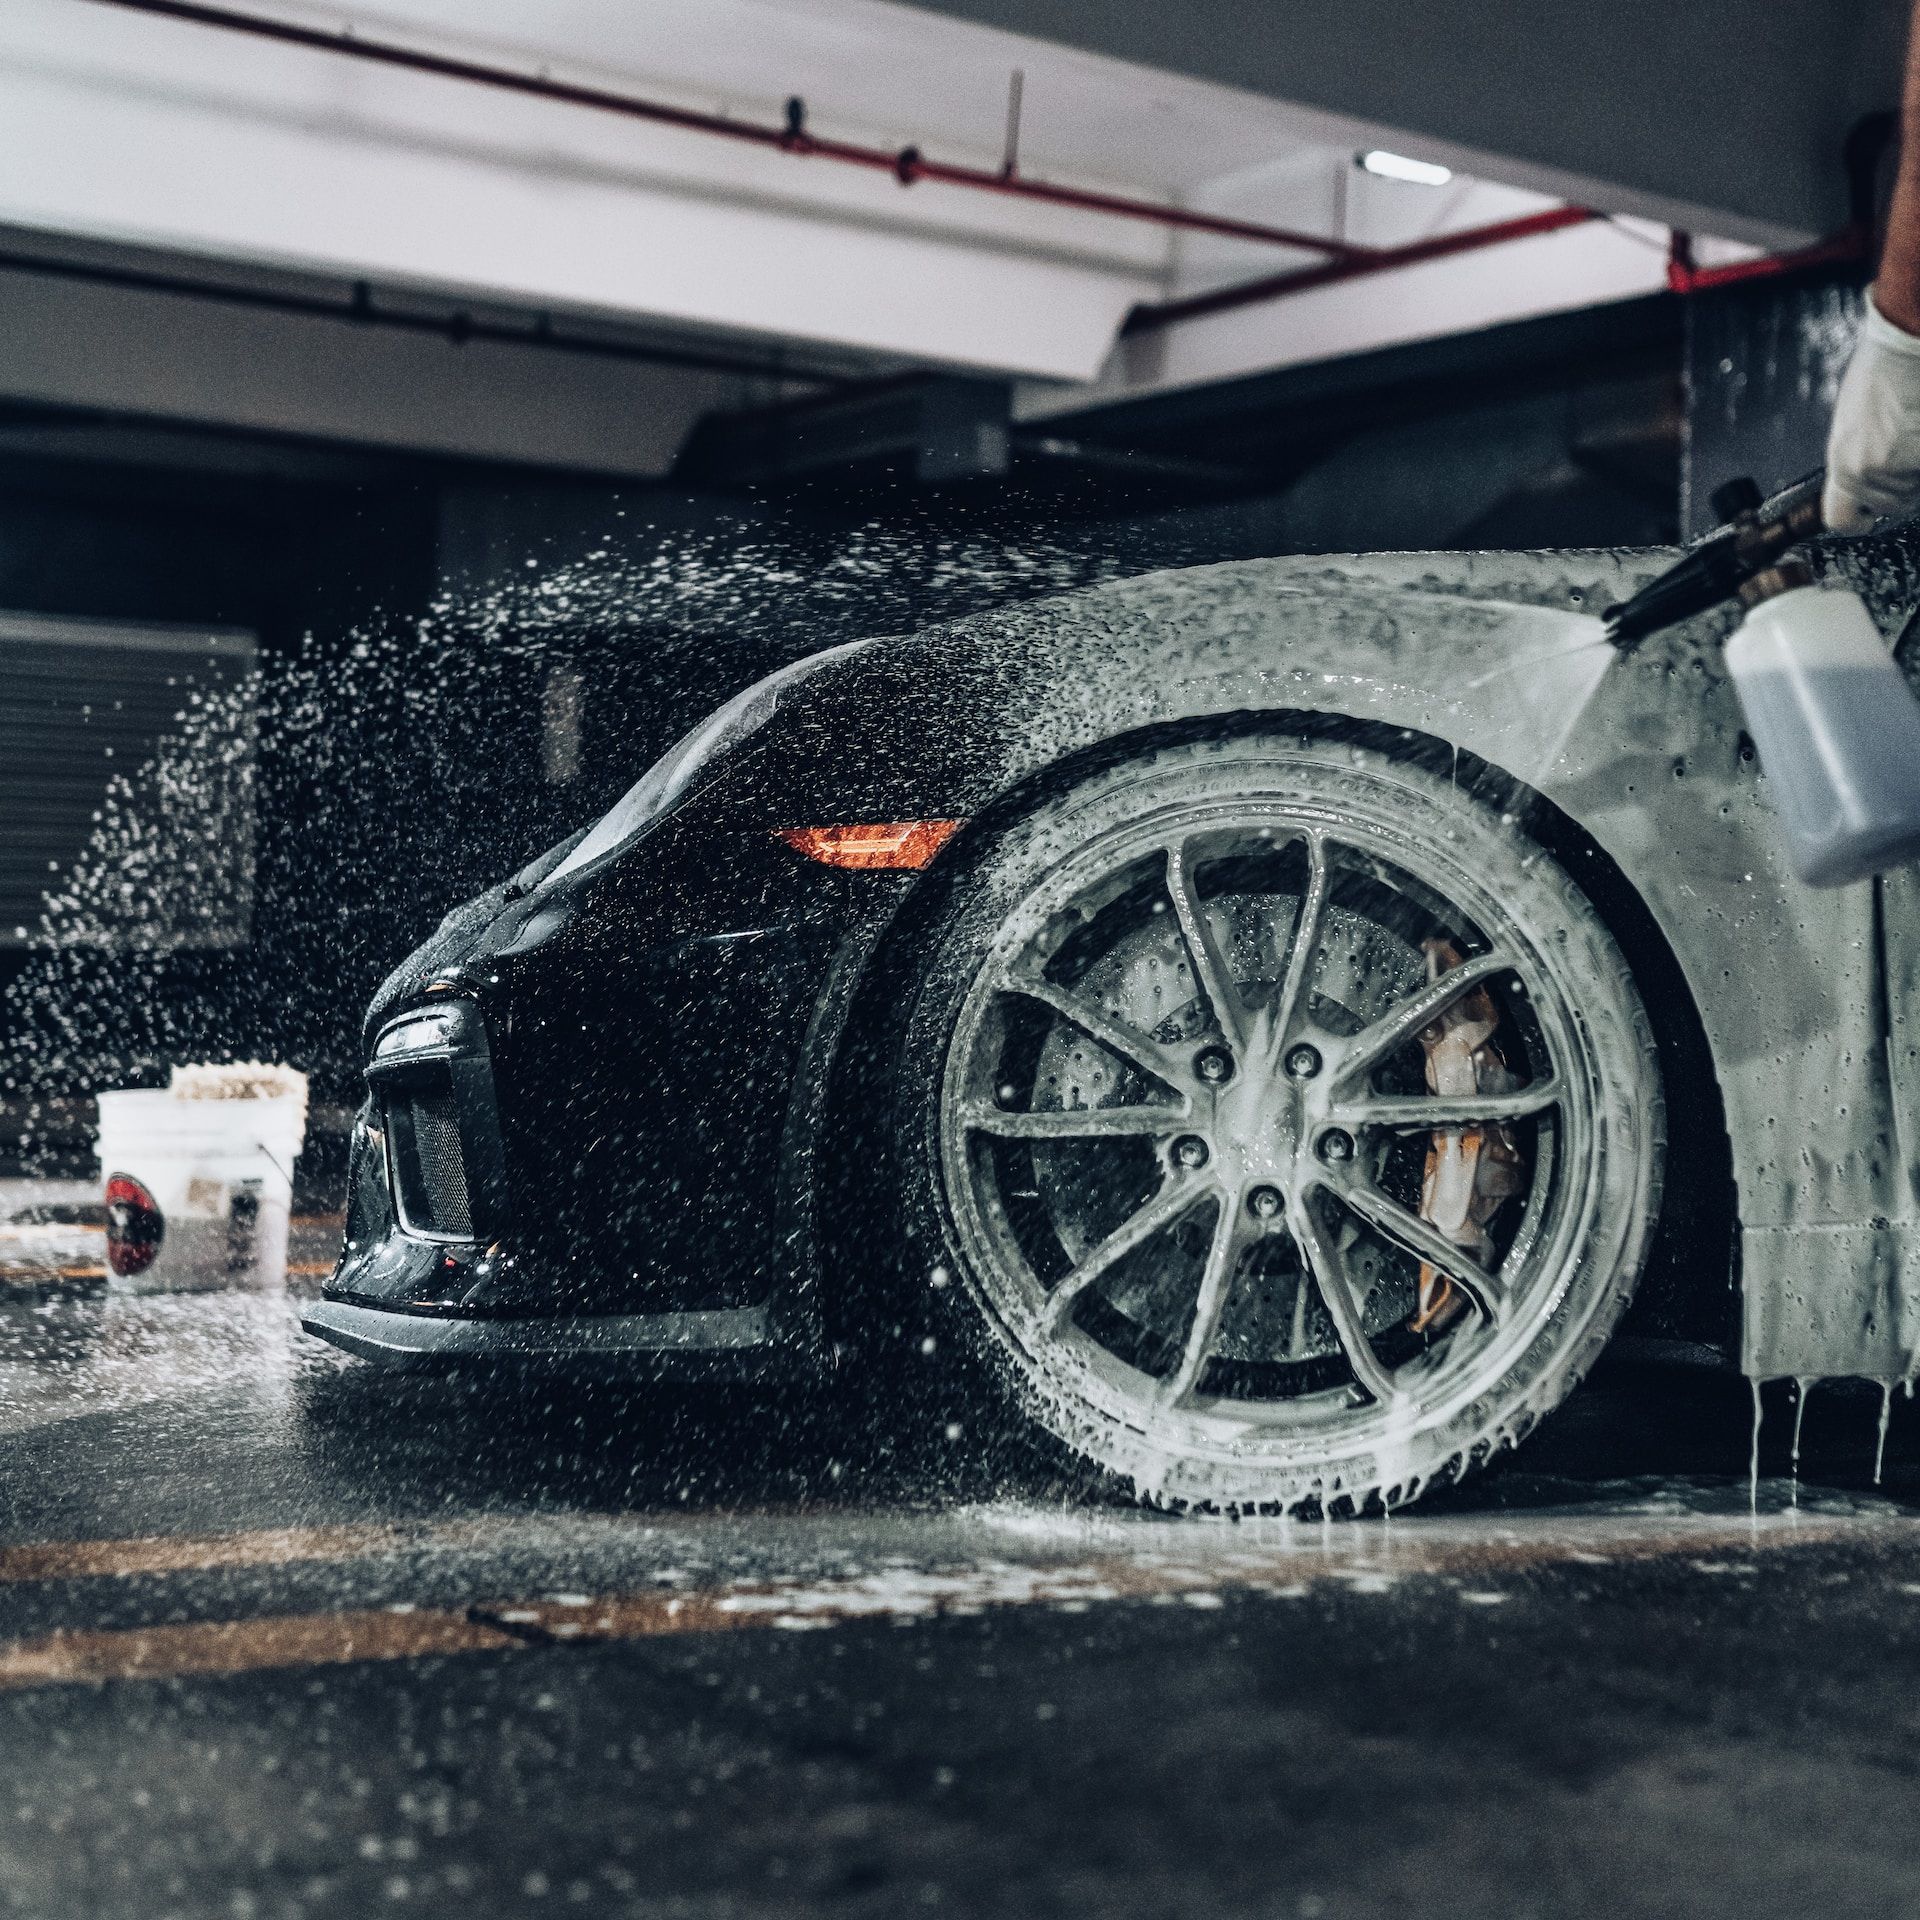
Every great paint correction job starts with a sparkling clean surface. Before you even think about breaking out the polisher, you need to strip away all the dirt, grime, and other contaminants that have accumulated on your vehicle's paint.
Failing to do so can lead to scratches and swirl marks that will stand out like a sore thumb after the correction process is complete. The key to getting your car's body ready for paint correction is removing any surface-level debris (like dust and dirt) as well as deeper contaminants that have bonded with the paint.
The first step is washing the car using high-quality products designed specifically for automotive surfaces. Avoid using household cleaners or dish soap, which can strip away protective coatings and dull your finish.
Once you've given your vehicle a good wash, it's time to move on to decontamination. Clay bars are a popular choice for this step because they can remove surface contaminants that washing alone can't touch - everything from tree sap and brake dust to industrial fallout.
Work in small sections at a time and use plenty of lubricant to avoid scratching the paint. Alternatively, iron fallout removers can dissolve metallic particles embedded in the clear coat, leaving behind a perfectly smooth surface.
Learn more about: Mastering multi stage paint correction...
The Nitty-Gritty of Washing Techniques
When it comes to washing your car like an expert detailer, there are several techniques you should keep in mind:
- Use two buckets: one filled with soapy water for washing and another filled with clean water for rinsing out your sponge or mitt.
- Start from the top: work your way down from roof to wheels, so any dirt or debris falls onto areas that haven't been washed yet.
- Rinse often: frequently rinse off both your car's surface and your cleaning tool throughout the process.
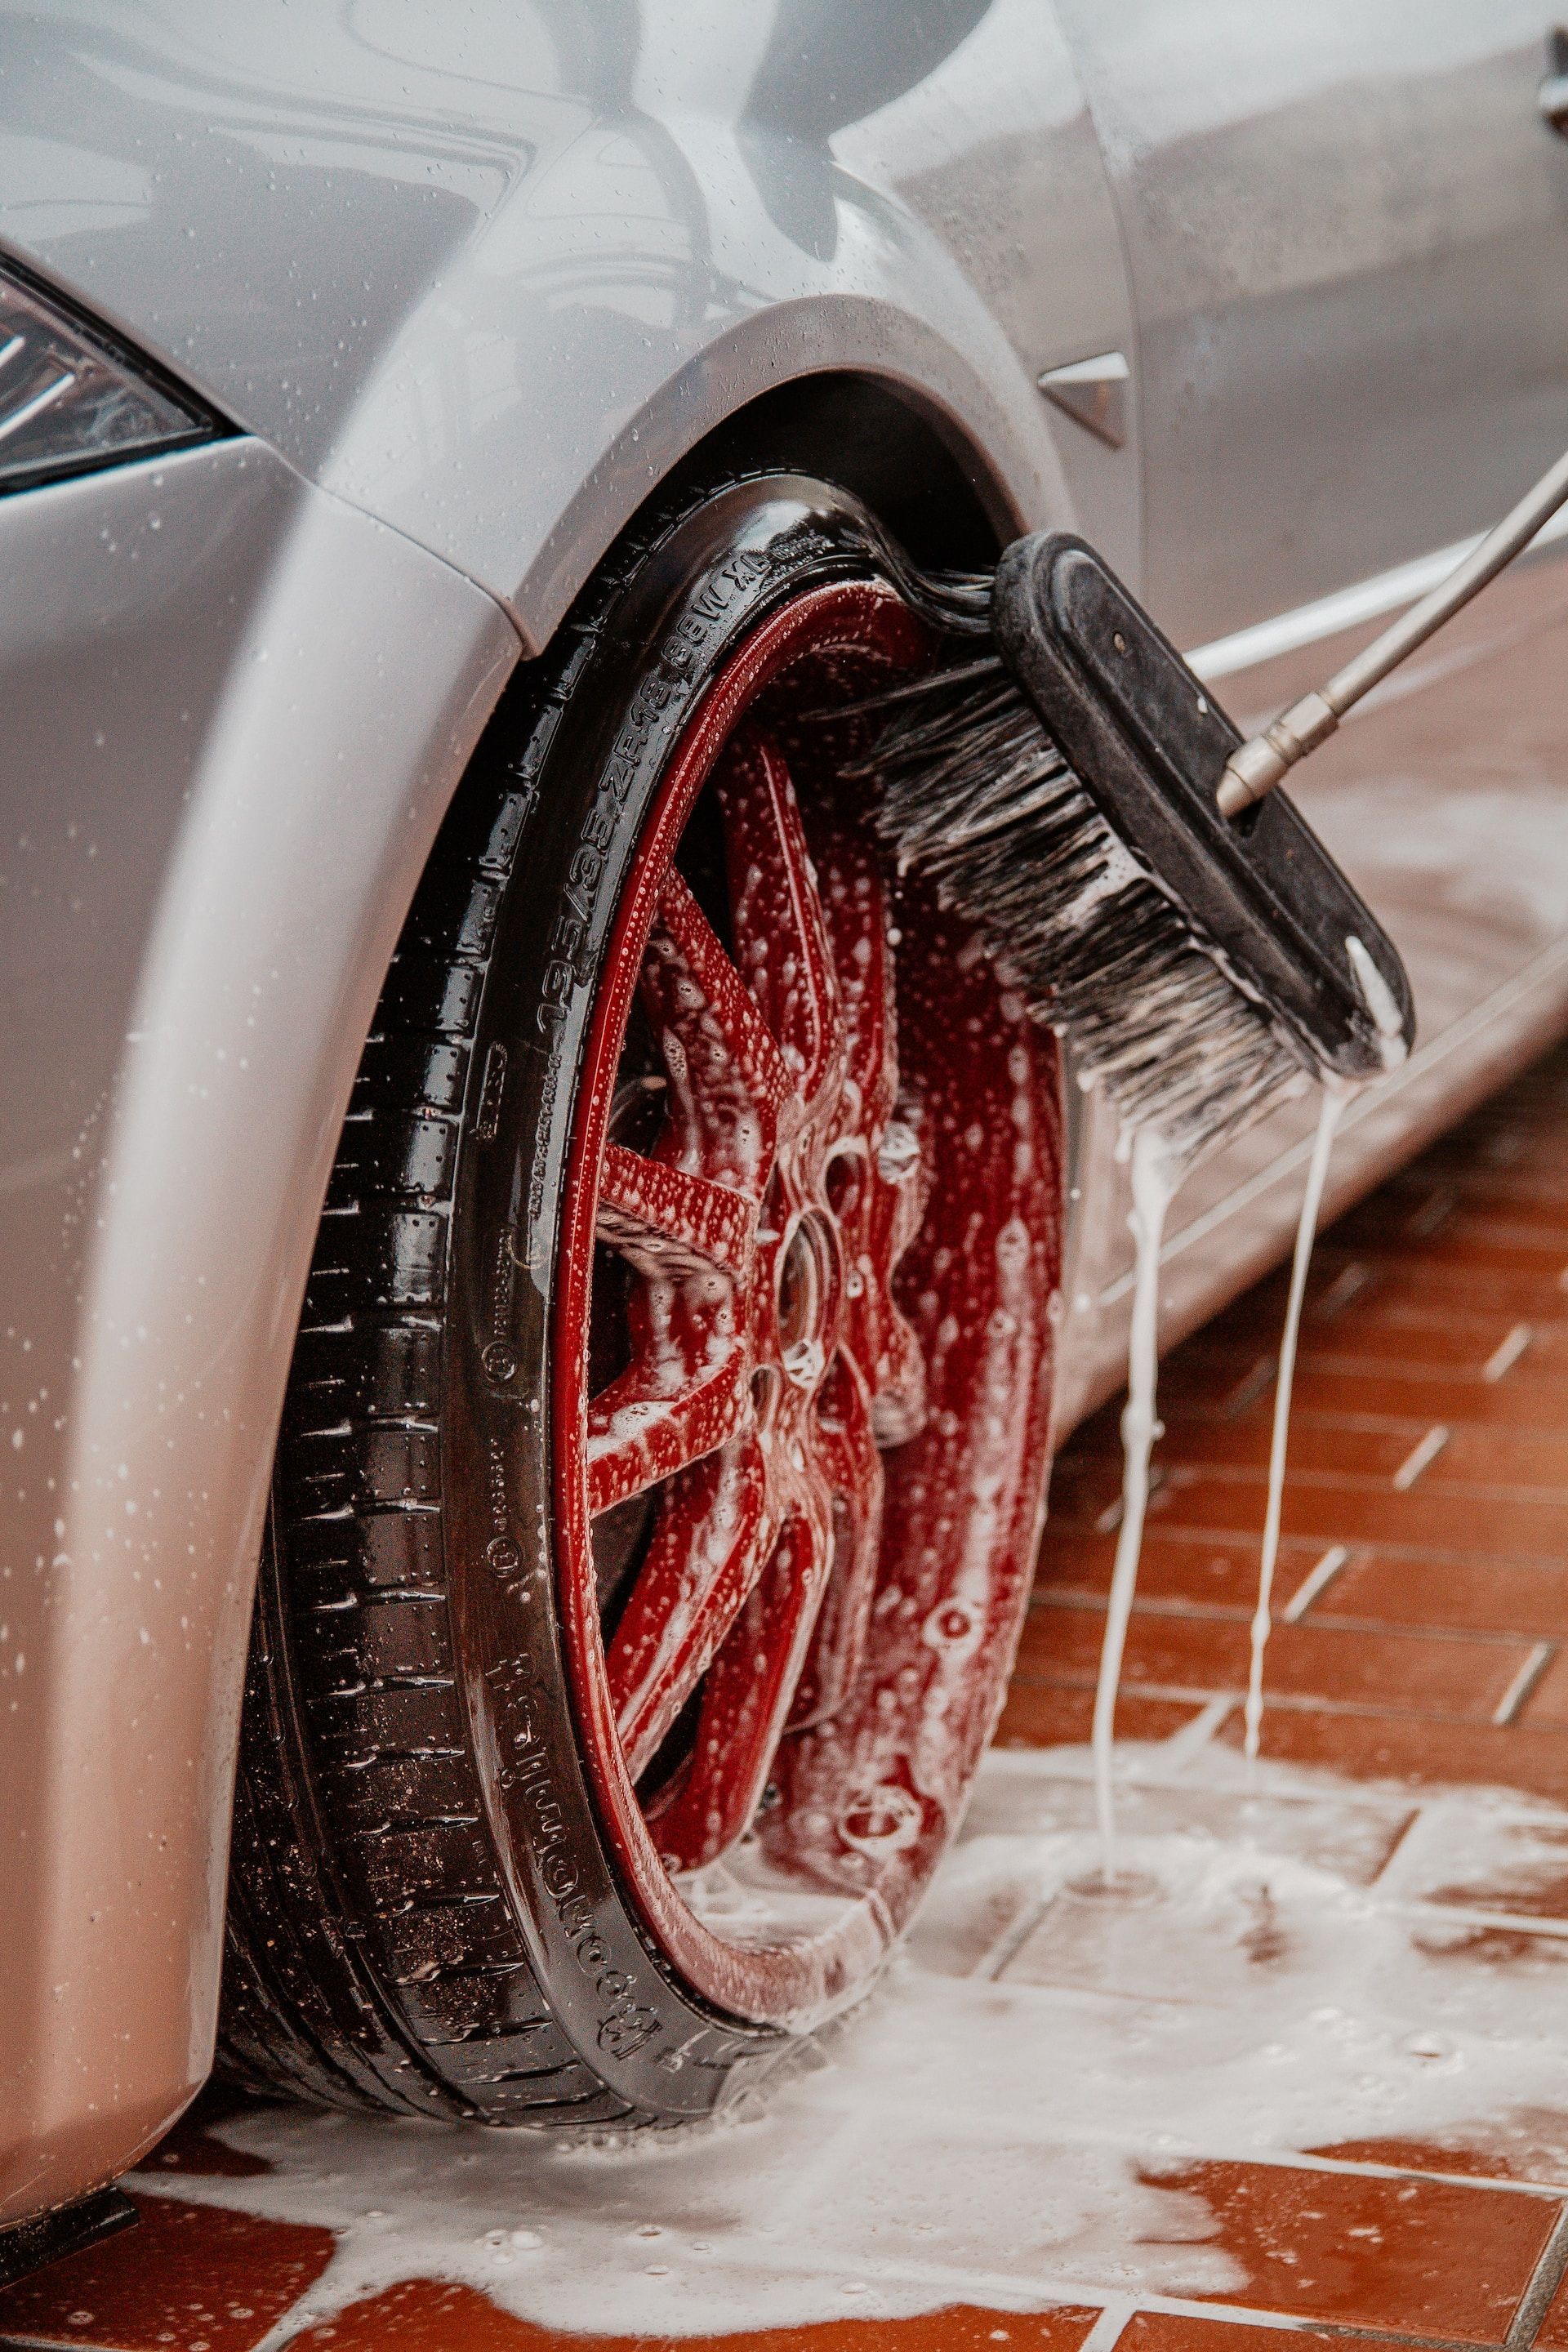
- Don't forget the wheels: brake dust can be especially stubborn to remove, so use a dedicated cleaner and brush for your wheels.
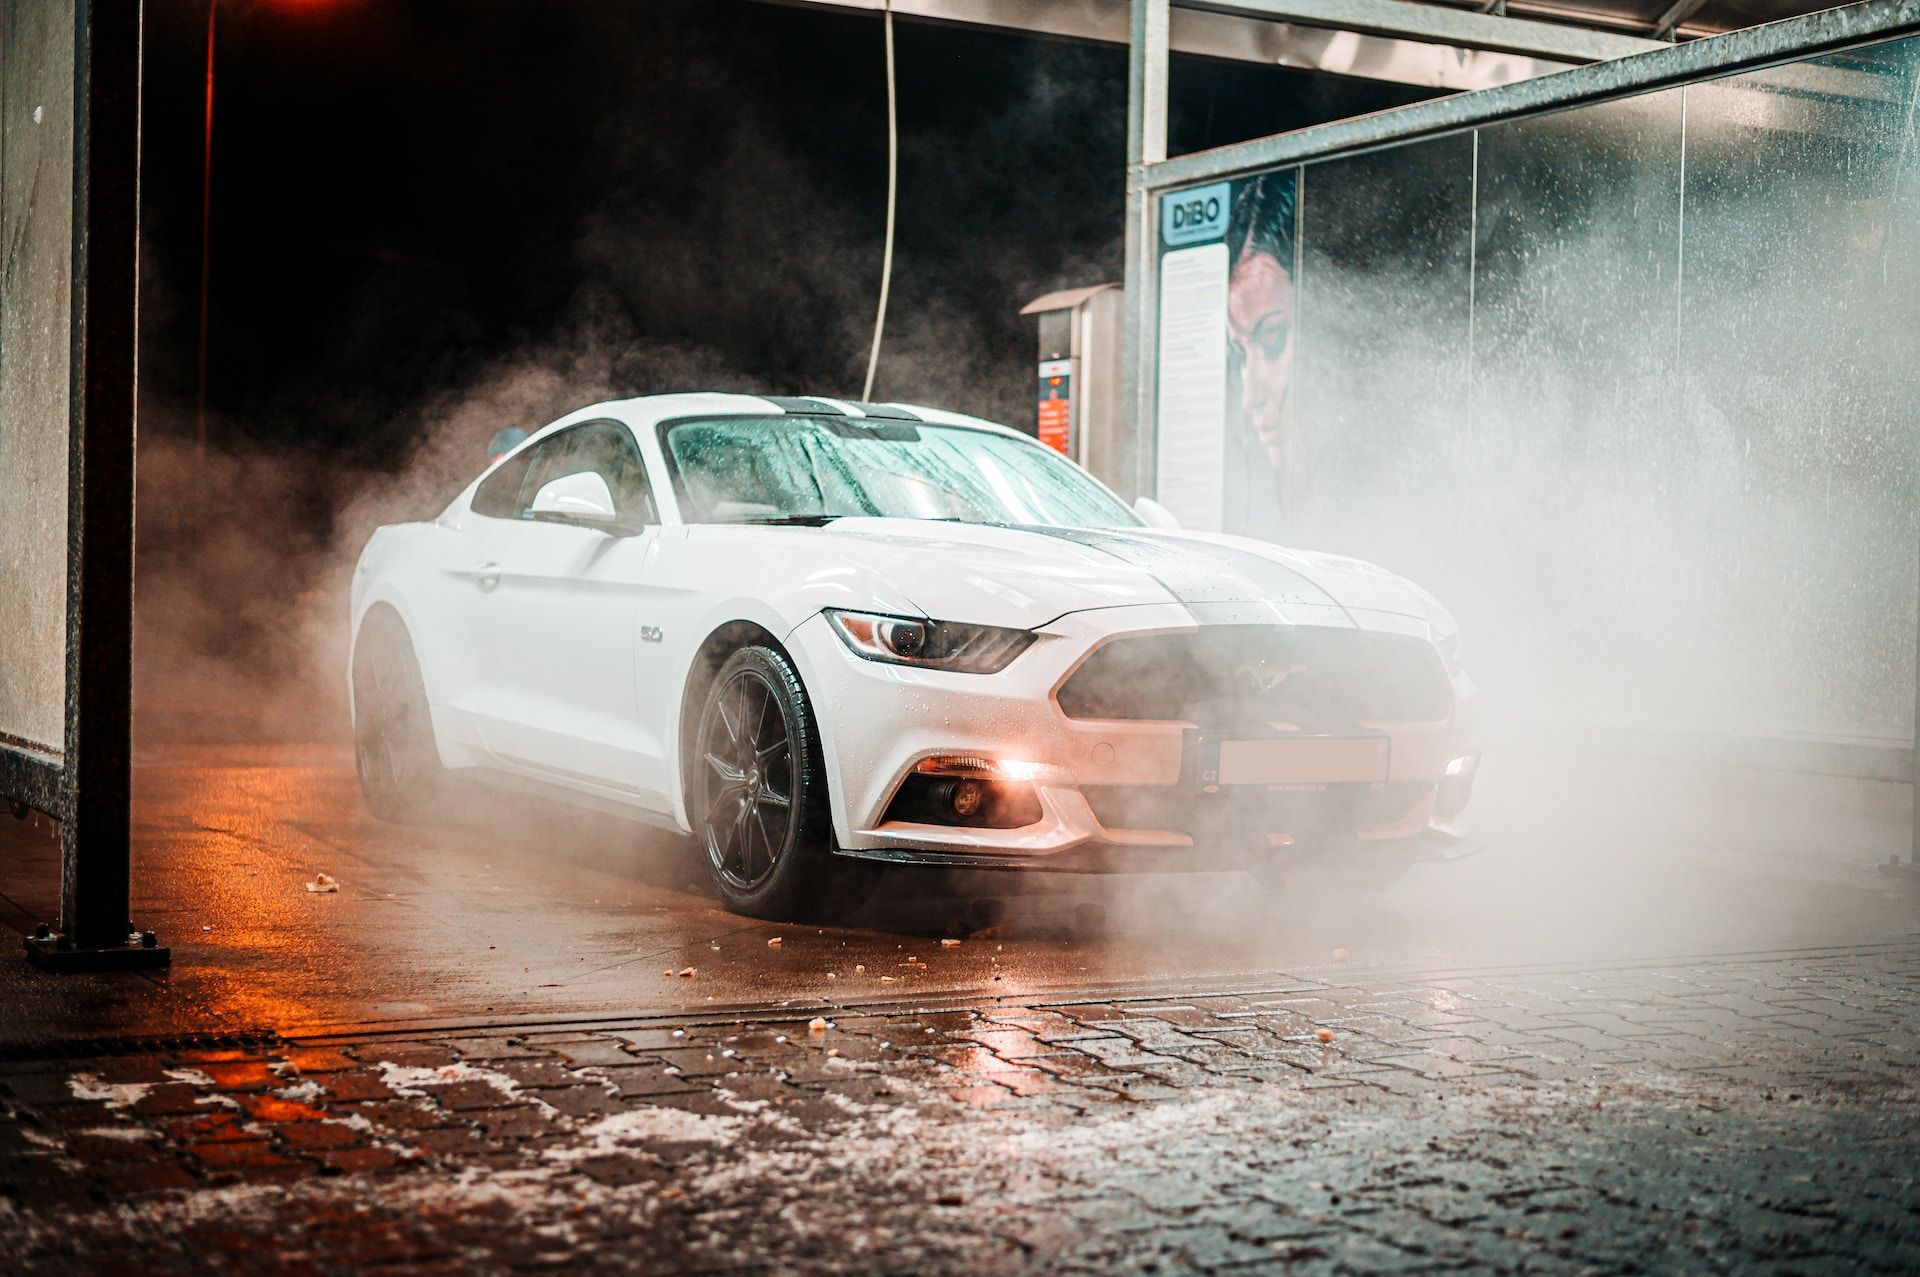
- Dry thoroughly: use microfiber towels or a blower to dry your car and avoid water spots.
Learn more about: The best paint correction products...
The Magic of Clay Bars
Clay bars are one of the most effective ways to prepare your car's surface for paint correction. Essentially, they're a synthetic version of the material potters use to shape ceramic vessels. The clay is used to pick up any contaminants that have bonded with your paint, leaving behind an ultra-smooth finish.
To use a clay bar, you'll need to spray your lubricant (usually water or detailing spray) onto a small section of the car's surface. Then, gently rub the clay bar over the area using light pressure; you should feel it picking up any debris as you go.
Once you've finished each section, fold and knead the clay bar to reveal a fresh section before moving on. When using clay bars, it's essential not to apply too much pressure or work on dry surfaces.
Doing so can cause marring or scratches in your clear coat. However, when used correctly, clay bar decontamination is a game-changer that will leave even an older vehicle looking like new again.
Learn more about: Paint correction and scratches...
Step 2: Paint Correction
What is Paint Correction and Why is it Important?
Before diving into the tools and techniques used in paint correction, it's important to understand what paint correction is and why it's so valuable. Essentially, paint correction is a process that removes defects from a car's painted surface. Defects can include things like scratches, swirl marks, oxidation, water spots, and more.
The purpose of paint correction is twofold: first, it improves the appearance of the car by removing unsightly defects. Second (and perhaps more importantly), it restores the protective properties of the clear coat.
When a car's clear coat becomes damaged or worn down by environmental factors like UV rays or acid rain, it becomes less effective at protecting the underlying layers of paint. This can lead to further damage and deterioration over time.
Learn more about: Paint correction and rock chips...
Tools and Techniques for Paint Correction
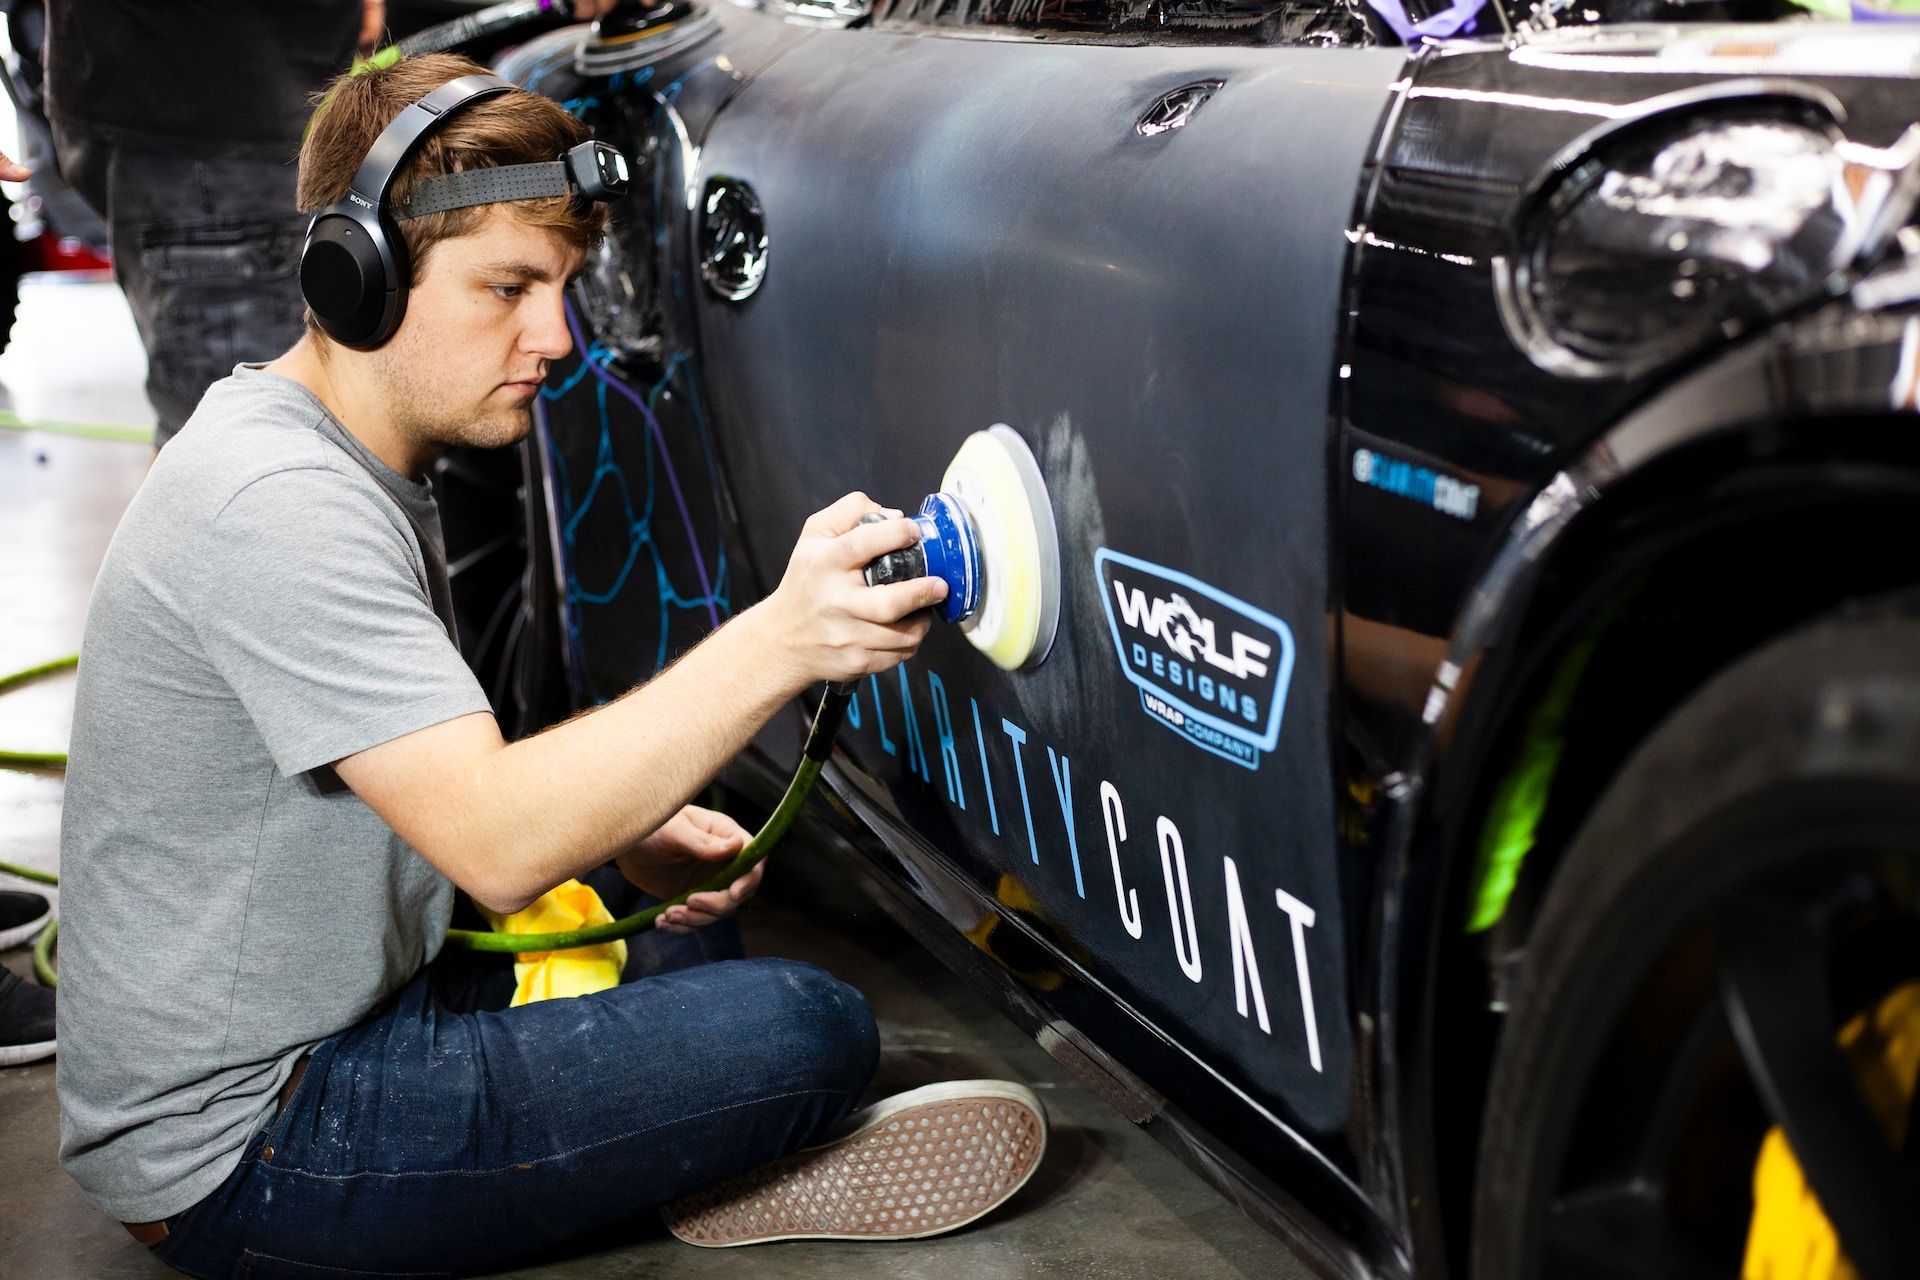
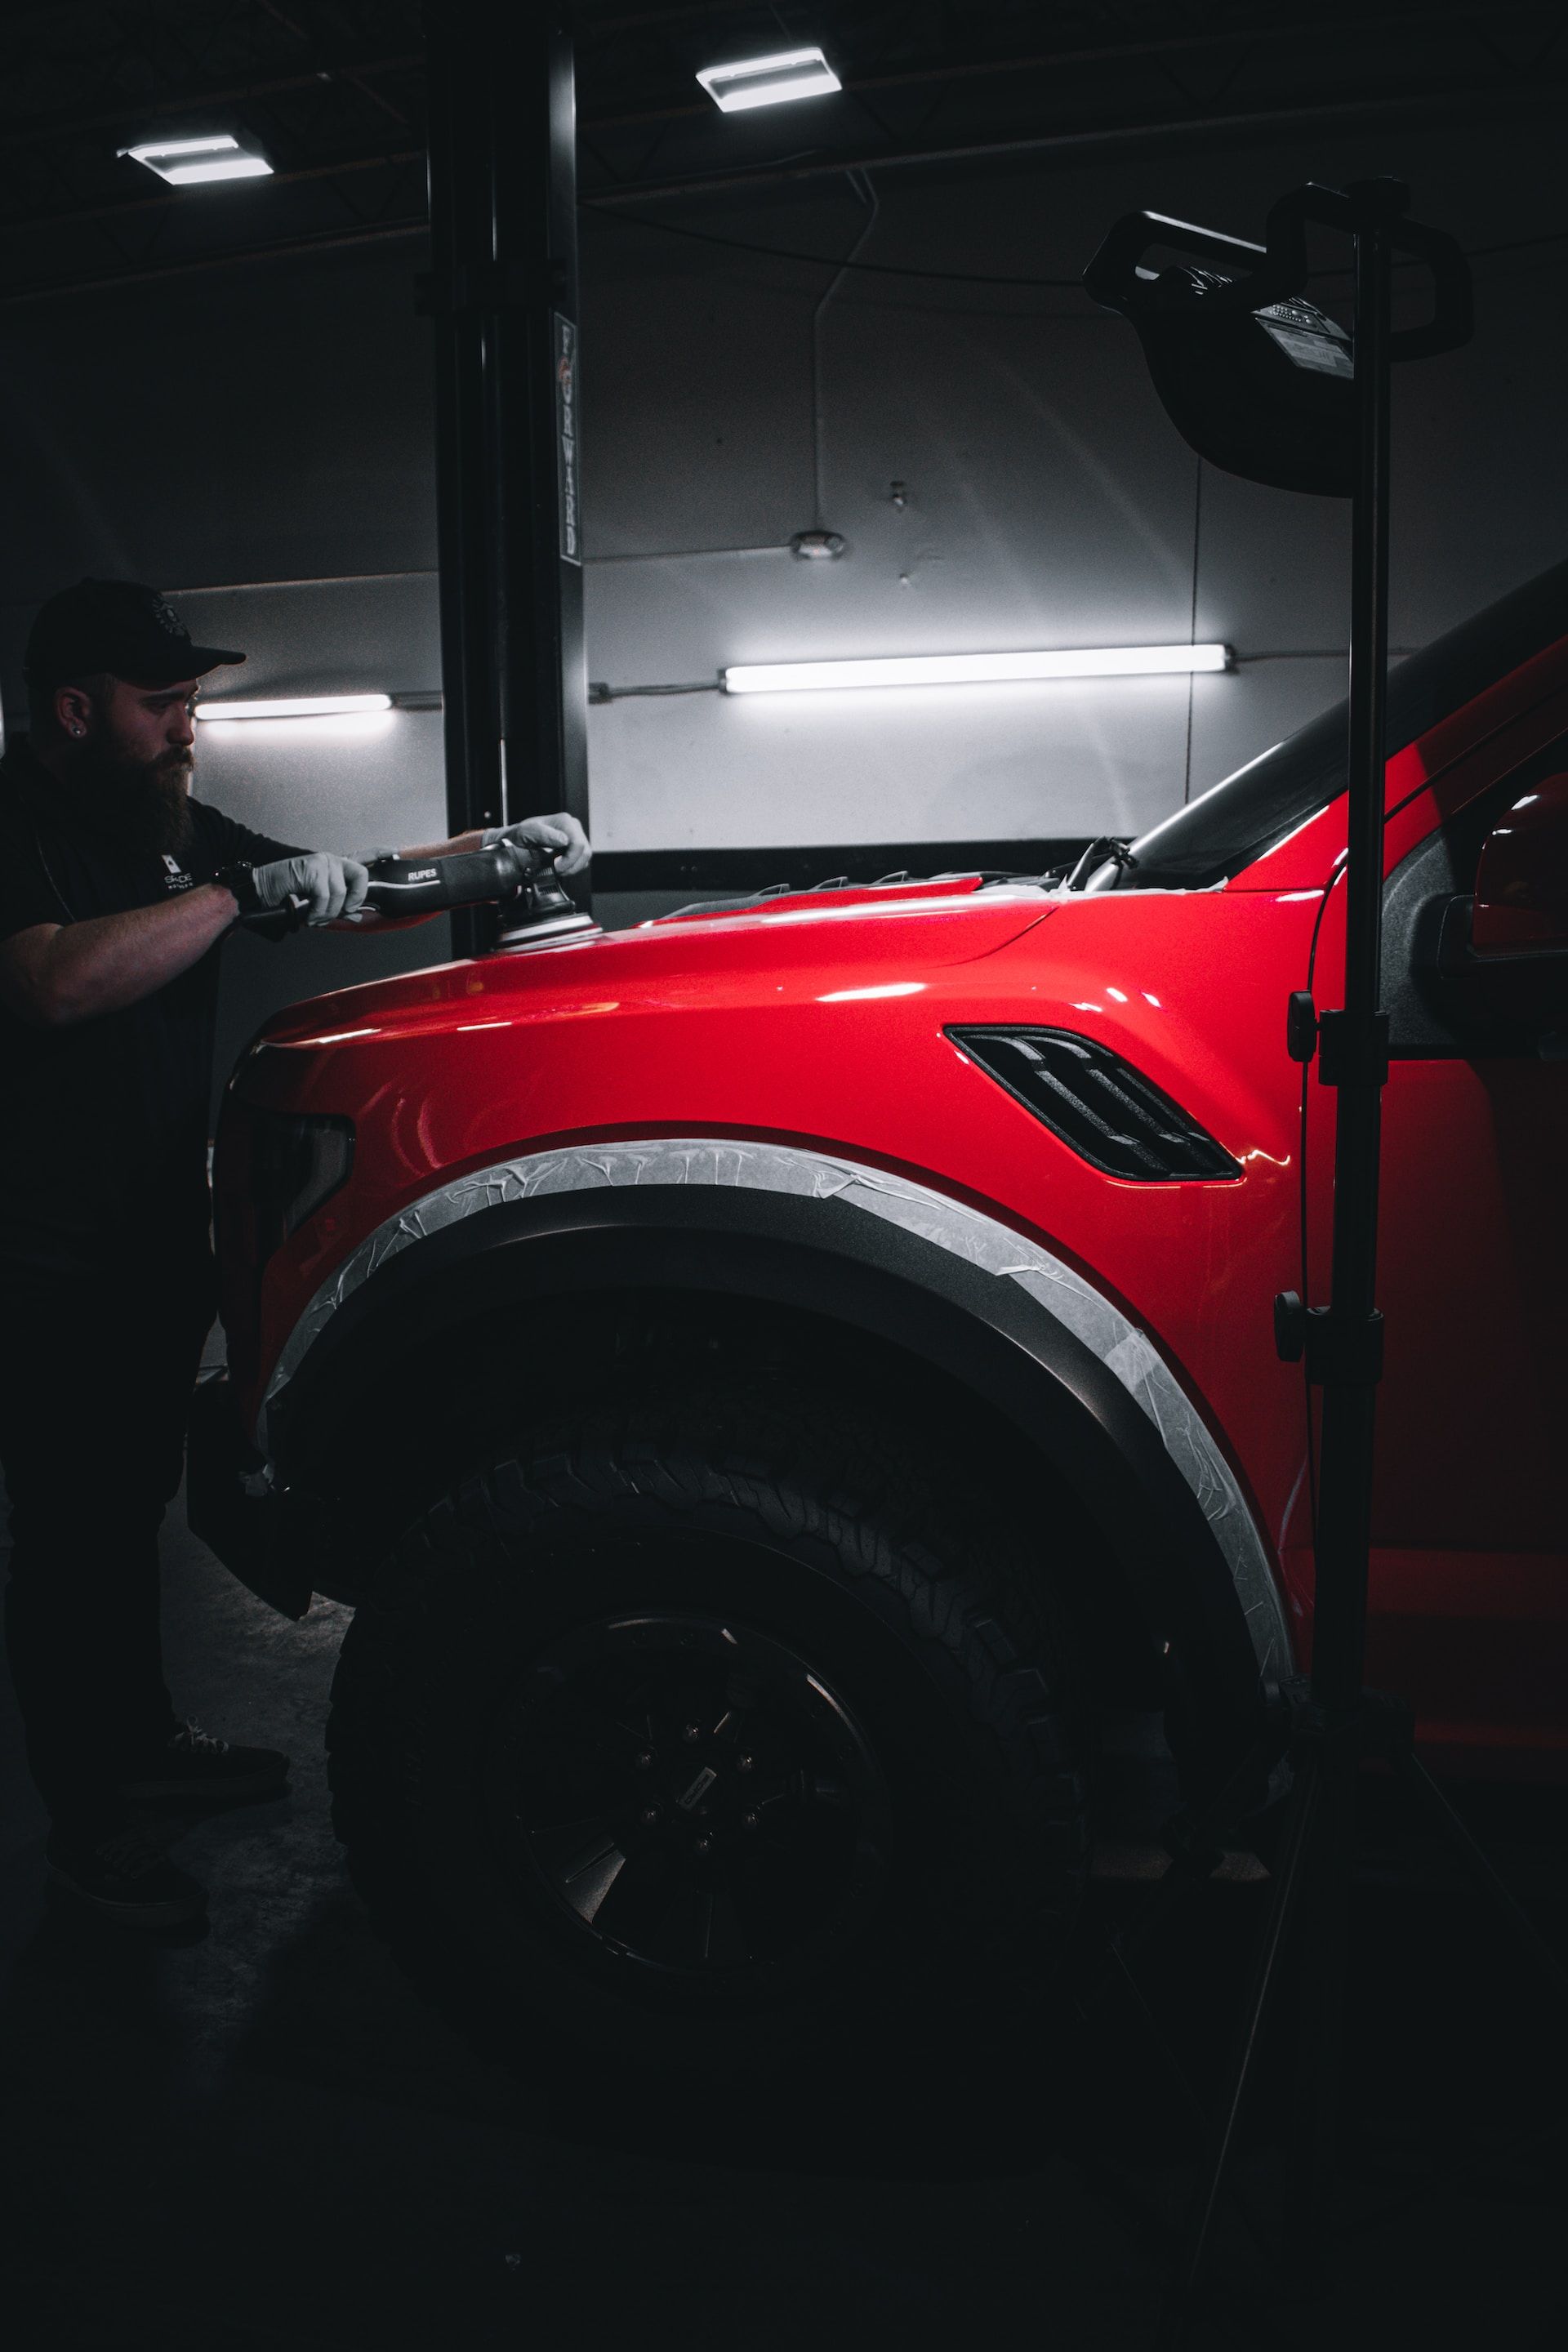
Now that we understand what paint correction is and why it's necessary let's take a look at some of the tools and techniques used in this process. One of the most commonly used tools in paint correction is a dual-action polisher. These machines use circular motions to apply compounds or polishes to the surface of the car.
They're great because they're versatile enough to be used for both heavy cutting (removing deep scratches) and light polishing (removing minor blemishes). In addition to dual-action polishers, there are also rotary polishers which use rotary motions rather than circular ones.
These are typically reserved for more experienced detailers because they can be quite aggressive if not handled correctly. There are various compounds and pads that are used with these machines to achieve different levels of cut or polish depending on how severe the defects are on your vehicle.
Learn more about: How long paint correction takes...
The Importance of Proper Technique
While using these tools may seem straightforward, it's important to remember that improper technique can be very damaging to your car's paint. For example, using too much pressure or allowing the pad to get too hot can create swirl marks or even burn through the clear coat. That's why it's important to start with a less aggressive compound and work your way up as needed.
It's also important to use a consistent speed and pressure throughout the process and keep the pad clean and lubricated with water or detail spray. By using proper technique, you can achieve great results without damaging your car's paint in the process.
Learn more about: If paint correction is worth it...
Step 3: Refinement
Explain how refinement is used to remove any remaining defects or swirl marks from previous steps
After completing the paint correction process, the surface of the car should look significantly better. However, there may still be some minor defects or swirl marks left over. This is where refinement comes in - it's the final step in achieving a truly flawless finish.
Refinement involves using even finer polishing compounds and pads to remove any remaining imperfections. It's important to note that refinement should only be done after all other defects have been corrected.
Attempting to refine a surface that still has major scratches or swirl marks can actually make the problem worse. It's also important to work slowly and methodically during this step, as it can be easy to accidentally introduce new scratches if you're not careful.
Learn more about: Mobile paint correction...
Discuss different polishing pads and compounds that can be used for refinement
There are many different types of polishing pads and compounds available for use during the refinement step of paint correction. Generally speaking, you'll want a fine-grit compound paired with a soft foam pad for this stage of the process.
Here are some popular options:
- Menzerna SF4000: This compound is specifically designed for refining paintwork after heavier correction work has been completed. It's formulated with incredibly fine abrasive particles that leave behind an almost perfect finish.
- Lake Country CCS White Polishing Pad: This pad is made from softer foam than other polishing pads, making it ideal for use during the refinement stage when less abrasion is needed.
- Rupes Diamond Ultra Fine Gel Polish: This polish is formulated with diamond powder, which means its abrasive particles are extremely fine - perfect for removing any remaining imperfections on your car's surface.
Of course, there are many other combinations of pads and compounds you could use depending on your specific needs and preferences.
Learn more about: Paint correction detailing...
Emphasize the importance of inspecting the surface between each refinement step
It's incredibly important to inspect the surface of your car between each refinement step. It's easy to miss small defects or imperfections, especially if you're working on a large panel. By taking the time to carefully examine your work after each stage, you can catch any remaining issues before moving on to the next stage.
This will save you time and effort in the long run since you won't have to go back and redo any steps. To inspect your work effectively, use a bright light source (such as a flashlight or floodlight) at an oblique angle to your car's surface.
This will help highlight any remaining swirl marks or other defects that may be difficult to see otherwise. Take your time during this step - it's better to spend a few extra minutes examining your work than to rush through and miss something important.
Learn more about: 3 step paint correction...
Step 4: Protection
The Options
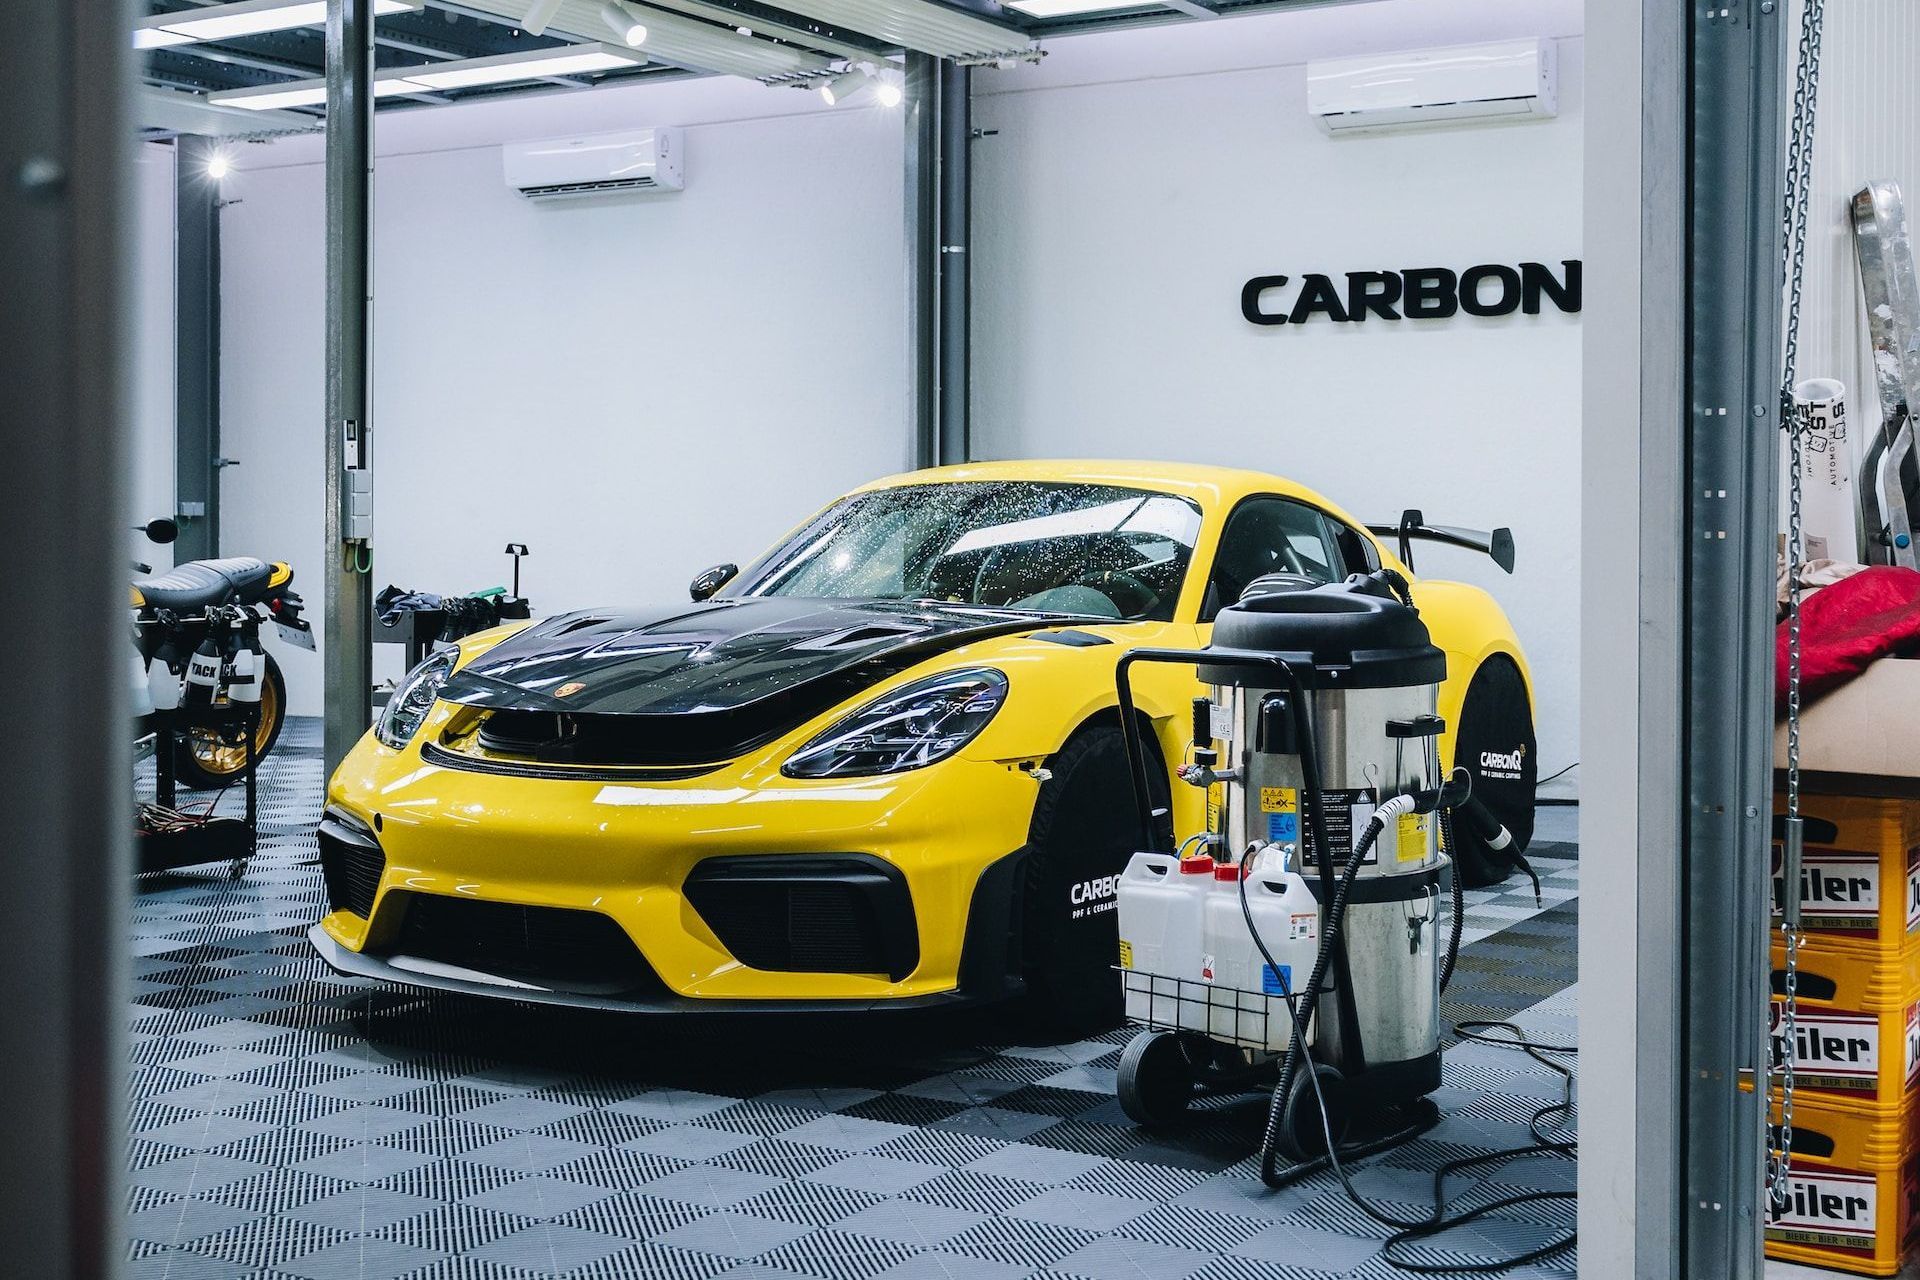
After going through the rigorous process of washing, decontaminating, and correcting the paint on your vehicle, it is essential that you protect all of the hard work that has been done. This is where step four comes in - protection. There are several options for protection, including wax, sealant or ceramic coating.
Each option offers different levels of protection and longevity. Wax is a great option for those who are looking for an affordable and easy-to-apply solution.
It provides a durable layer of protection against UV rays and water spots. However, it is not as long-lasting as other options and requires more frequent applications.
Sealant provides longer-lasting protection than wax and can last up to six months with proper care. It also does a great job at protecting against environmental elements such as UV rays, water spots, and acid rain.
Ceramic coating is the most expensive option but provides superior protection lasting up to two years or more with proper maintenance. It creates a strong bond with the surface that repels water and makes cleaning easier while providing excellent UV resistance.
Learn more about: Two step paint correction...
Protect Against Environmental Elements
UV rays can be harmful to both your skin and your car's paint job. Over time they can cause fading or peeling of the paint surface which will diminish its appearance value.
Water spots can also be harmful to your car's paint as they deposit minerals onto its surface which over time can lead to damage that may need professional attention or complete respray. Applying a protective product on your vehicle will help prevent these issues from occurring in the first place by acting as a barrier between your car’s exterior surfaces from environmental factors like UV rays, oxidation caused by moisture contact & Acidic substances found on roads such as salt during winter seasons while increasing longevity of color retention & gloss retention properties on the paint surfaces.
Learn more about: One step paint correction...
Conclusion
After completing the 4 step paint correction process and applying a protective layer, your vehicle's appearance will undoubtedly be transformed. By following the steps, you can achieve a deep shine and protect it from environmental factors such as UV rays, water spots, and acid rain.
The benefits of paint correction go beyond just aesthetics; it also helps prevent damage to your vehicle's paint job. By maintaining your car's exterior with regular washes and proper protection, you can enjoy a beautiful-looking car for years to come.
There's still plenty to learn about paint correction. Be sure to check out our other posts:
- Paint correction prices unmasked
- Reviving your car's look
- A comprehensive guide for car enthusiasts
- Perfecting your car's finish
Scottsdale Auto Detailing Blog


A Mobile Car Detailer in Scottsdale
drop us a line for a personalized car detailing plan

Navigation
Services
We provide detailing in:
Scottsdale, Paradise Valley, Phoenix, Tempe, Mesa, Chandler, Glendale & Gilbert