
How to Paint Correction Guide on Your Car | Revive Your Ride
The Importance of Paint Correction on a Car
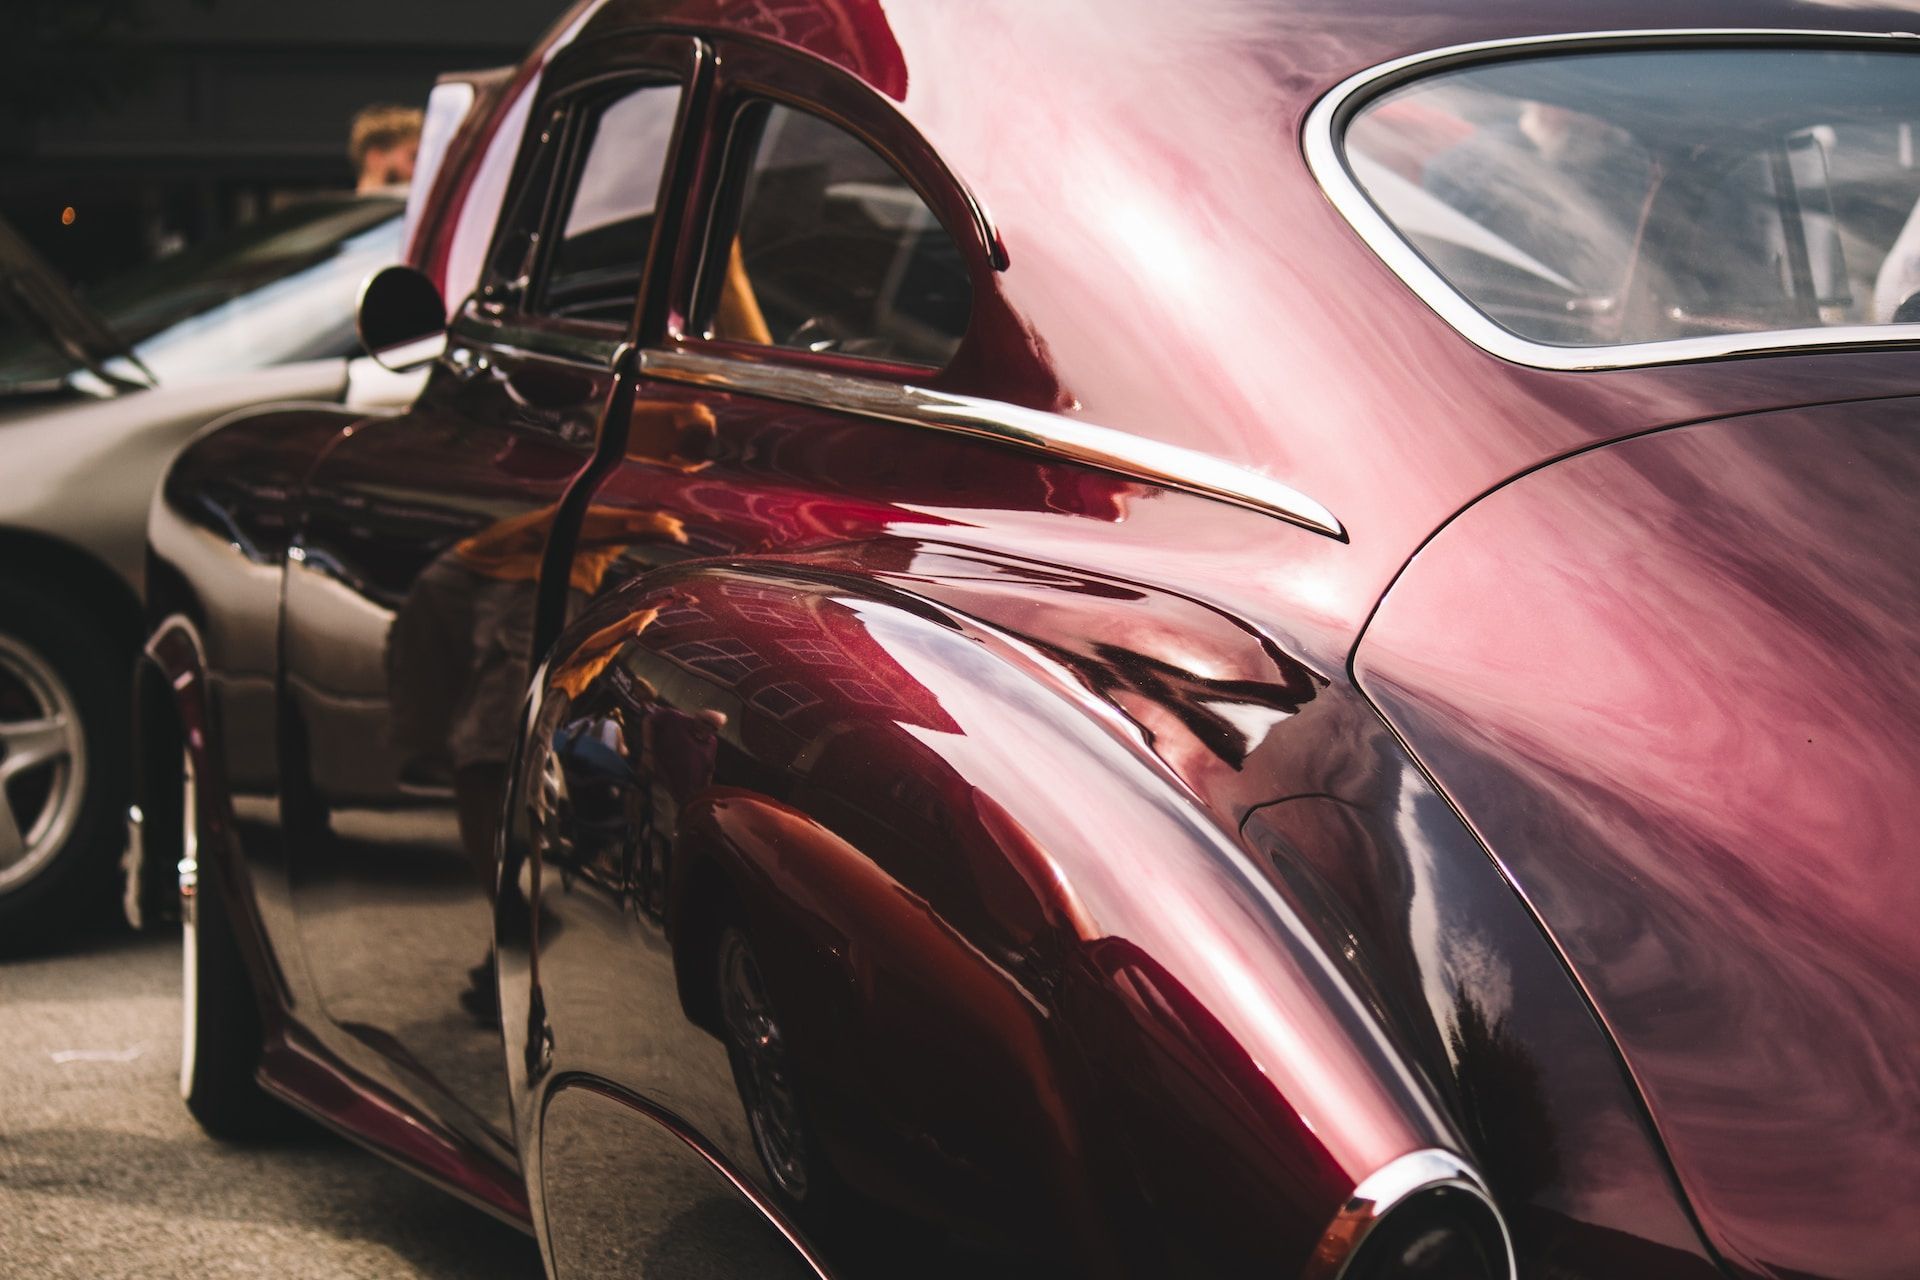
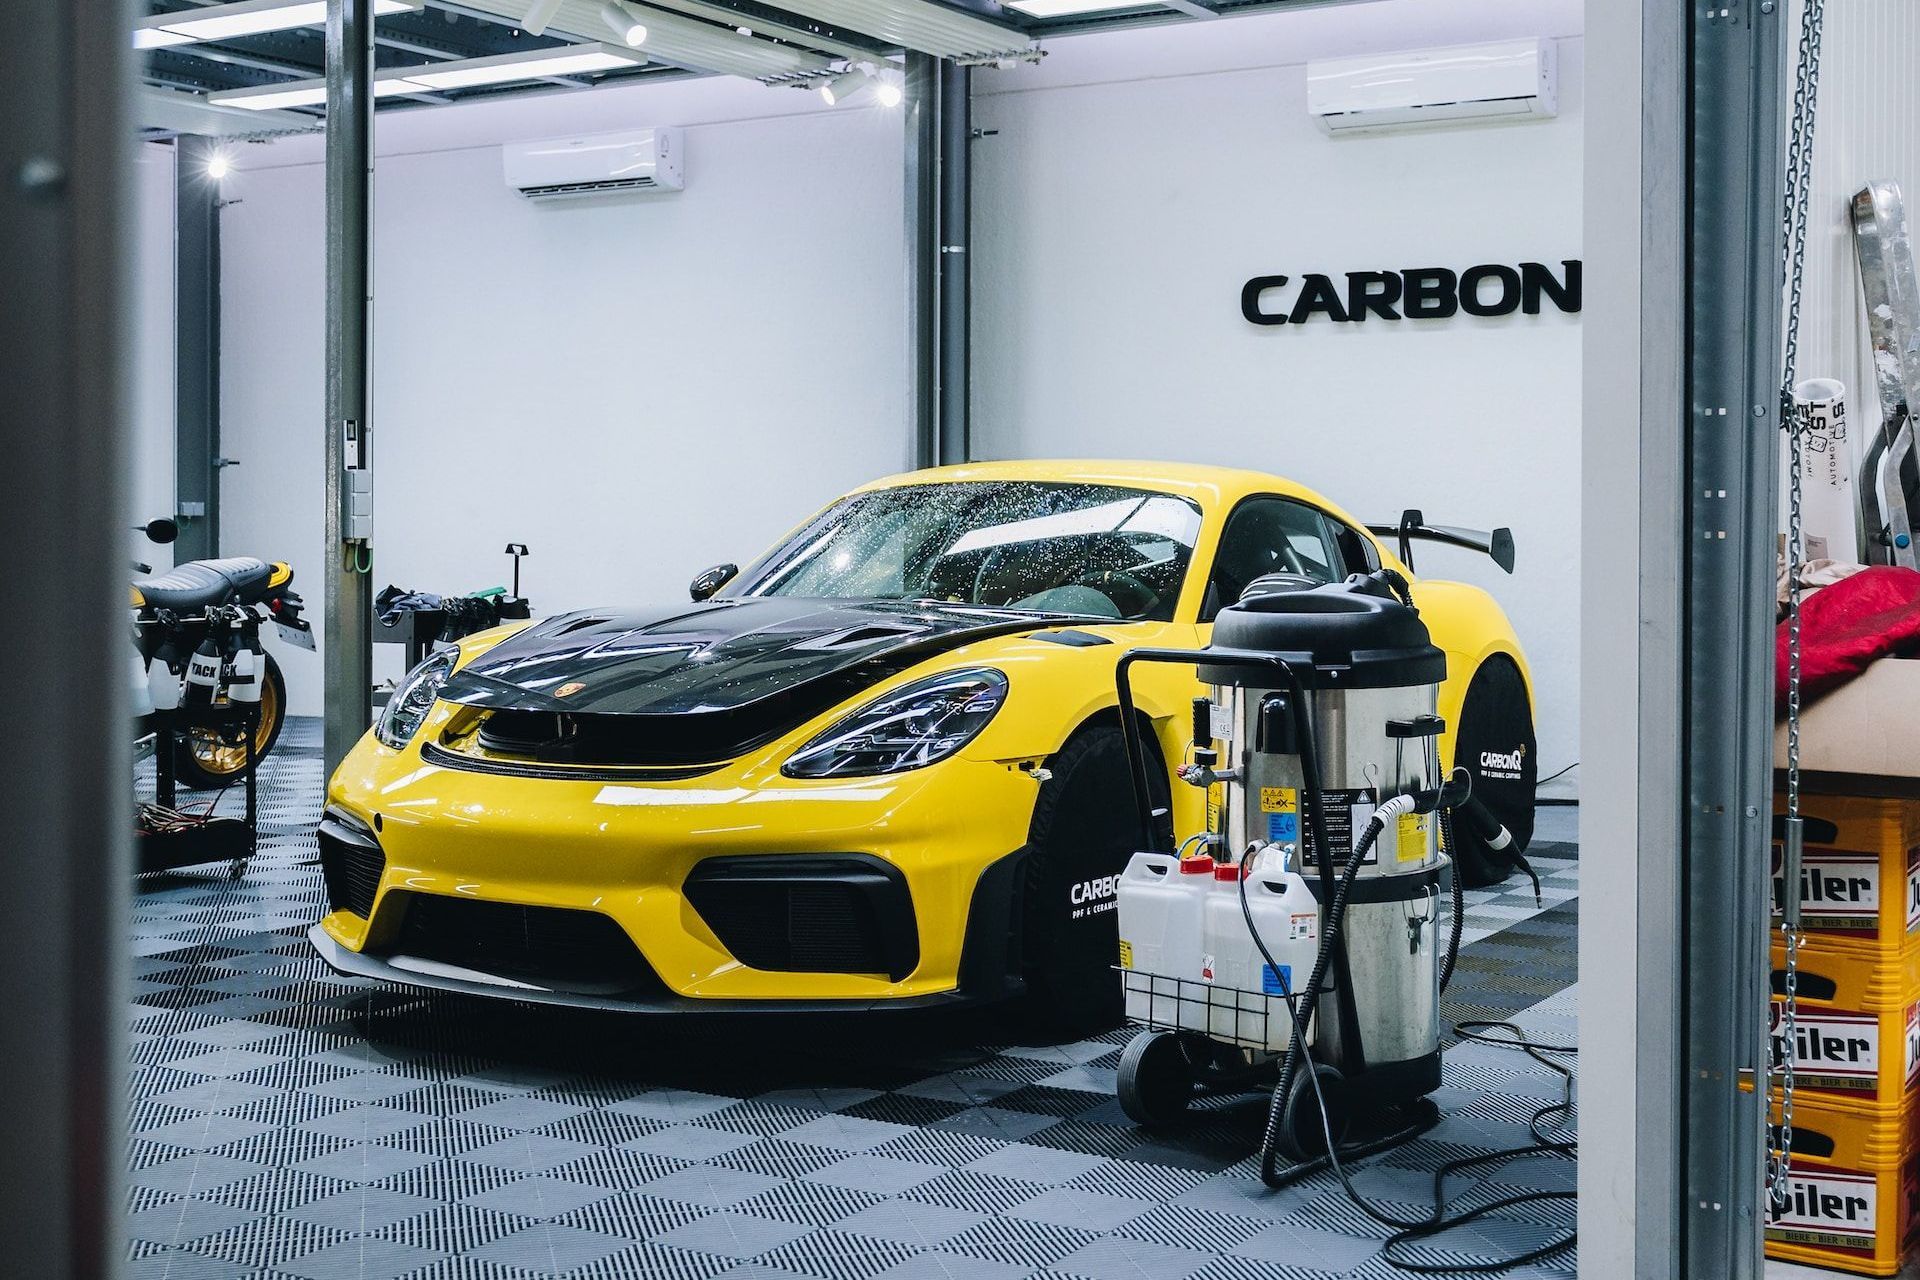
Ah, the beauty of a freshly painted car - gleaming in the sun, looking like it just rolled off the factory floor. But as any car enthusiast knows, maintaining that perfect paint job can be a daunting task.
It's not just about aesthetics - paint correction is essential for protecting your vehicle from environmental damage and preserving its resale value. Paint correction involves removing imperfections such as swirl marks, scratches, and oxidation from a car's exterior surface.
These blemishes not only detract from the appearance of your ride but also leave it vulnerable to further damage such as rust or corrosion. With regular paint correction, you can extend the life and durability of your vehicle's paint job.
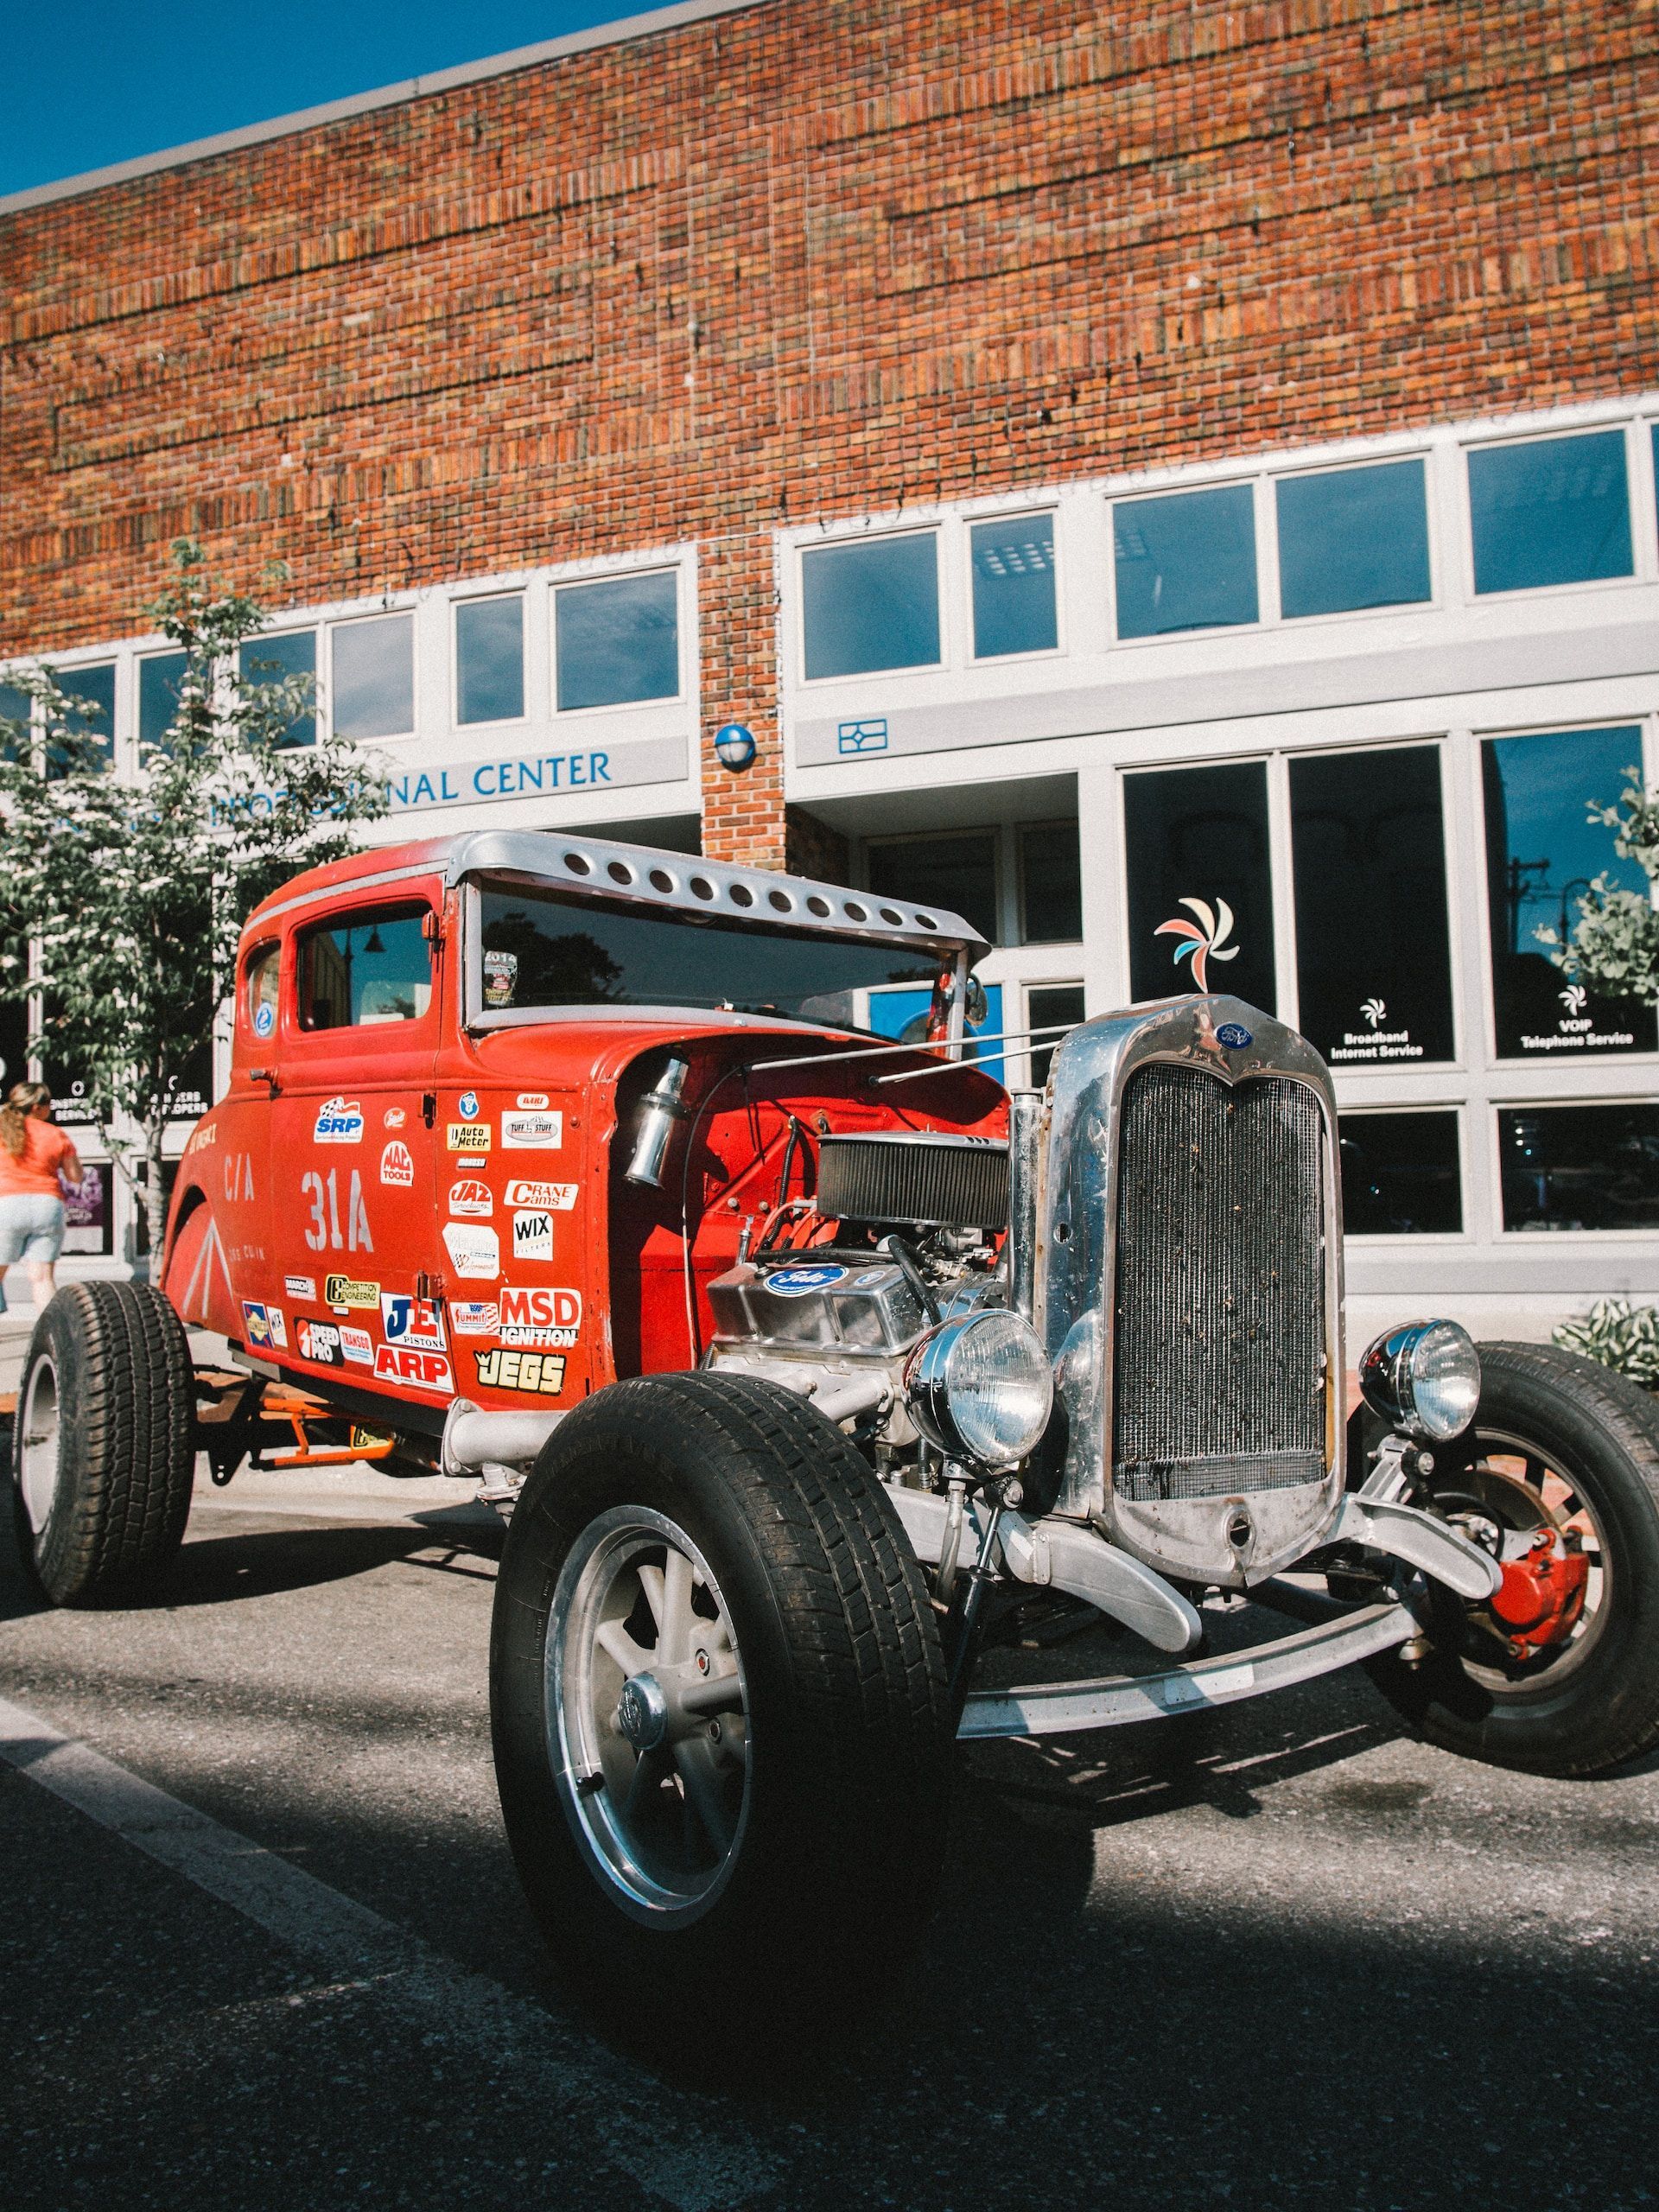
Now, some may argue that imperfections add character to a car and embrace the "patina" look. But let's be real - nobody wants to pay top dollar for a vehicle with faded or scratched-up paint.
And who wants their ride looking like it's been through a sandstorm? Save the patina for vintage cars that have earned their battle scars.
Common Issues with Car Paint
So what are some common culprits behind those pesky swirl marks and scratches? One major offender is improper washing techniques.
Using abrasive sponges or towels, neglecting to rinse thoroughly, or using dirty water can all contribute to micro-scratches that accumulate over time. Another culprit is exposure to environmental factors like UV rays and acid rain.
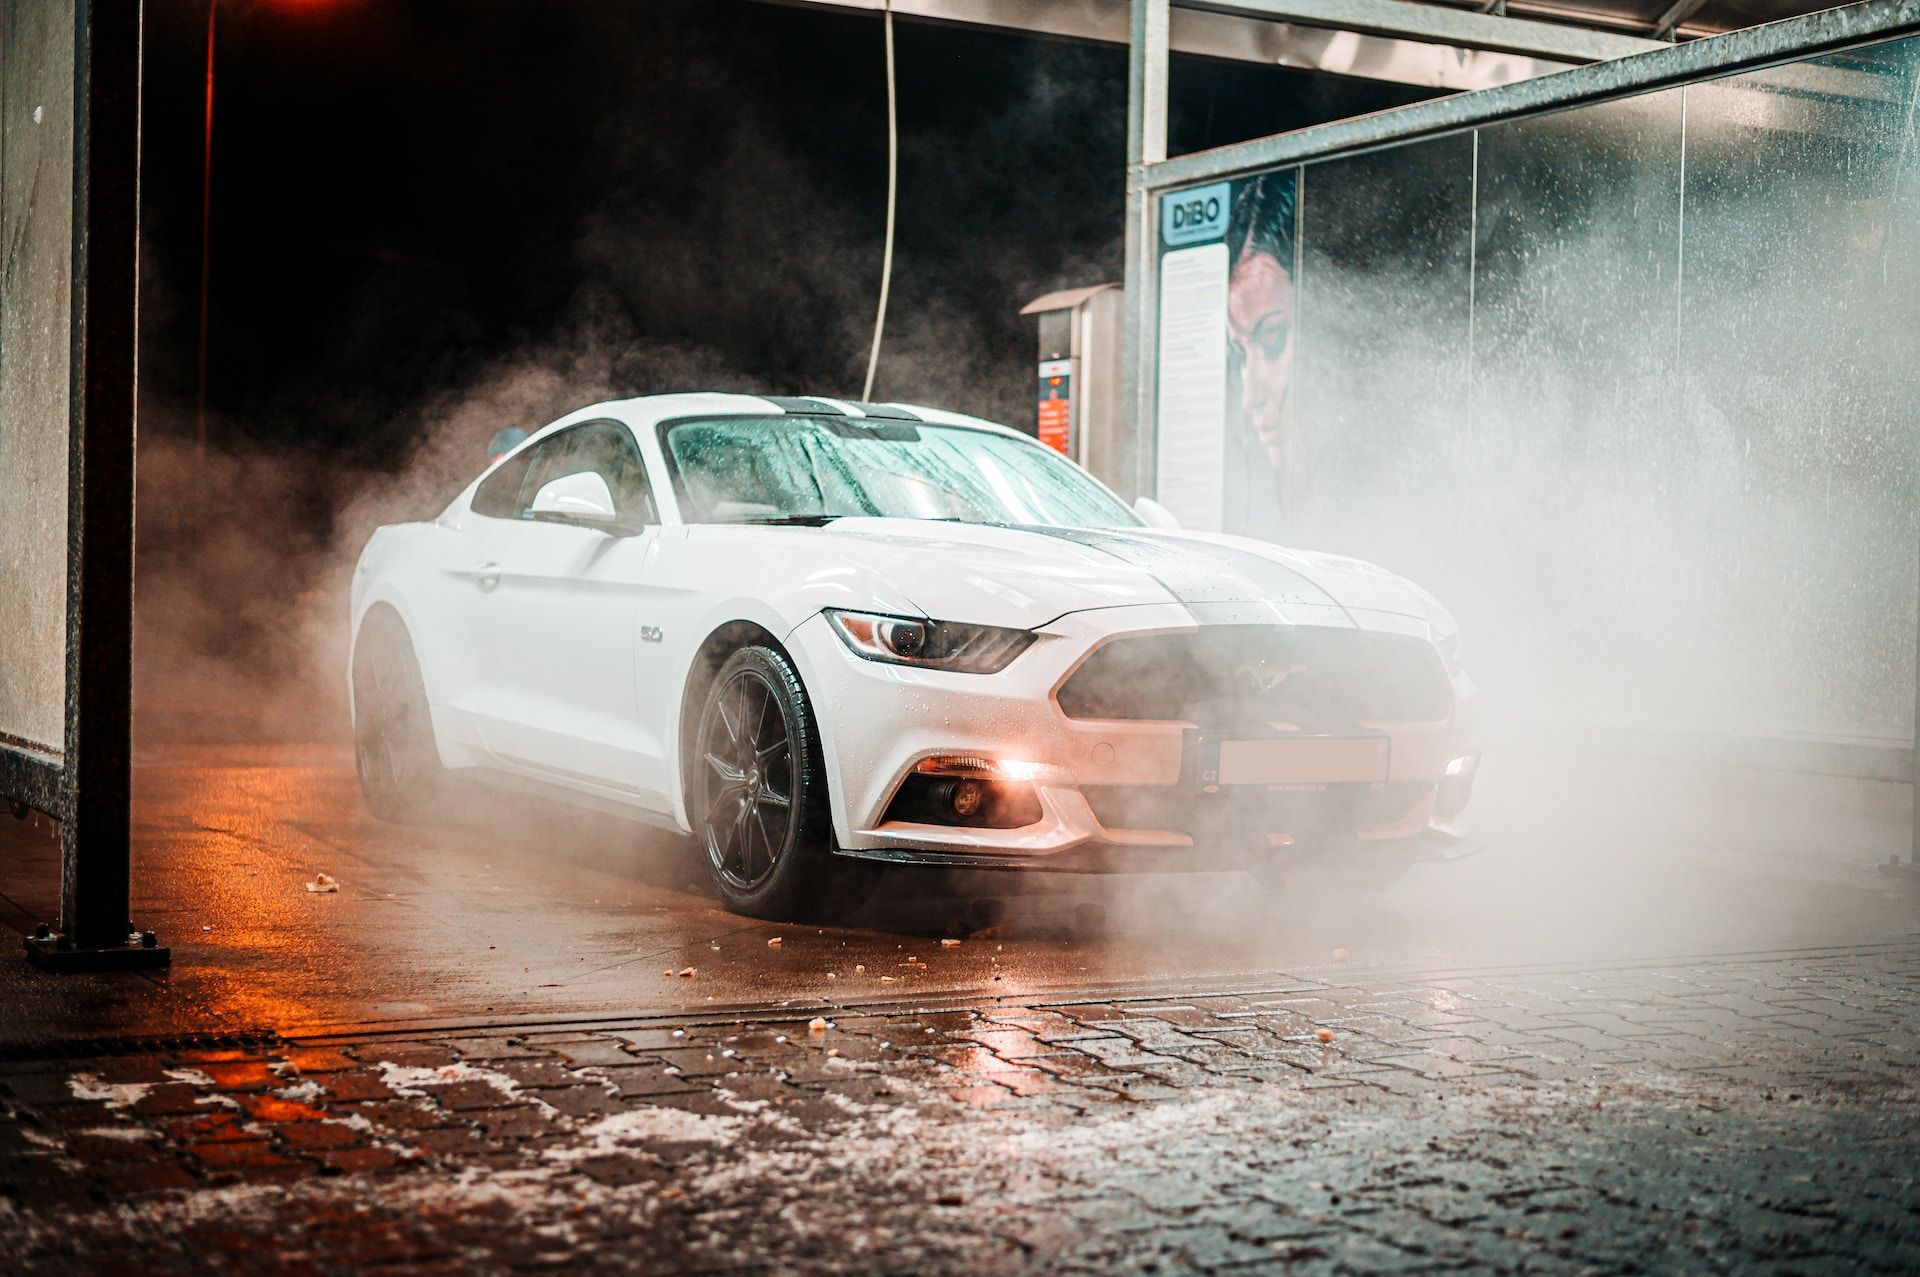
But perhaps one of the most insidious contributors to paint damage is automated car washes. Sure, they're convenient - but at what cost?
The harsh chemicals used in these machines can strip away protective coatings on your paint job, leaving it vulnerable to fading and other types of damage over time. At this point, you may be thinking "why bother?" But trust me - investing in proper paint correction techniques will pay off in the long run.
Not only will your car look better, but it will also be better protected against environmental damage and retain its value for years to come. So, grab your supplies and let's get to work!
Gathering Supplies
List the necessary supplies for paint correction
Before starting your paint correction project, it is important to gather all the necessary supplies. These include a dual action polisher, various grits of sandpaper, microfiber towels, polishing pads, and compounds or polishes. It is important to research and choose high-quality products that are suitable for your car's specific needs.
Do not settle for cheap products as they can cause irreparable damage to your vehicle's paint. In addition to the basic supplies, you may also need specialized tools such as a clay bar or detailing spray.
A clay bar will help remove any contaminants on the surface of your car's paint that cannot be removed with regular washing and drying. Detailing spray is essential for lubricating the surface while using sandpaper or polishing pads to avoid causing scratches.
Discuss the importance of high-quality products
Investing in high-quality products may seem like an unnecessary expense, but it will save you money in the long run by avoiding costly mistakes. Low-quality compounds or polishes can cause damage to your car's paint by creating swirl marks or scratches. Using cheap microfiber towels can also scratch your car's surface due to their rough fibers.
Furthermore, high-quality products will provide better results and a longer-lasting finish on your car's paint. They contain better ingredients that are specifically designed for certain types of imperfections on a car's surface.
Be sure to read reviews and ask for recommendations from trusted sources before purchasing any products. Remember that you get what you pay for when it comes to detailing supplies, so invest in quality materials that will give you professional results at home instead of settling for inferior alternatives that could potentially ruin your vehicle's finish.
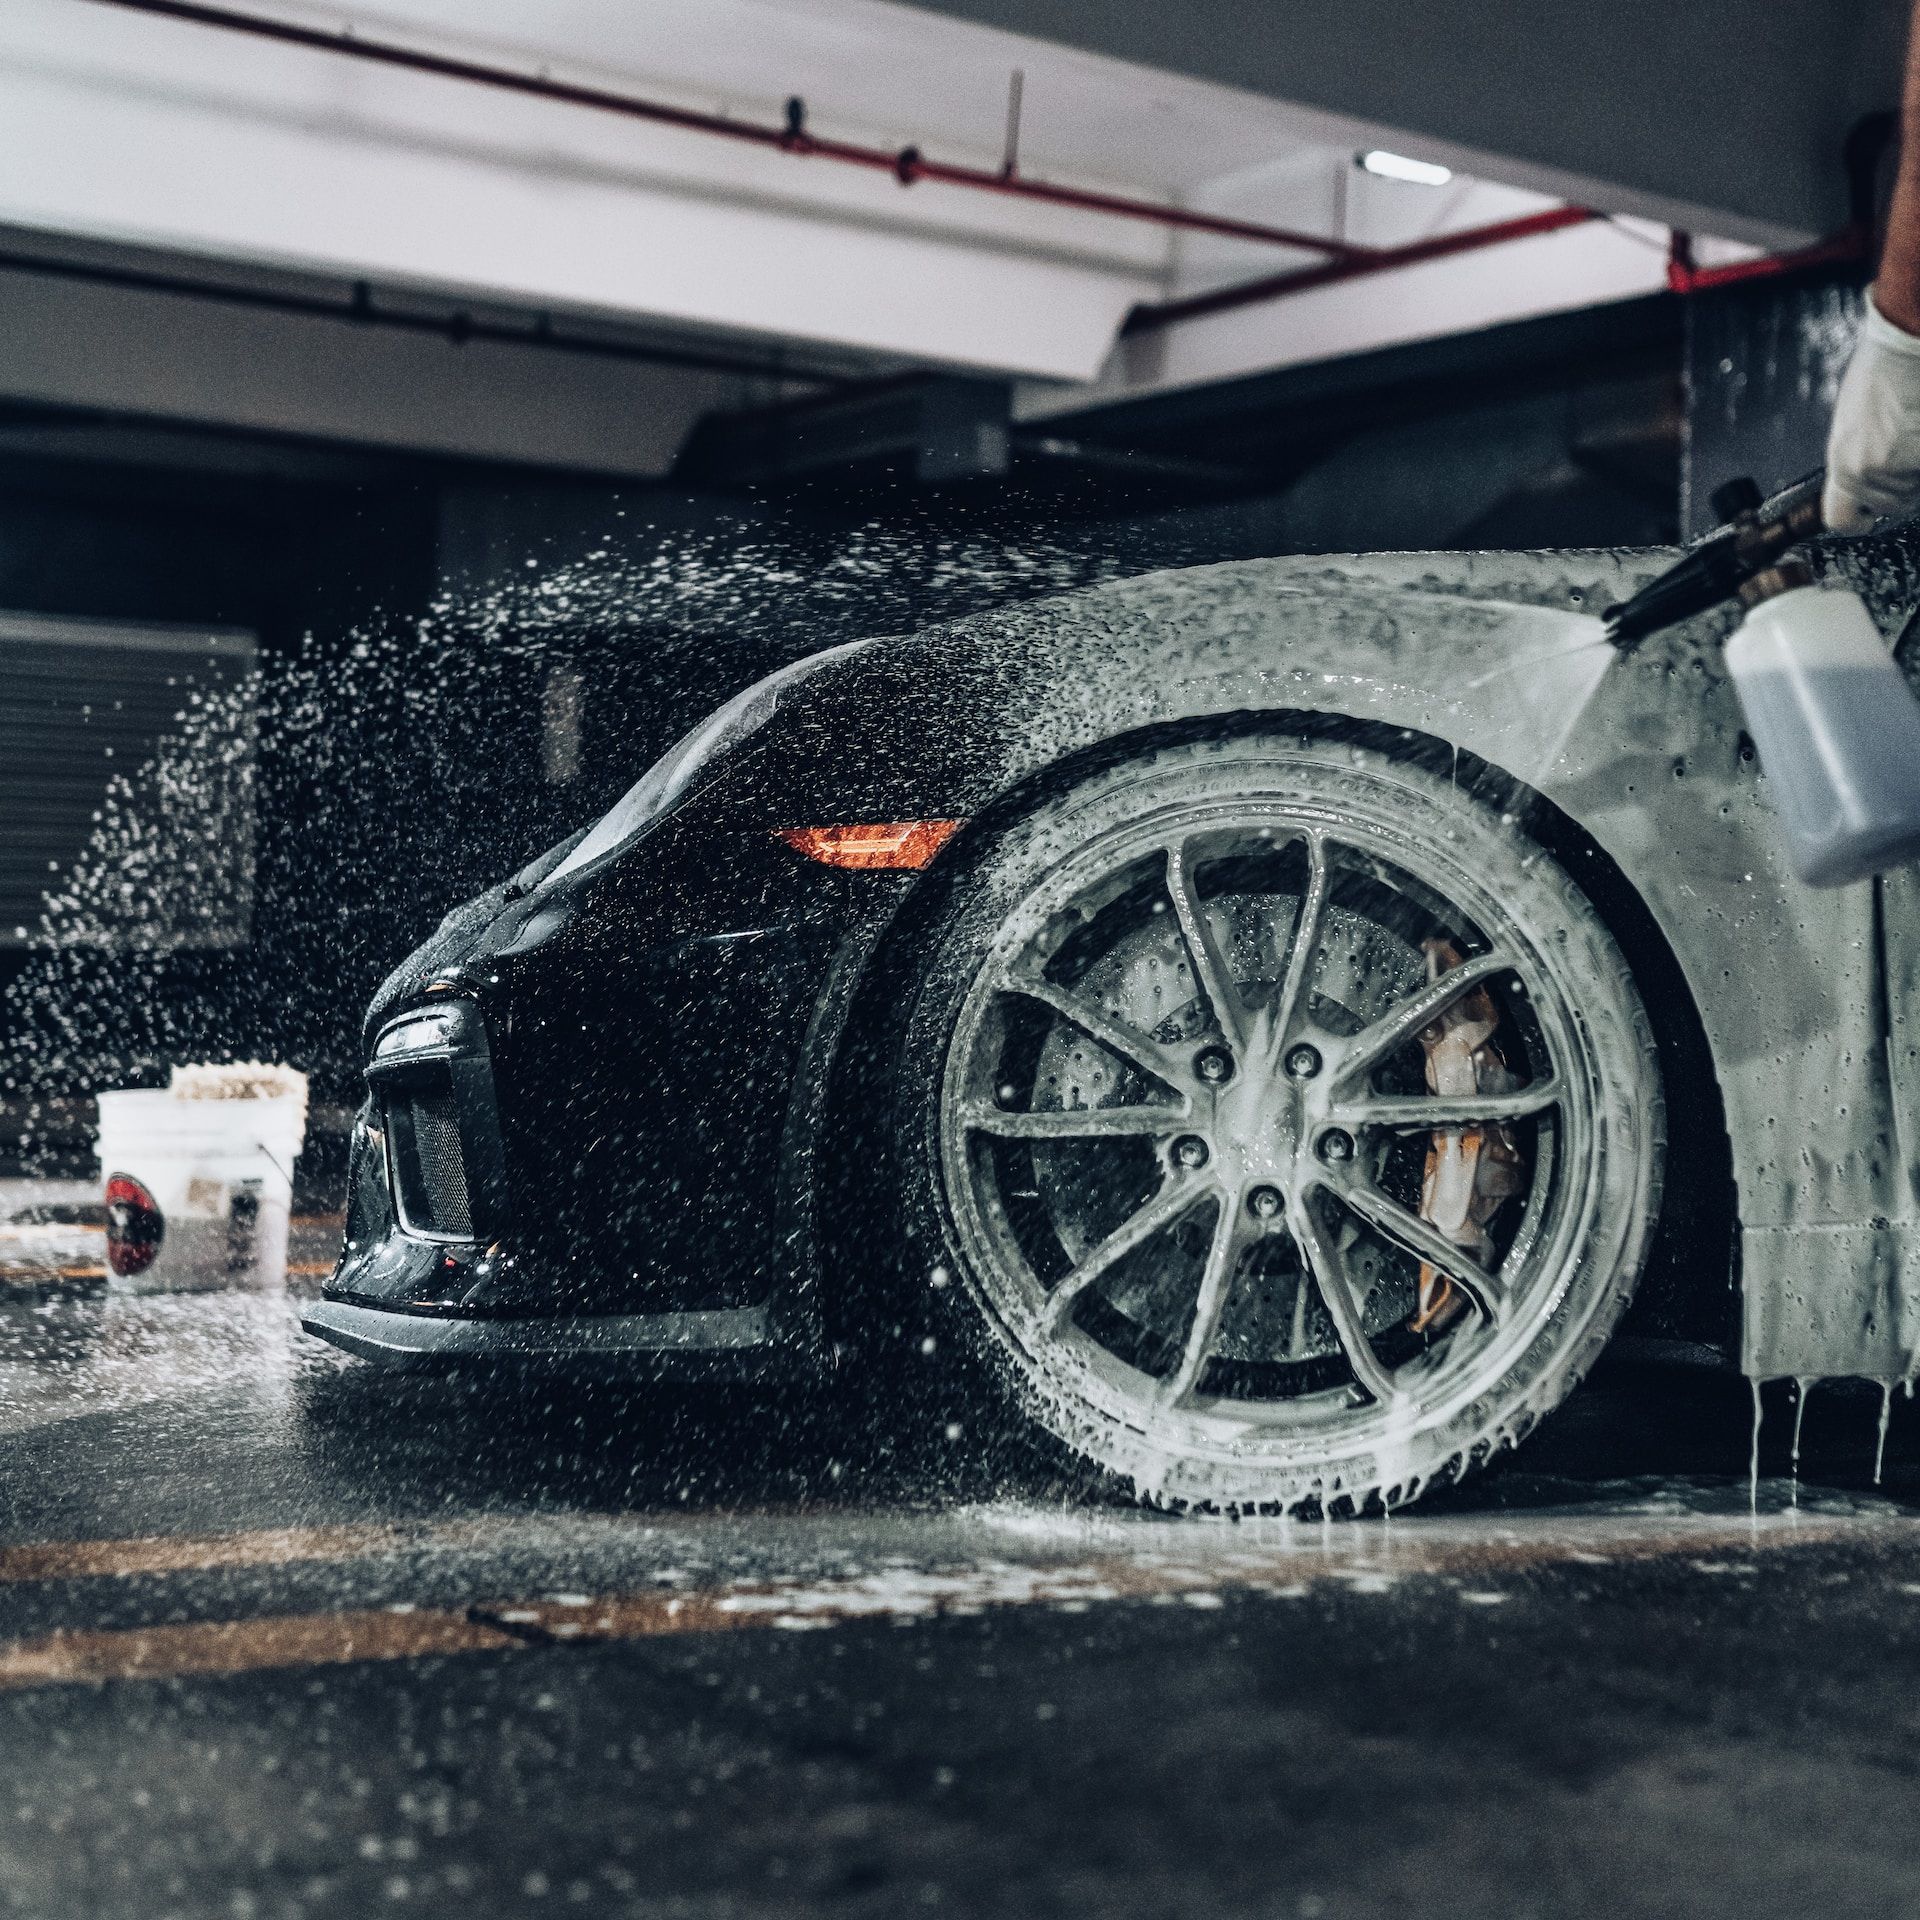
Preparing the Car
Washing and Drying the Car
Before starting any paint correction, it's important to properly wash and dry your car. This may seem like a no-brainer, but you'd be surprised at how many people skip this step or simply don't do it correctly.
A quick trip through an automatic car wash won't cut it here – a proper hand wash is required for the best results. Start by rinsing off any loose dirt or debris with a hose.
Next, use a high-quality car shampoo and a microfiber wash mitt to carefully scrub the surface of your car, being sure to get into all of the nooks and crannies. Rinse thoroughly with clean water, making sure to remove all soap residue.
Now comes the most crucial step: drying your car. Don't make the mistake of using an old t-shirt or bath towel – these materials can scratch your paint!
Instead, use a soft microfiber towel or chamois to gently dry your car. Wipe in straight lines from top to bottom, being sure to get into all of the tight spaces.
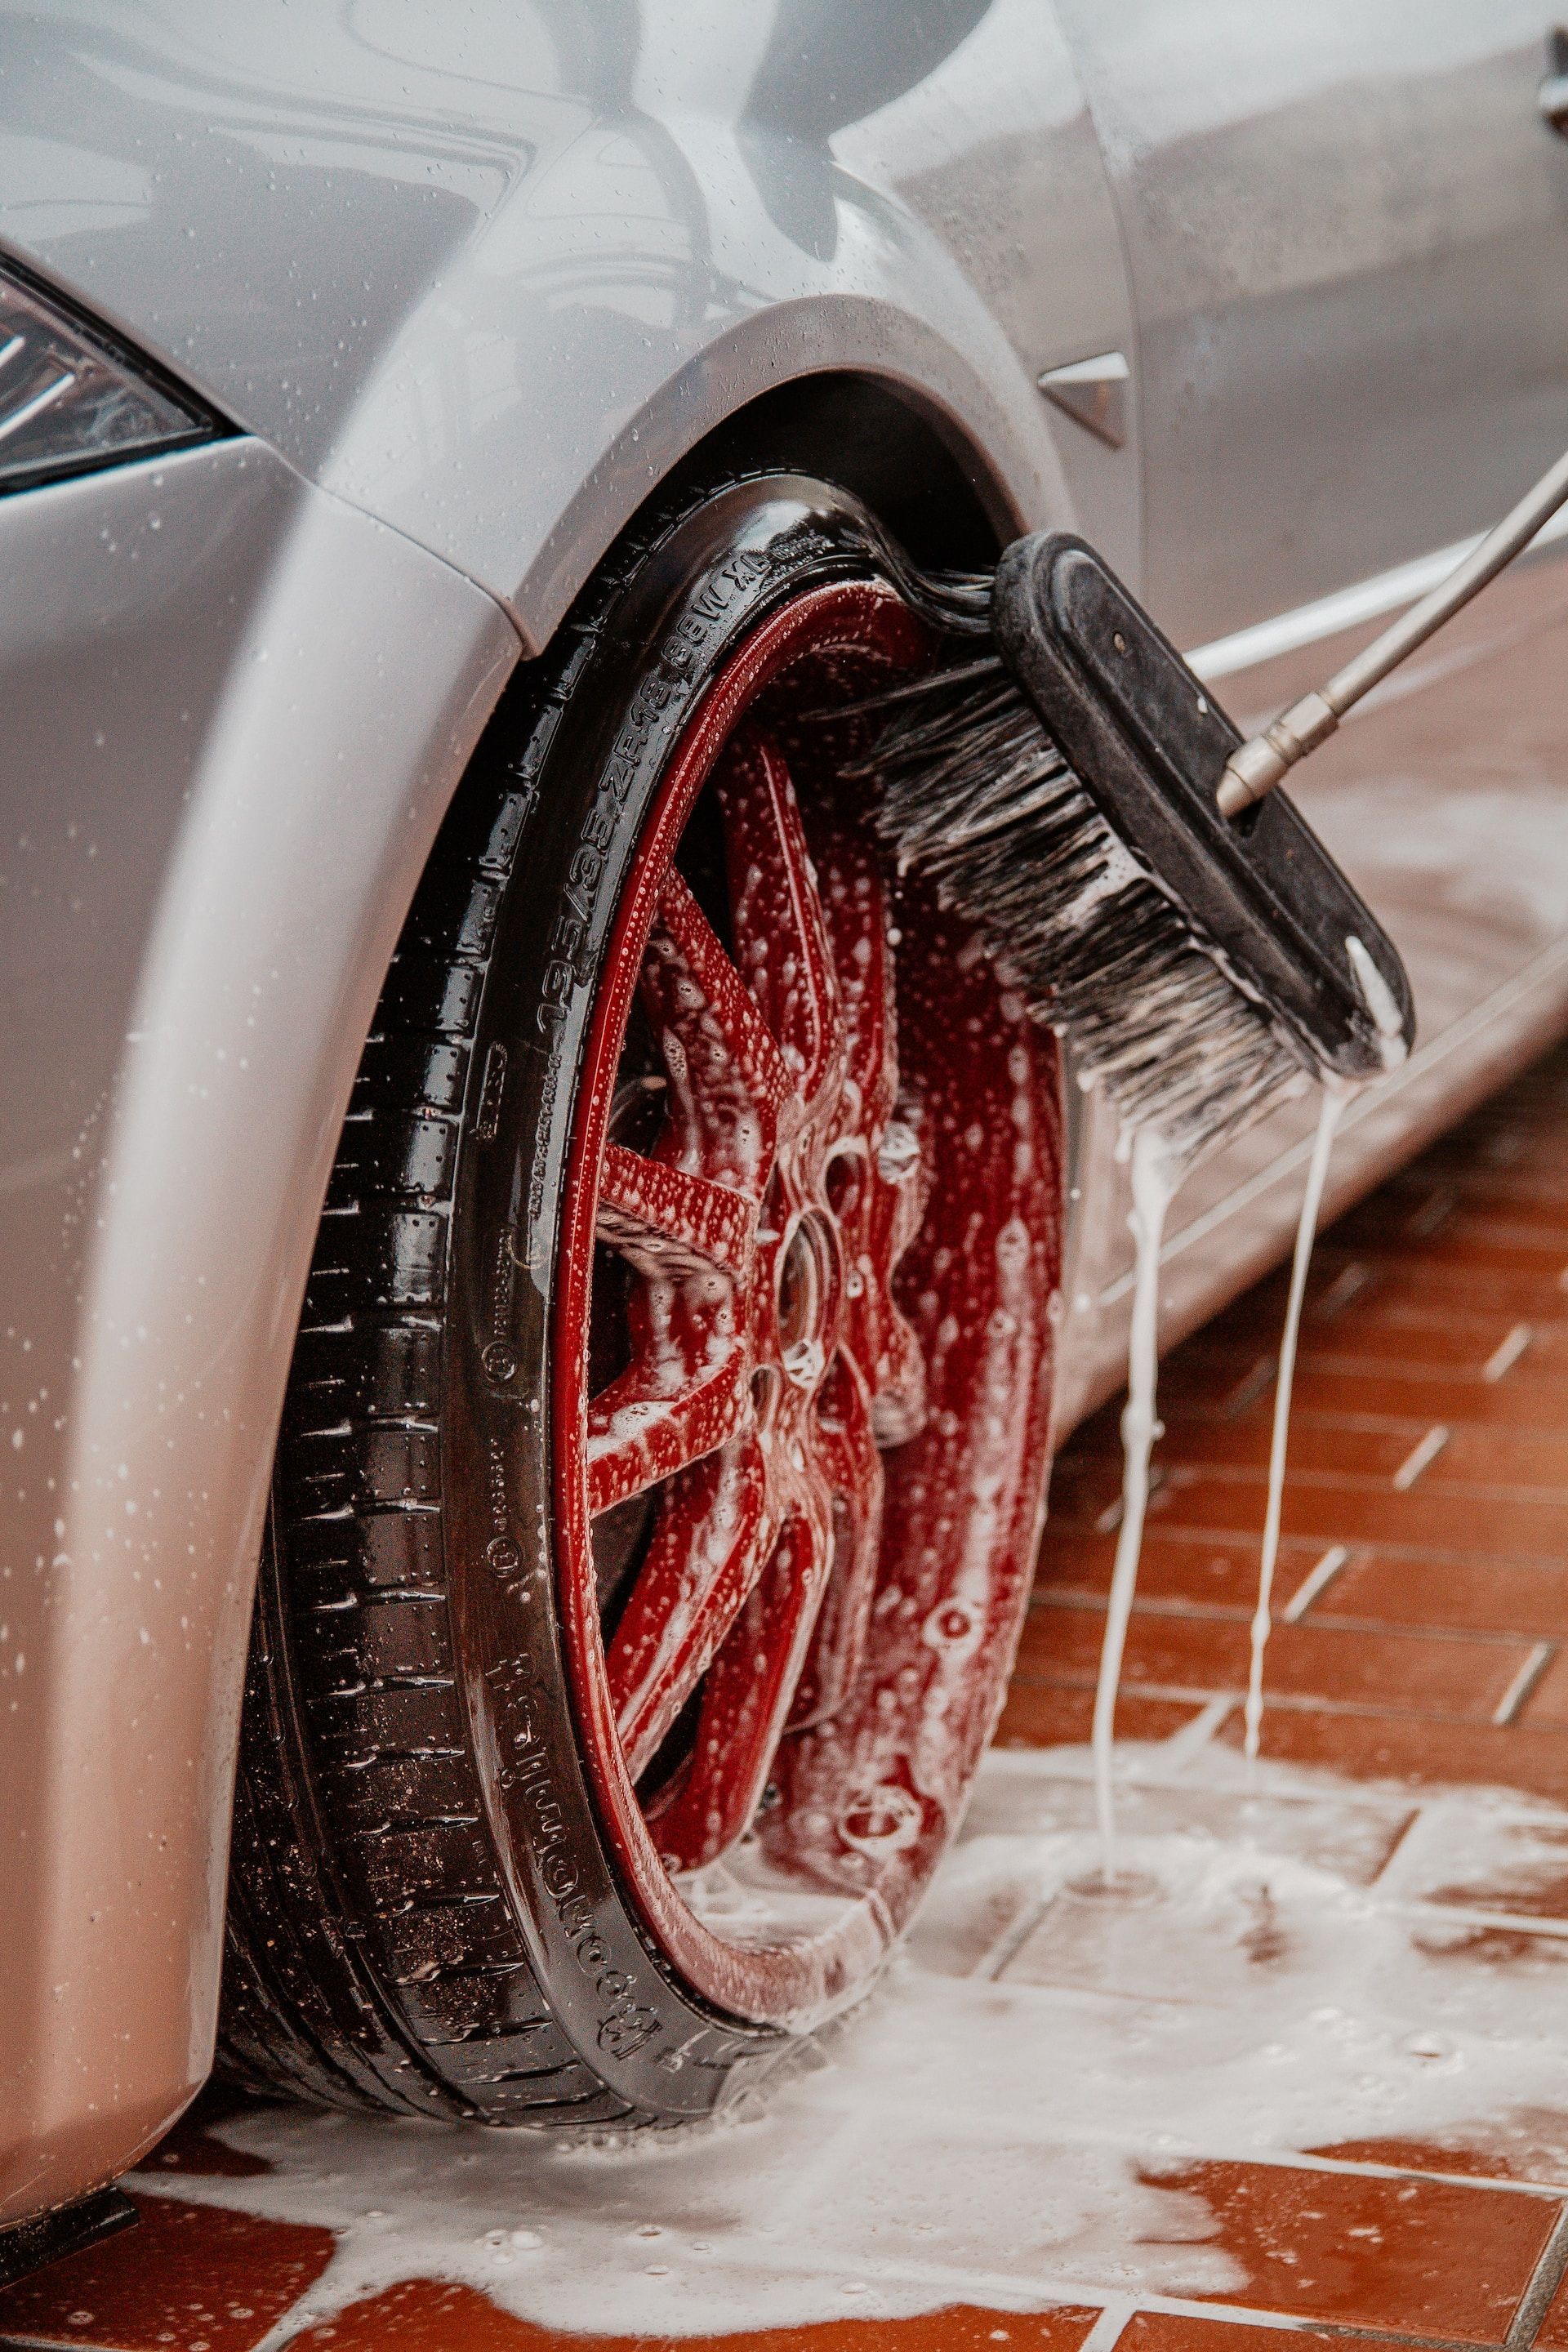
Removing Contaminants and Debris
Even after washing and drying your car, there may still be contaminants or debris on the surface that need to be removed before beginning paint correction. These can include things like tree sap, bird droppings, tar, or even iron particles from brake dust. To remove these contaminants safely without damaging your paint, you'll need a clay bar kit.
A clay bar is a sticky piece of clay that's designed to pick up these contaminants when rubbed across the surface of your car with some lubrication (usually water mixed with detailing spray). Simply rub the clay bar back and forth over one small section at a time until you feel that it has picked up all of the contaminants in that area.
Then, move on to the next section until you've covered the entire car. Be sure to knead and flip the clay bar frequently to expose a clean surface.
By properly washing and drying your car and removing any contaminants or debris, you'll be starting off on the right foot for a successful paint correction job. Don't rush through this step – taking your time here will pay off in the end with a flawless finish.
Evaluating Paint Condition
Before you start correcting your car's paint, it is important to evaluate the condition of the paint job. This will help you determine what type of correction method is needed and how much effort will be required to get the desired results. Evaluating the paint condition also helps identify any areas that may require additional attention, such as deep scratches or severe swirl marks.
Inspecting your car's paint condition
The first step in evaluating the condition of your car's paint is to inspect it carefully under proper lighting conditions. Look for any swirl marks, scratches, oxidation or other imperfections that may affect the overall appearance of the car. Swirl marks can often be seen under bright lights as small circular lines on the surface of the car.
Scratches may also be visible under bright light as scratches on top of otherwise smooth surfaces. Another technique to evaluate your car's paint job is by running your hand over its surface after thoroughly washing it with mild soap and water (no harsh chemicals).
This allows you to feel for any rough spots that can indicate deeper damage or oxidation. Any areas where you can feel a rough texture should be marked for further attention during correction.
Identifying swirl marks, scratches and other imperfections
Swirl marks are one of the most common imperfections found in a car's paint job. They are caused by using improper cleaning techniques such as wiping down a dusty or dirty surface with a dry cloth or towel. Swirls can also result from using harsh brushes or sponges during washing that create tiny circular abrasions on top of a wet surface.
Sometime when looking at swirled cars in bright sunlight, they appear holographic like - almost giving off an optical illusion effect - similar to looking into a high-end prism. Scratches are another common issue that affects the appearance of your car's paint job.
They can be caused by things like rocks or other debris hitting the surface while driving, using a dirty or abrasive cloth during washing, or even by careless parking lot mishaps. Scratches can range from small surface scuffs to deep gouges that penetrate multiple layers of paint.
Other imperfections such as oxidation and fading may affect your car's paint job over time. This type of damage results from exposure to UV light from the sun and can cause the color to fade or appear dull.
Overall, evaluating the condition of your car's paint is an essential step in achieving a flawless correction job. This will help you determine what type of correction method is needed, what tools and products you will need to use, and how much effort will be required to achieve your desired results.
Choosing Correction Method
The Elusive Quest for the Perfect Paint Correction Method
You may be wondering, what is the best method for paint correction? Well, let me tell you that the answer is not so simple.
There are various methods available and each of them works better for different types of imperfections. One of the most popular methods is polishing, which can remove light scratches and swirl marks.
However, if you have deeper scratches or heavy oxidation on your car's paint, then polishing is not going to cut it. In such cases, compounding or wet sanding might be required.
Compounding involves using an abrasive compound with varying levels of aggressiveness to remove deeper scratches and blemishes in the clear coat. Wet sanding, on the other hand, uses progressively finer grits of sandpaper to level out any surface irregularities before buffing and polishing.
Identifying Imperfections: The Key to Choosing the Right Method
The key to choosing the right method for paint correction is identifying the specific imperfections that need to be addressed on your car's paint surface. This requires a keen eye and a good understanding of what different types of imperfections look like.
For example, if your car has swirl marks caused by improper washing techniques or abrasive cleaning materials such as drying towels or mitts which rub dirt into your paint instead of wiping it away safely. Then polishing might be enough to get rid of them.
However, if your car has deep scratches caused by rocks or other debris hitting its surface at high speeds, then compounding might be necessary. Additionally, if there is heavy oxidation on your car's clear coat from sun damage or exposure to harsh chemicals then wet sanding may be required followed up with a buff and polish session.
The Importance of Skill Level
It's worth noting that even with all the tools and knowledge at your disposal, performing paint correction can be a daunting task. This is why it's important to consider your skill level when choosing a method.
If you're an amateur or have limited experience with car detailing, then it's best to start with less aggressive methods like polishing, and work your way up from there. Attempting compounding or wet sanding without proper knowledge or practice can damage your paint even further and lead to more costly repairs.
So before jumping in with both feet, take some time to research and learn more about each method. Choosing the right method for paint correction involves not only identifying the specific imperfections on your car's paint surface but also understanding the limits of your own skill level.
Start with less aggressive methods like polishing and work up from there if necessary. Remember that patience is key when it comes to achieving that perfect finish on your car's exterior.
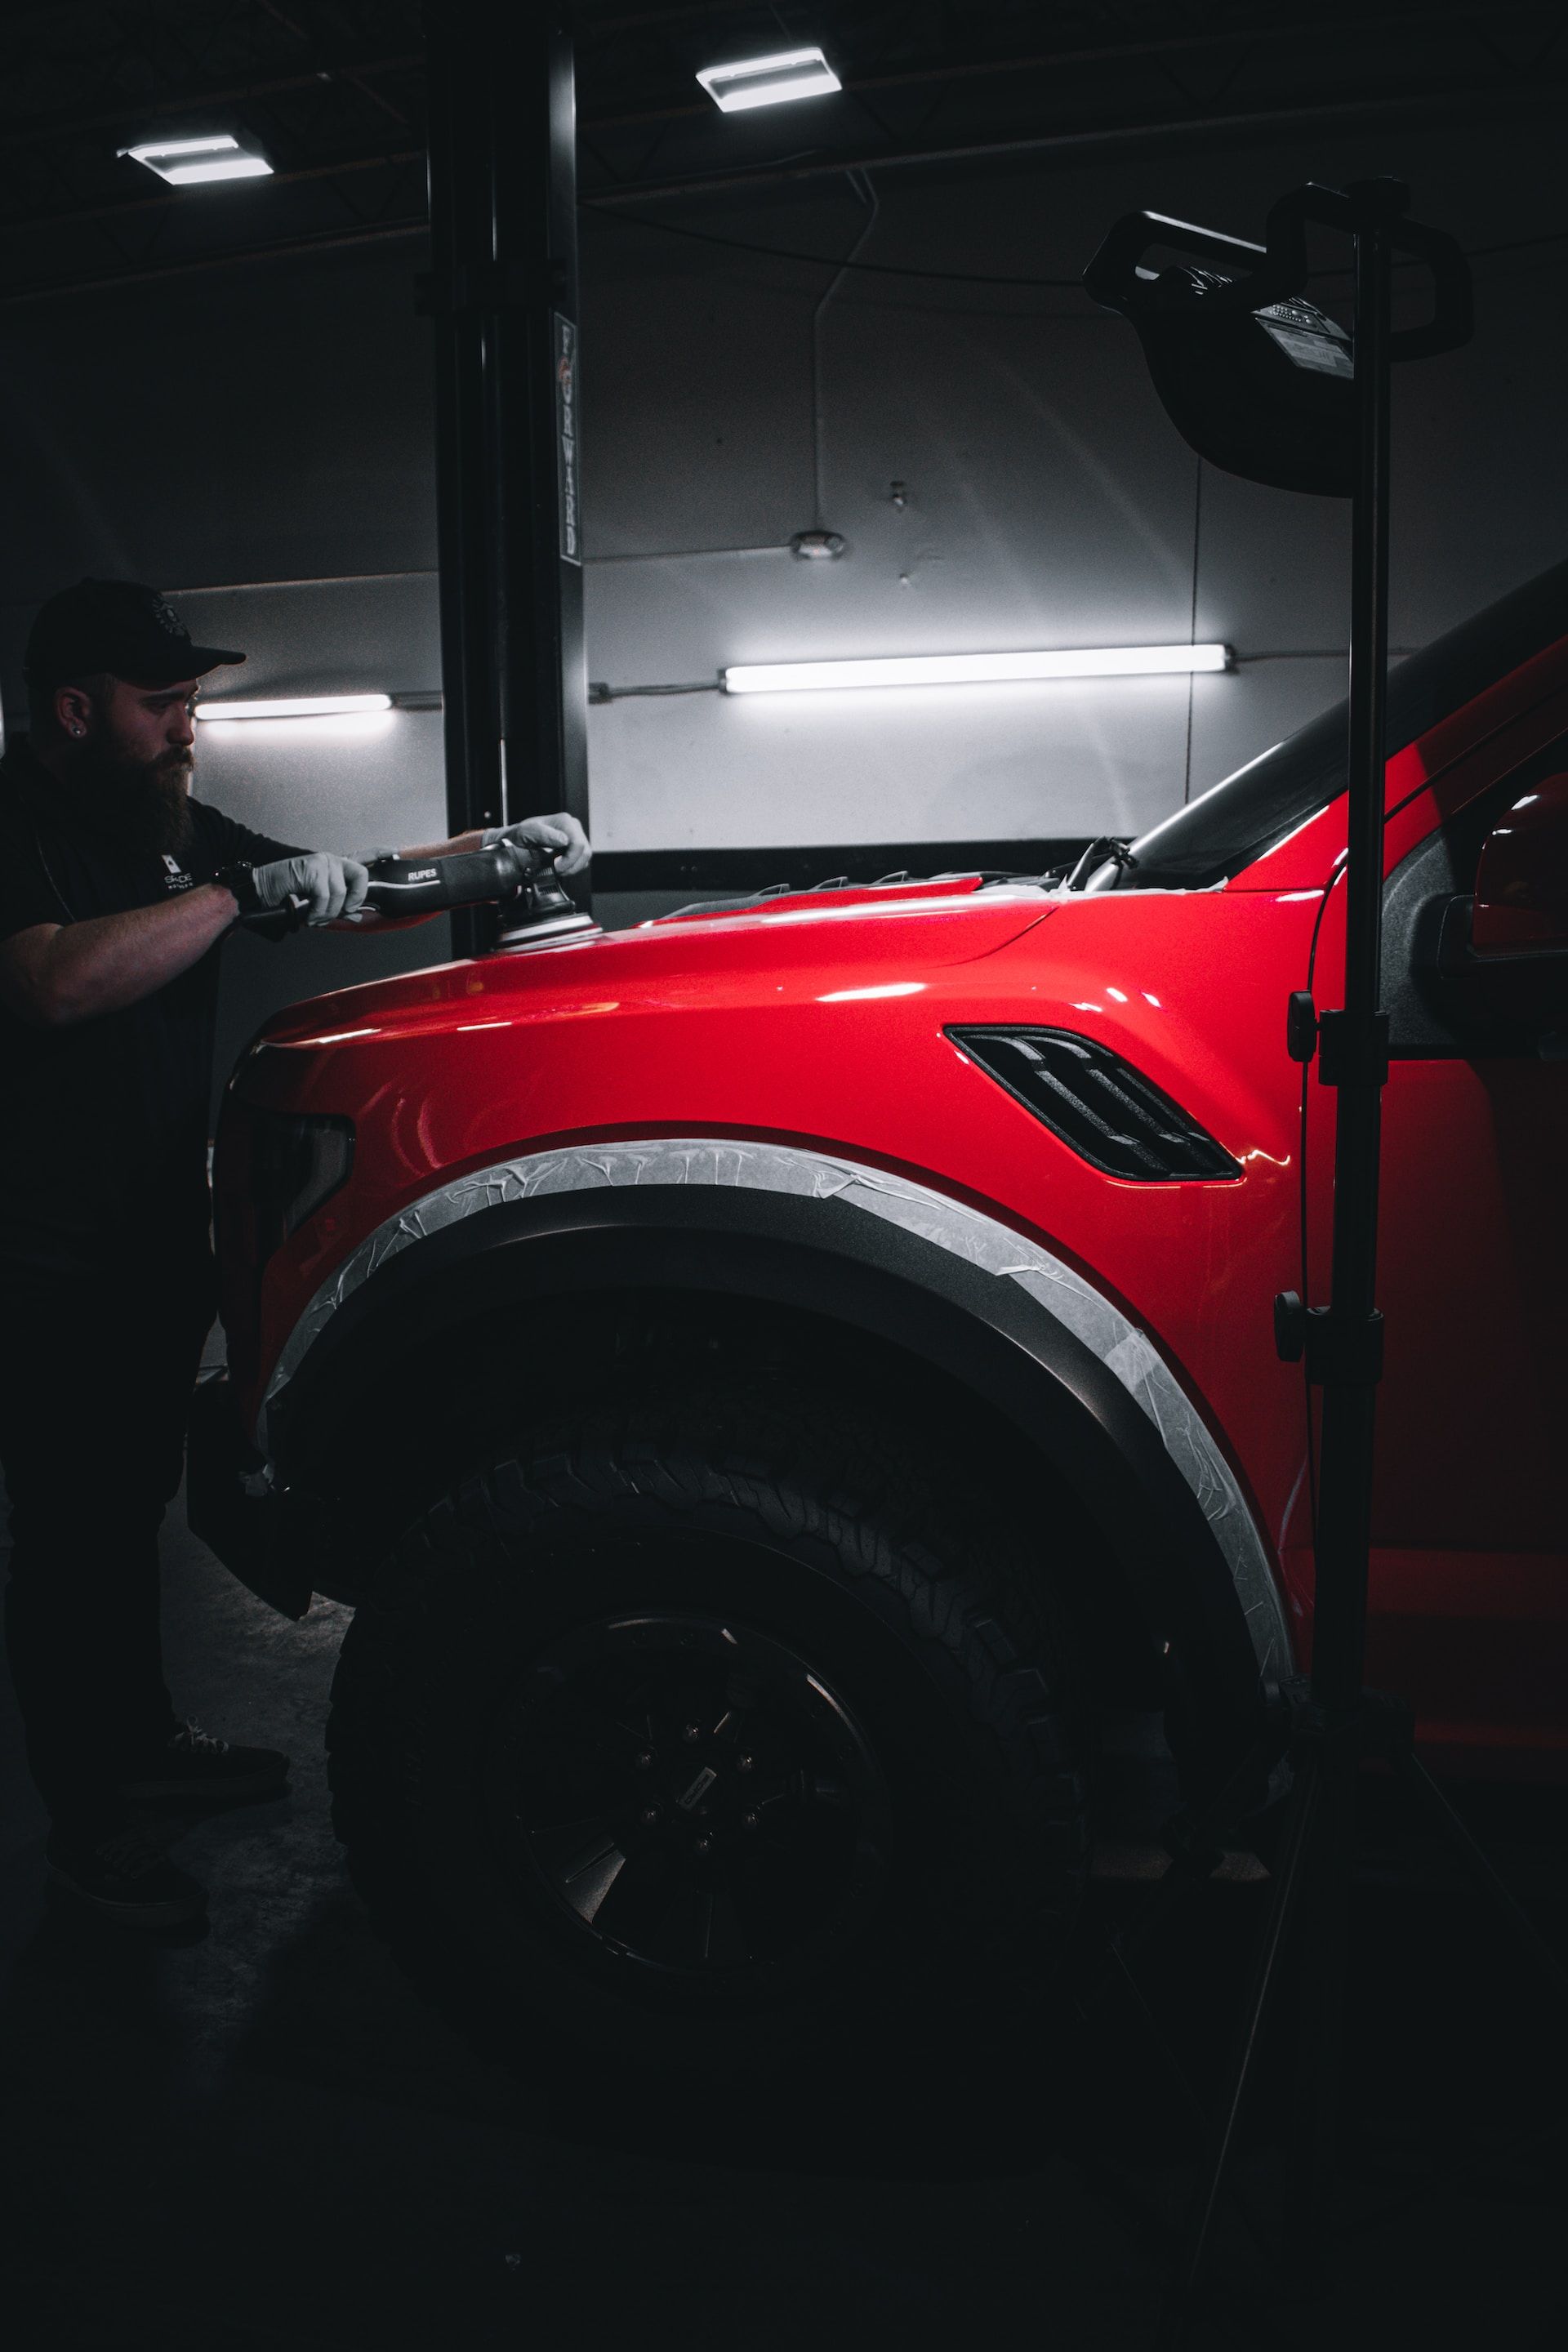
Applying Correction Techniques
The Art of Wet Sanding
Wet sanding can be one of the most efficient methods for paint correction, but it is not for the faint of heart. This method involves using a sandpaper with a high grit count and water to slowly remove layers of paint until the imperfection is no longer visible.
It's essential to proceed with caution when wet sanding, as it can lead to irreversible damage if done incorrectly. When starting, begin with a lower grit count and work your way up gradually.
Take note that wet sanding should always be followed by polishing or compounding to restore shine and remove any remaining scratches left by the sandpaper. When performed correctly, wet sanding can leave your car looking like new again.
Polishing for Perfection
Polishing is a great option for minor imperfections such as swirl marks or light scratches on the surface of your car's paint job. There are several types of polish available in the market, each varying in terms of abrasive quality and intended use. When using polish, apply it evenly on your vehicle's surface using a polishing pad or cloth.
Use circular motions when applying and ensure that you don't miss any spots during application. Once applied thoroughly, buff out any excess polish residue once dry using a microfiber towel.
Compounding - The Heavy Hitter
Compounding should only be used if none of the previous methods have worked in removing deeper scratches or severe imperfections from your car's paint job. Compounds are more abrasive than polishes and require careful application to avoid damage.
To use compound efficiently, apply it directly onto the surface using an orbital buffer or by hand using a foam applicator pad until you've covered all affected areas on your vehicle thoroughly. Be sure to follow-up compounding with polishing as compounds tend to leave a hazy finish on your car's surface.
Ensure that you buff out any excess residue once dry using a microfiber towel. There are several methods available when it comes to paint correction on your car.
It's essential to determine the severity of the imperfection and choose the right technique for optimal results. Whichever method you choose, proceed with caution as paint correction requires some level of expertise and care to avoid further damage.
Finishing Touches: The Importance of Waxing and Sealing
Now that you have successfully corrected your car's paint, it's time to talk about the crucial finishing touches. Many people may think that once the paint has been corrected, their job is done. However, without proper waxing or sealing, all of your hard work will be for nothing.
The Power of Waxing
Waxing your car not only adds a beautiful shine but also provides a protective layer against harmful elements such as UV rays and bird droppings. It helps prevent water spots from forming and makes it easier to clean in the future. But not all waxes are created equal.
It's important to use a high-quality product that does not contain harsh chemicals that can damage your newly corrected paint. I recommend using a natural carnauba wax that will provide a long-lasting shine without harming the environment or your car.
The Magic of Sealing
If you want even more protection for your newly corrected paint job, sealing is the way to go. A sealant creates a clear protective layer over the entire surface of your car, providing maximum protection against scratches and other potential damage.
Sealants are especially useful for those who live in areas with extreme weather conditions such as heavy rain or snow. They also last longer than traditional waxes, so you won't have to reapply as often.
The Final Touches
Before applying wax or sealant, make sure that your car is completely dry and free from any residue or debris left behind by the correction process. Apply a small amount of wax or sealant onto an applicator pad and work it into one section at a time using circular motions.
Once you have completed the entire car, use a microfiber towel to buff away any excess wax or sealant. This will reveal a beautiful, gleaming finish that is sure to turn heads on the road.
Remember, applying wax or sealant is not just about making your car look pretty. It's also about protecting your investment and ensuring that your newly corrected paint job stays looking great for years to come.
Maintenance Tips
The Importance of Regular Maintenance
Paint correction is a time-consuming and often expensive process, but the results are well worth it. However, if you don't take care of your newly corrected paint job, all that hard work will go to waste.
Regular maintenance is key to keeping your car looking its best for years to come. Make sure to wash your car regularly using a high-quality car shampoo and microfiber towels.
Avoid using harsh chemicals or scrubbing too hard, as this can damage the paint. Dry your car thoroughly after washing to prevent water spots.
Another important step in maintenance is applying a protective wax or sealant every few months. This will help protect the paint from environmental pollutants and UV rays that can cause fading and discoloration over time.
Avoiding Common Mistakes
One of the most common mistakes people make when maintaining their cars is using automated car washes. These machines can cause scratches and swirl marks on the paint, undoing all your hard work in correcting it. Another mistake is neglecting small scratches or chips in the paint.
These may seem minor at first, but they can quickly escalate into bigger problems if left untreated. Make sure to touch up any damage as soon as possible using touch-up paint or a professional repair service.
Conclusion
Paint correction is an investment in your car's appearance and value, but it requires commitment and effort to maintain it properly. By following these tips for regular maintenance and avoiding common mistakes, you'll be able to keep your newly corrected paint job looking its best for years to come.
Remember, taking care of your car isn't just about aesthetics; it's also about protecting your investment and ensuring that it lasts as long as possible. So take pride in your newly corrected paint job, put in the time and effort required for proper maintenance, and enjoy the benefits of a beautiful, well-maintained car.
Scottsdale Auto Detailing Blog


A Mobile Car Detailer in Scottsdale
drop us a line for a personalized car detailing plan

Navigation
Services
We provide detailing in:
Scottsdale, Paradise Valley, Phoenix, Tempe, Mesa, Chandler, Glendale & Gilbert